 Guide
Outdoor Kitchens & BBQ
Outdoor Kitchens & BBQ · Guide
Grilling is much easier with a proper place to set down plates, cut meat and keep tongs, sauces and fuel within reach. This freestanding prep station stands beside the grill, not against it, and is built like a sturdy outdoor workbench.
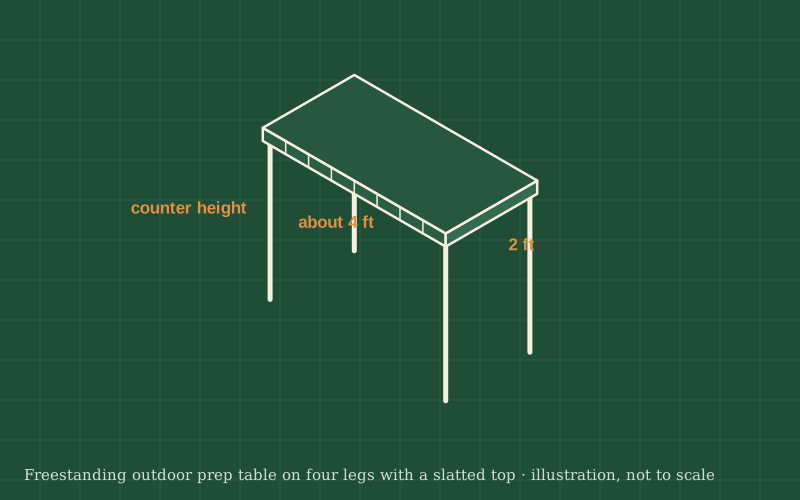
The station has four legs, a top at counter height and a lower shelf. The top can be solid boards sealed with a food-safe finish, or slats with a removable cutting board on top. Hooks on the side rail hold tools and towels.
The most important rule is distance from the heat. Wood and grills do not mix at close range: follow your grill manufacturer's instructions for the minimum clearance to combustible materials, and keep the station at least that far away, on the side away from where heat and smoke drift.
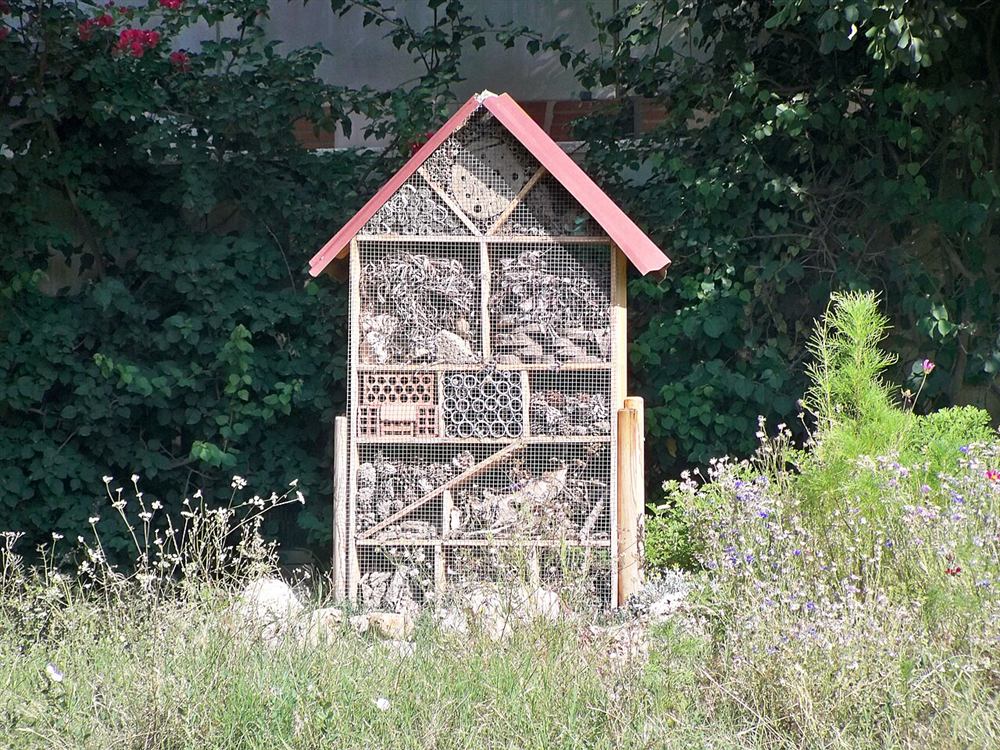
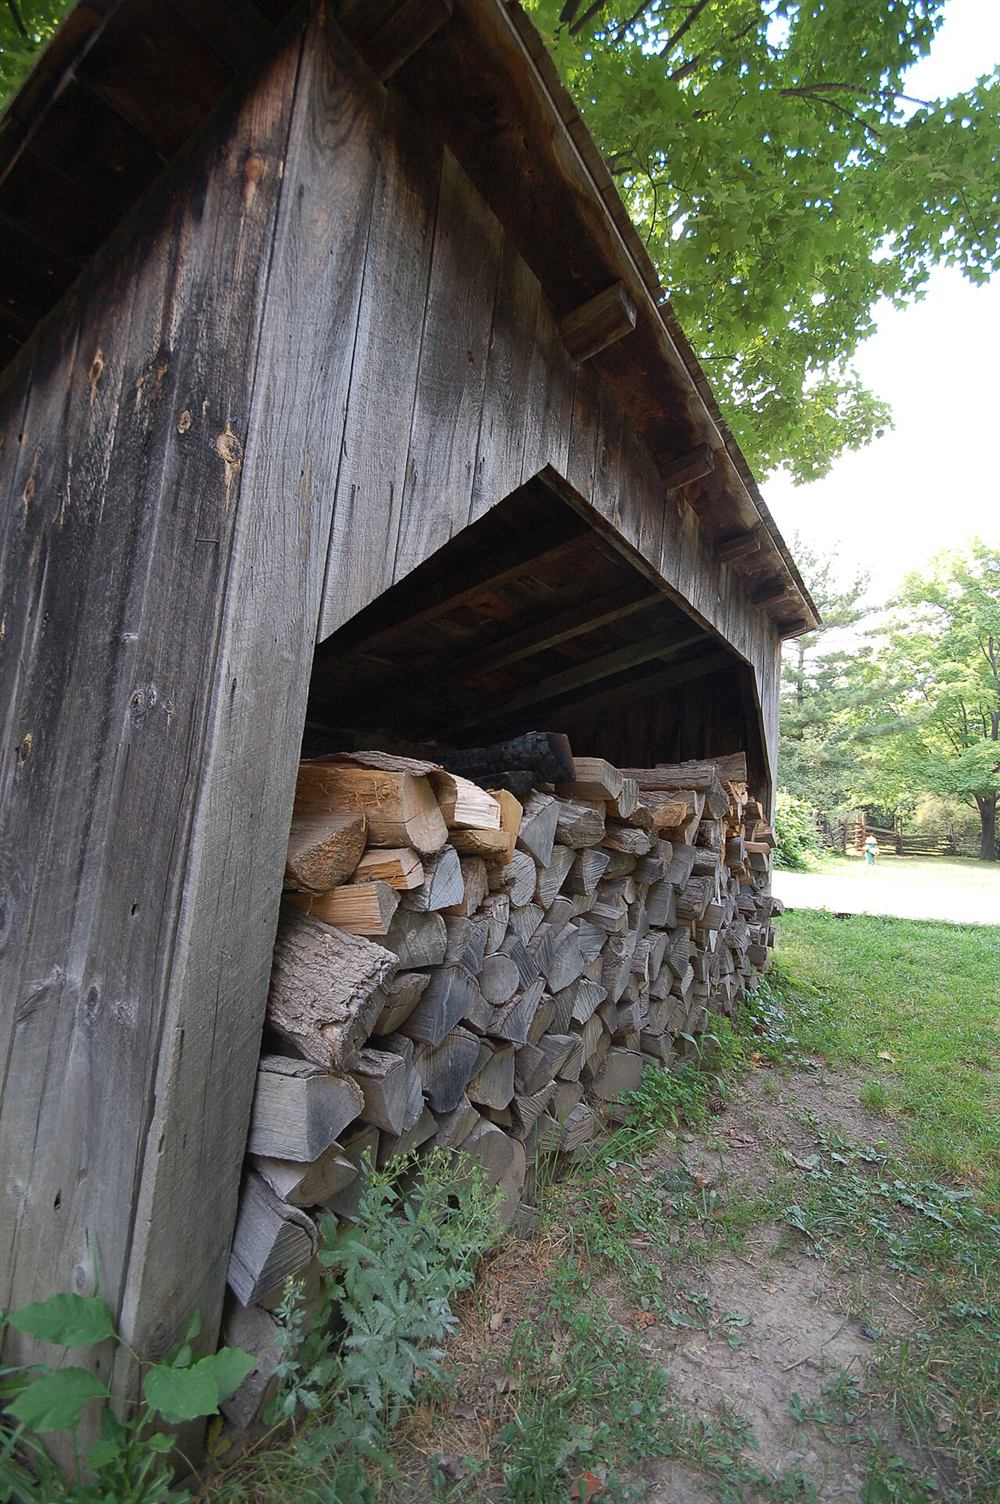
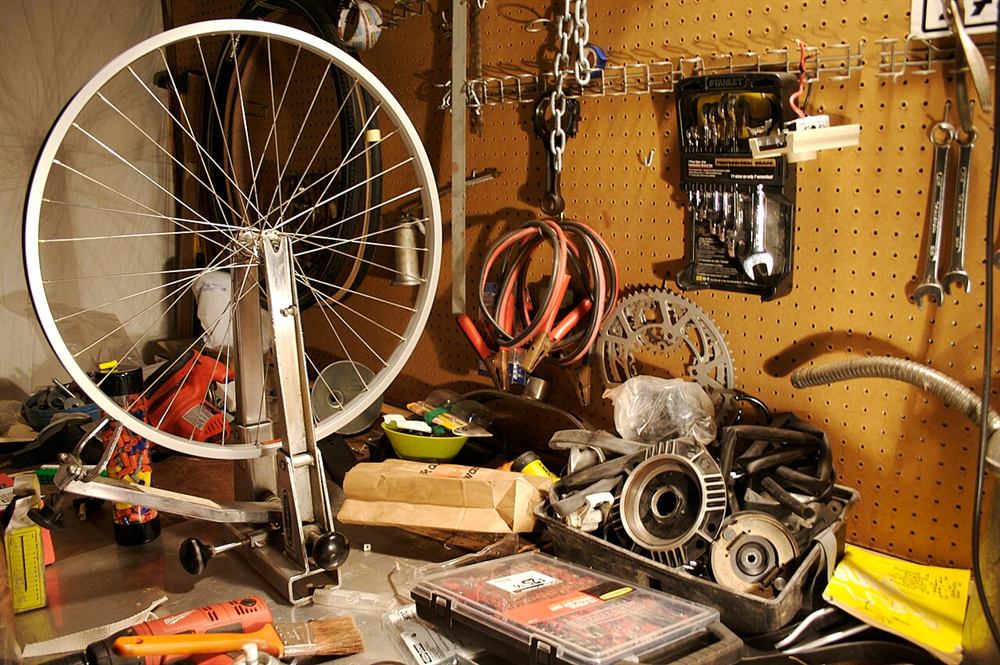
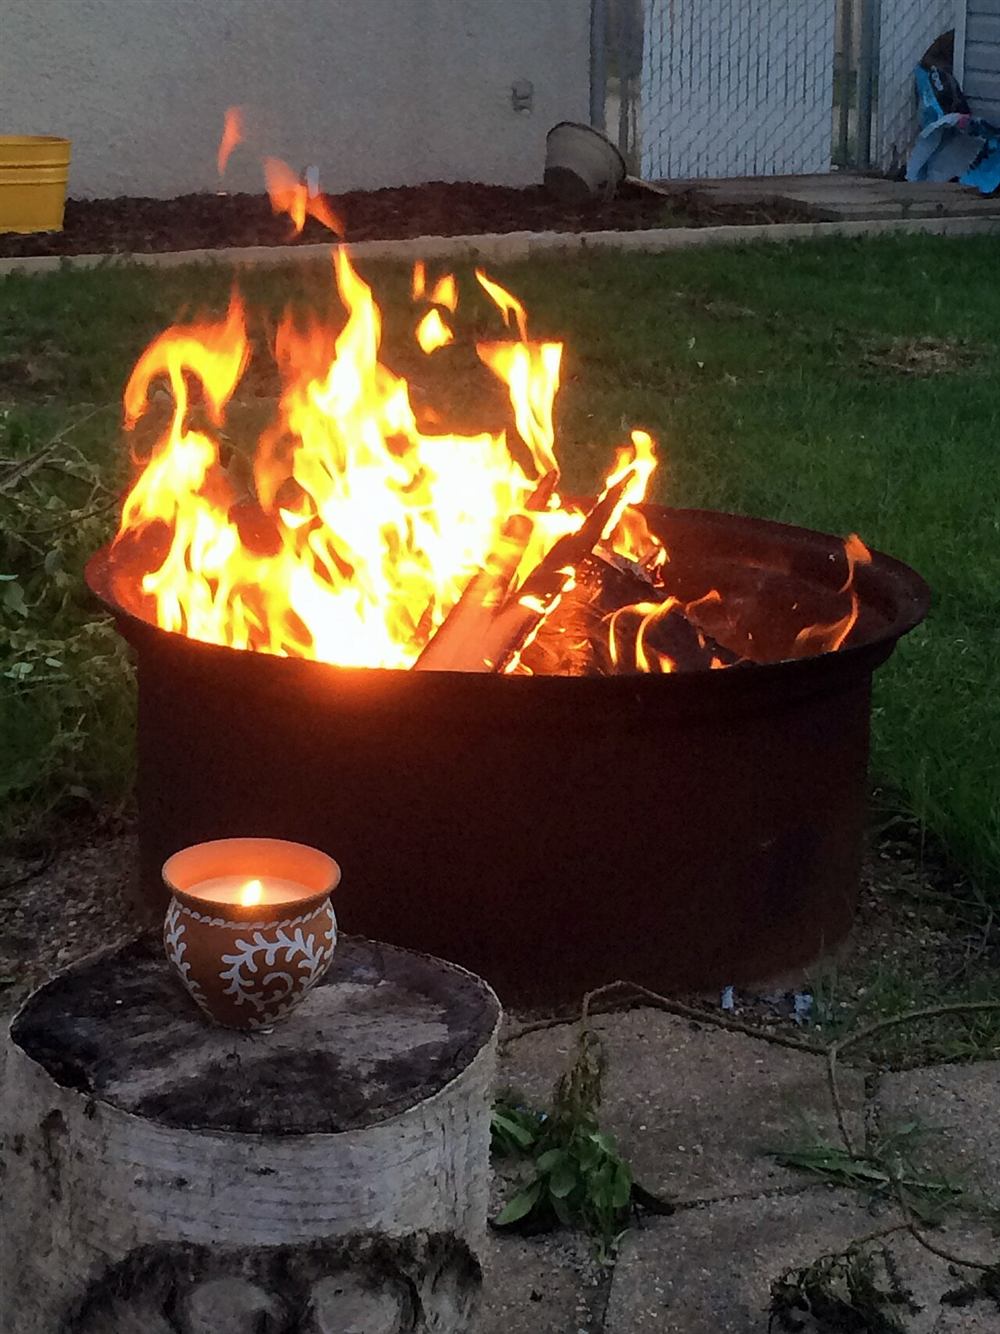
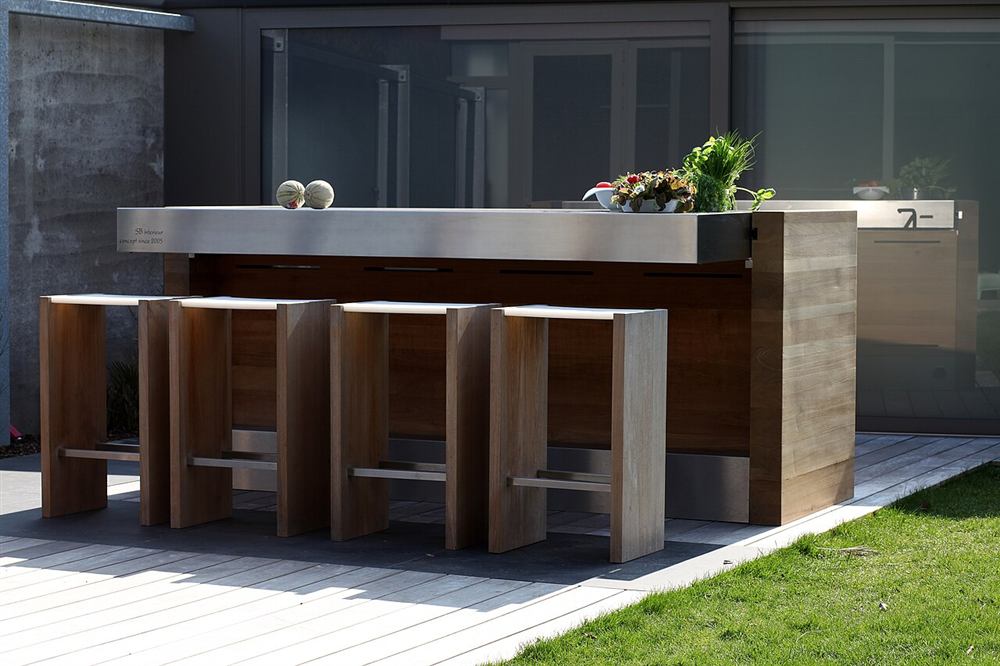
Photos of similar builds by other people, shared under open licenses. They show the idea in practice; the details differ from this guide.
Look up the clearance to combustible materials in your grill's manual and measure where the station will stand. Choose a level spot beside the grill, away from the direction smoke usually blows, and not under overhanging branches or a roof.
For each end, join two legs with a rail at the top and another about 8 in (20 cm) above the ground. Screw through pilot holes, two screws per joint, and check that the frames are square.
Stand the end frames up and connect them with long rails front and back at both levels. Check the top rails are level; a level top stops bottles and bowls sliding.
Screw boards across the top frame, either tight together for a solid surface or with small gaps for drainage. Let the top overhang the frame slightly at the front so you can work close to it.
Lay boards on the lower rails to make a shelf for charcoal, plates and covers. Fit hooks or a rail on the side away from the grill for tools and towels.
Sand everything smooth. Use an exterior finish on the frame and a food-safe oil on any surface food will touch, or keep a separate cutting board for food. Add lockable castors if you want to wheel it away after use.
General guidance only. Follow the instructions for your tools and materials and your local rules, and use a qualified professional for electrical, gas and structural work.
With a solid prep table beside it, the grill becomes an outdoor kitchen. Wipe the top after every use, re-oil the food surface now and then and keep the station covered, and it will serve many summers of cooking outdoors.
About this guide: written by the DIY Outdoor Builds editors from general, widely used building and gardening practice. Text and illustration © DIY Outdoor Builds. Photos are by the people credited under each one, used under their licenses. Found an error? Let us know.
Share your photos, measurements and what you changed. Your build gets its own page and helps the next person.