 Guide
Storage Solutions
Firewood burns cleanly only when it is dry. A log store keeps rain and snow off while letting wind blow through the stack, which is exactly what seasoning wood needs. This one is a simple timber frame with a slatted floor, slatted sides and a sloping roof.
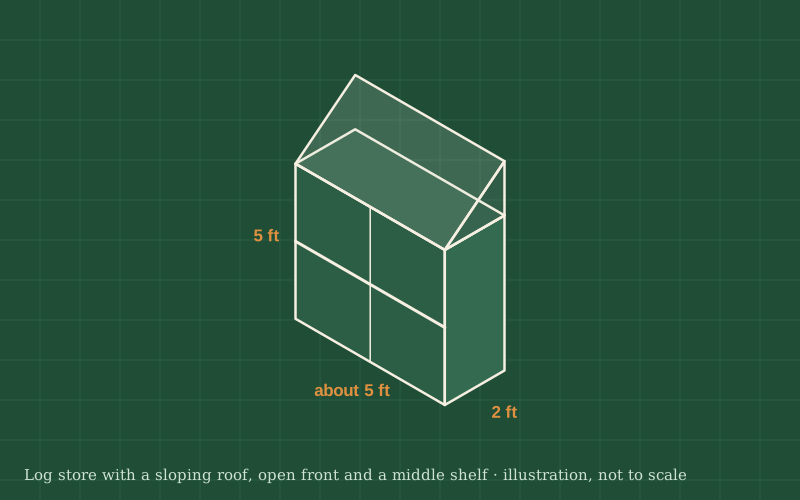
Four posts carry a sloping roof and a floor raised off the ground on rails. The back and sides are clad with spaced slats so air moves freely, and the front stays open so you can stack and take logs. A middle divider or shelf keeps kindling separate.
Put the store where it gets wind and some sun, and leave a gap behind it; standing against a house wall traps damp and invites insects into the house. Wood usually needs months of airy storage after splitting before it is dry enough to burn well; a moisture meter tells you when it is ready.
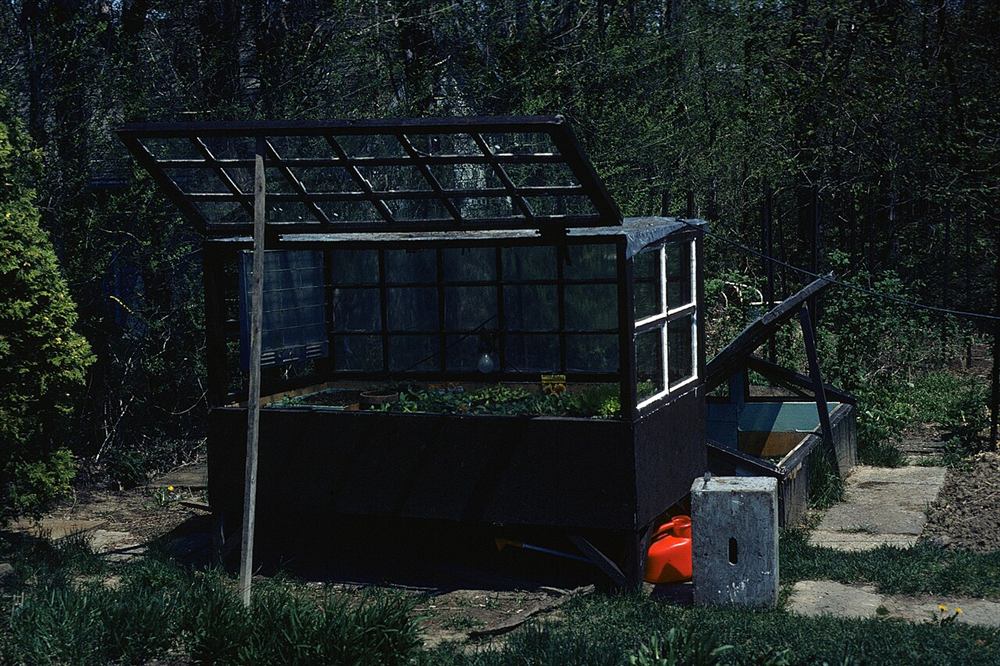
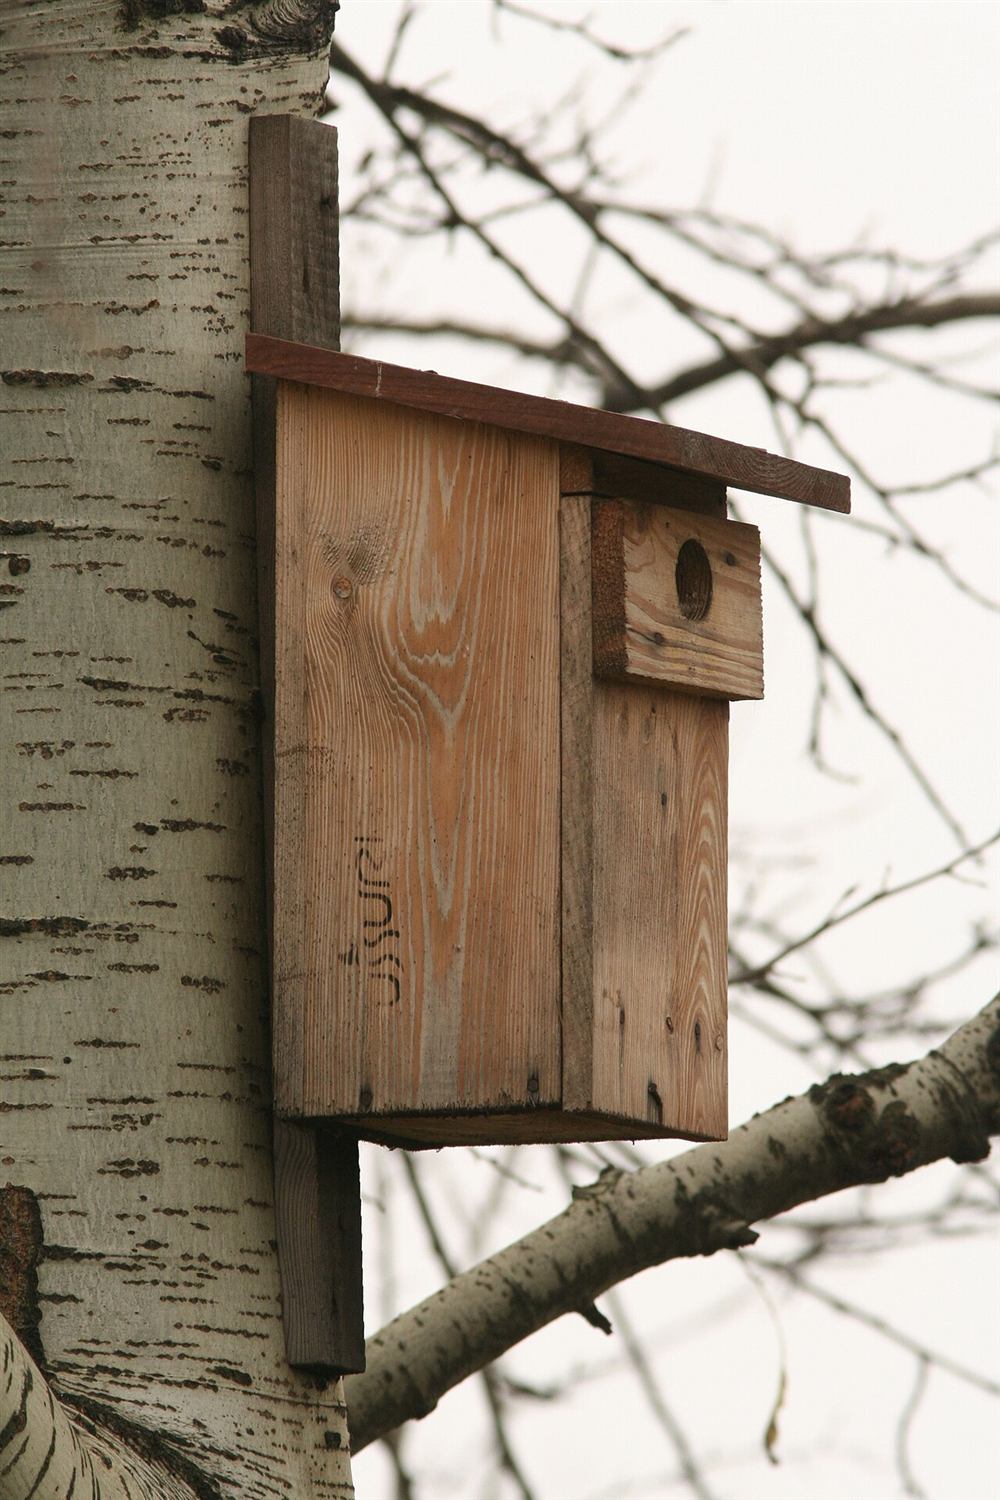
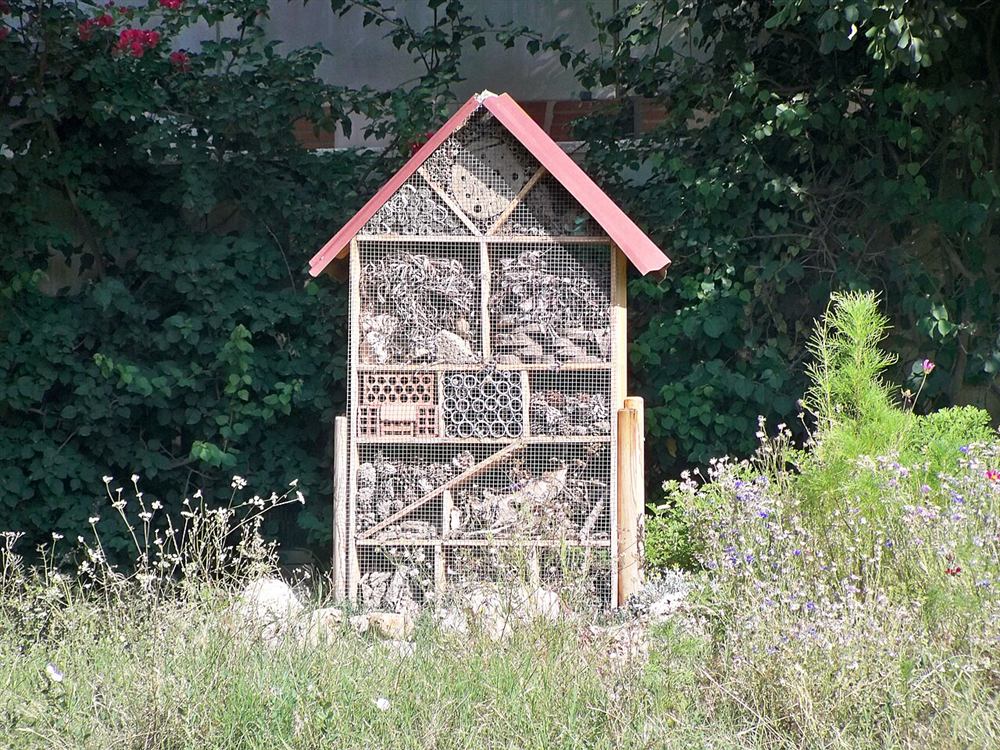
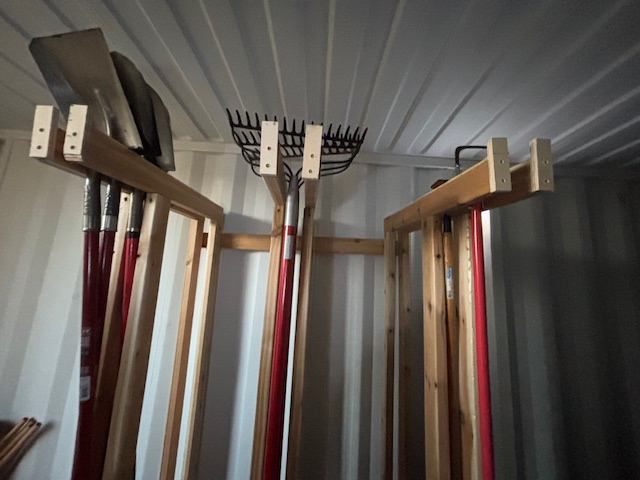
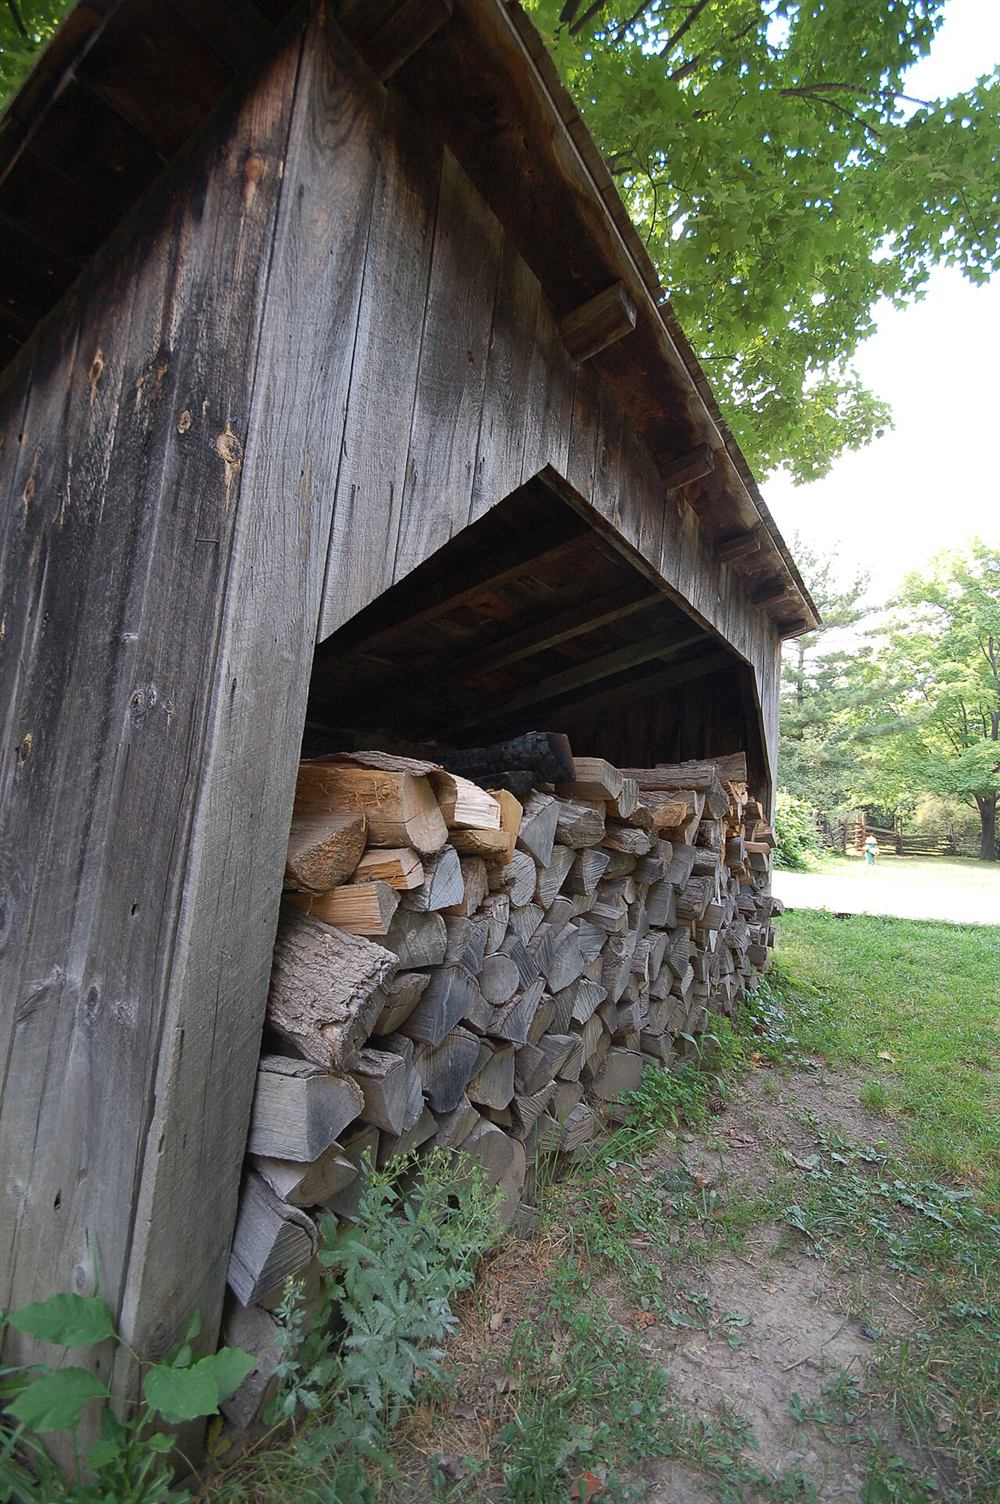
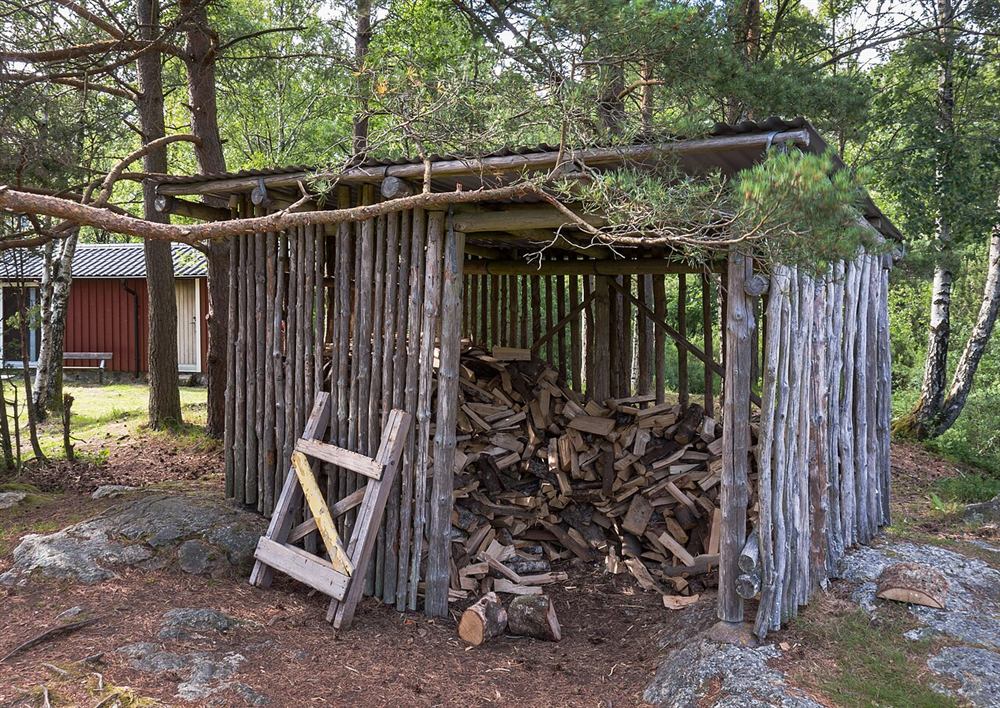
Photos of similar builds by other people, shared under open licenses. They show the idea in practice; the details differ from this guide.
Pick a level spot with good airflow, close enough to the door for winter trips but not against the house. Set paving slabs or blocks under each corner and level them, so the store stands clear of wet ground.
Make a rectangular frame from 2 × 3 in lumber with a cross piece every 16 in (40 cm) or so. Screw slats across it with gaps of about ½ in (1 cm) so air rises through the stack and water drains away.
Screw a post into each corner of the floor frame, with the front posts taller than the back ones so the roof slopes backward. Brace them temporarily and check they are plumb.
Screw rails around the tops of the posts, then fix rafters from front to back, overhanging the front so rain drips clear of the logs. Check the frame for square by measuring the diagonals.
Screw slats across the back and sides with gaps of about an inch (2–3 cm) between them. The gaps are the point: the wood must breathe. Fit a vertical divider or a shelf if you want a separate space for kindling.
Fix your roofing to the rafters following the manufacturer's instructions for overlaps and fixings, so that it overhangs on all sides. A dark roofing sheet also warms the air in the store slightly on sunny days.
Stack split logs bark-side up on the top layer, with the oldest, driest wood where you can reach it first. Leave a little space between the stack and the back slats.
General guidance only. Follow the instructions for your tools and materials and your local rules, and use a qualified professional for electrical, gas and structural work.
A good log store pays for itself in better, cleaner-burning fires. Fill it in spring with next winter's wood, keep the roof sound and the floor clear, and you will always have a dry supply ready when the weather turns.
About this guide: written by the DIY Outdoor Builds editors from general, widely used building and gardening practice. Text and illustration © DIY Outdoor Builds. Photos are by the people credited under each one, used under their licenses. Found an error? Let us know.
Share your photos, measurements and what you changed. Your build gets its own page and helps the next person.