 Guide
Workshops & Garages
A French cleat wall is a set of strips with a 45-degree bevel fixed to the wall. Every tool holder has a matching strip on its back, so it hooks on and can be moved anywhere in seconds. It is the most flexible way to organise a workshop that keeps changing.
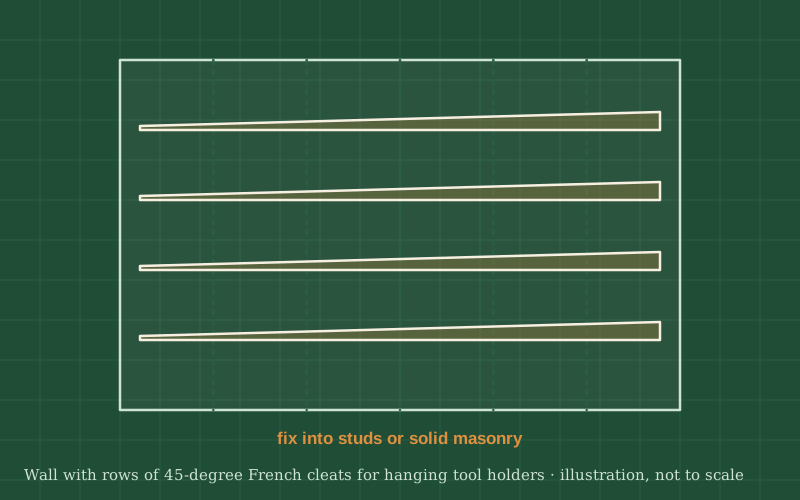
You will rip plywood into strips with one edge bevelled at 45 degrees, mount half of them in rows on the wall with the bevel facing up and toward the wall, and use the other half on the backs of holders. When you hang a holder, its cleat drops into the wall cleat and the bevel pulls it tight against the wall.
Plywood about ¾ in (18 mm) thick makes strong cleats. Space the rows evenly, about 8 to 10 in (20–25 cm) apart, so holders of different sizes fit anywhere.
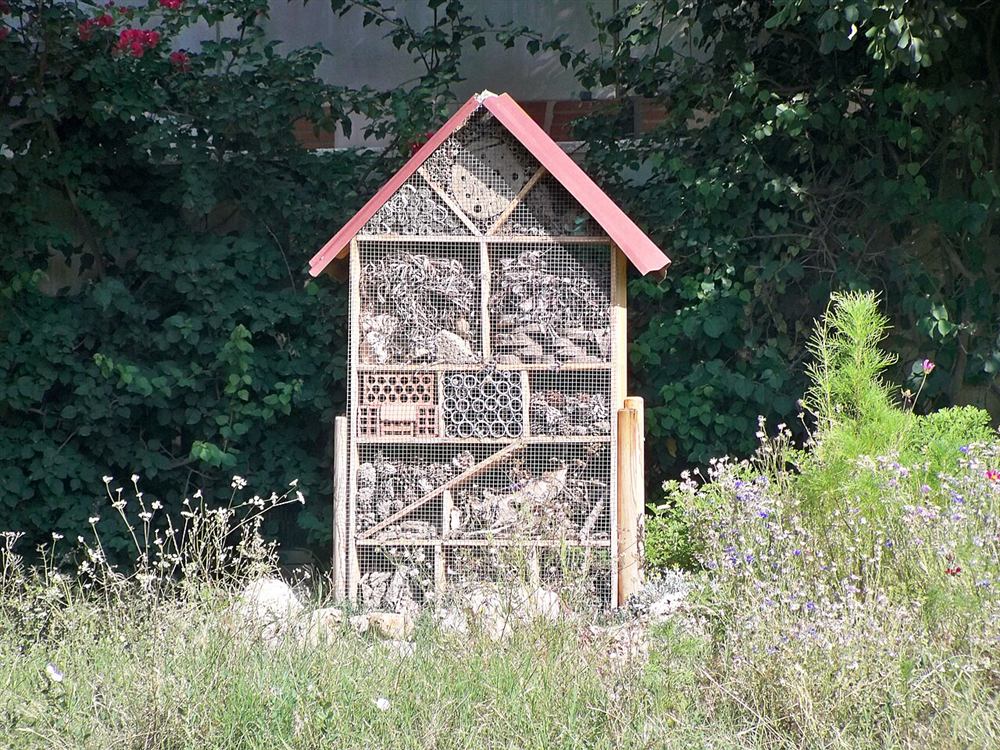
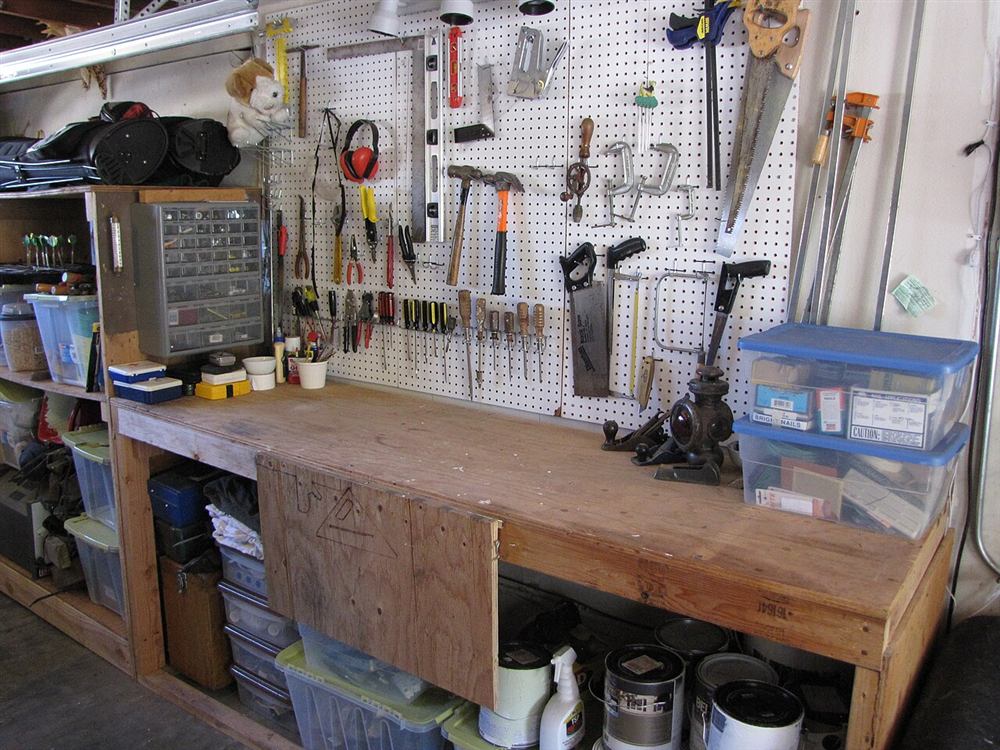
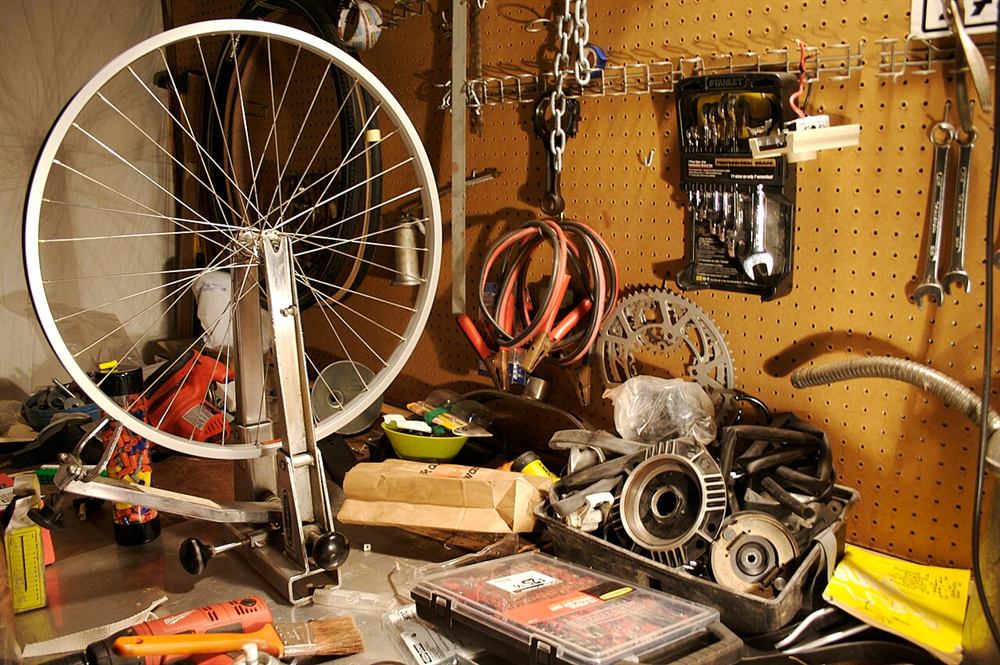
Photos of similar builds by other people, shared under open licenses. They show the idea in practice; the details differ from this guide.
Measure the wall and decide how far up and down the cleats should go, usually from just above bench height to as high as you can reach comfortably. Find the studs or check that the wall is solid masonry, and check for hidden cables and pipes.
Cut the plywood into strips about 3½ to 4 in (90–100 mm) wide, then rip each strip lengthwise at 45 degrees to make two cleats with a bevelled edge. Use a guide or fence and push sticks; keep your hands well clear of the blade.
Mark a level line for the bottom row. Screw the first cleat to the wall with the bevel at the top, sloping down toward the wall, so it forms a pocket. Drive at least one screw into every stud it crosses.
Cut a spacer block to the gap between rows and use it to set each new row exactly parallel to the one below. Check each row with the level before fixing it.
Glue and screw a cleat to the back of each holder with the bevel facing down and toward the wall, so it hooks over the wall cleat. Simple holders are a shelf with a lip, a block with holes for screwdrivers, a pair of pegs for a saw or a box for small parts.
Hang each holder and load it with its tools. Pull down gently on the front edge; a well-made holder stays tight against the wall. Rearrange until the layout matches how you work.
General guidance only. Follow the instructions for your tools and materials and your local rules, and use a qualified professional for electrical, gas and structural work.
Once the cleats are up, the wall keeps getting better: every time you add a tool, you make a holder for it and hang it where it belongs. It is one of the most satisfying upgrades for any garage or shed.
About this guide: written by the DIY Outdoor Builds editors from general, widely used building and gardening practice. Text and illustration © DIY Outdoor Builds. Photos are by the people credited under each one, used under their licenses. Found an error? Let us know.
Share your photos, measurements and what you changed. Your build gets its own page and helps the next person.