 Guide
Indoor Furniture
A bench by the front door gives you somewhere to sit while you pull on boots, and somewhere to put the shoes that otherwise end up in a pile. This one is built from a single sheet of plywood with simple butt joints and screws.
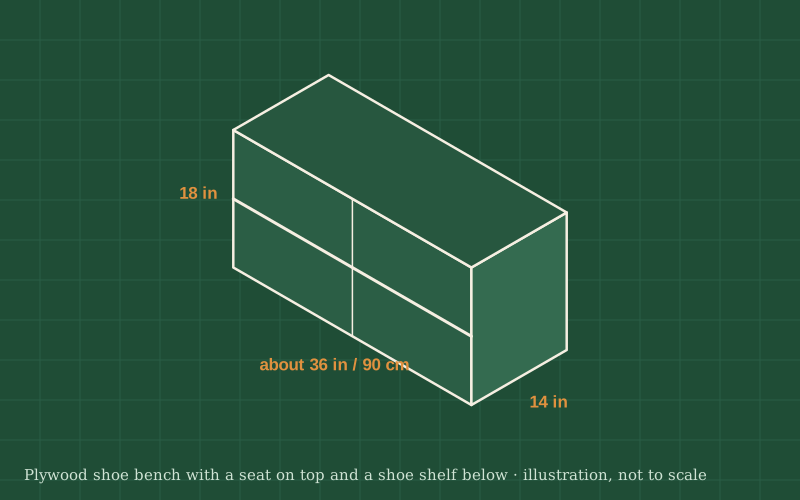
The bench is a box with two sides, a top, a bottom and a fixed shelf in the middle, plus a centre divider. A recess at the bottom of the sides lifts the bench off the floor so it is easy to clean under and air can reach the shoes.
Seat height is about 18 in (45 cm), comfortable for adults. The depth of about 14 in (35 cm) fits most adult shoes. Adjust the length to your hallway; if it gets longer than about 4 ft (1.2 m), add a second divider to support the seat.
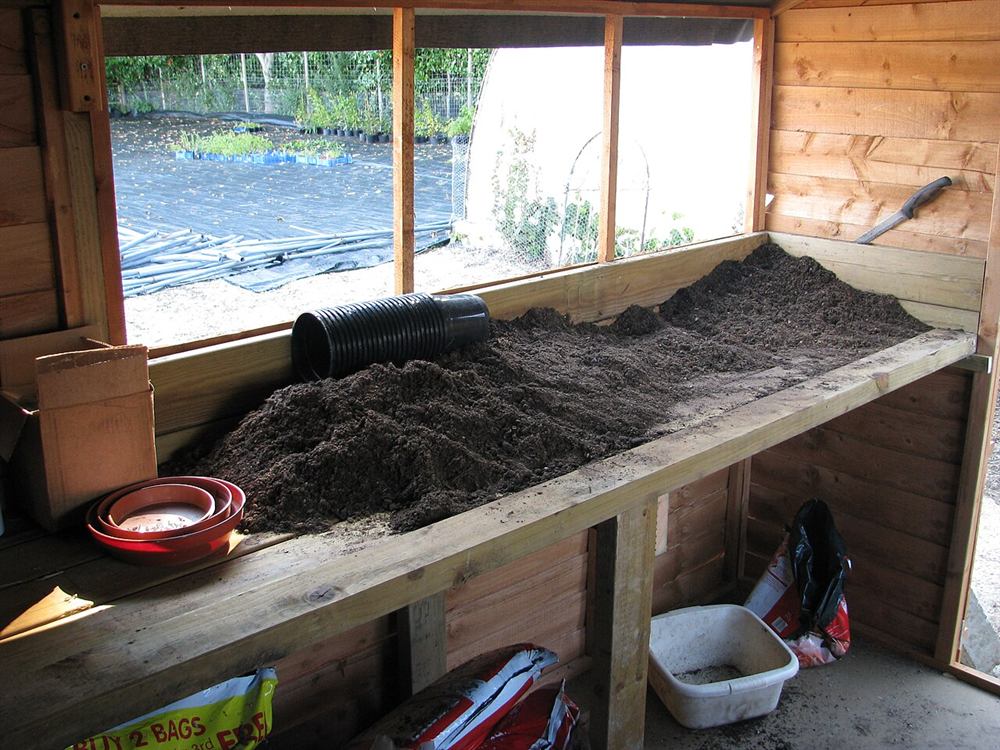
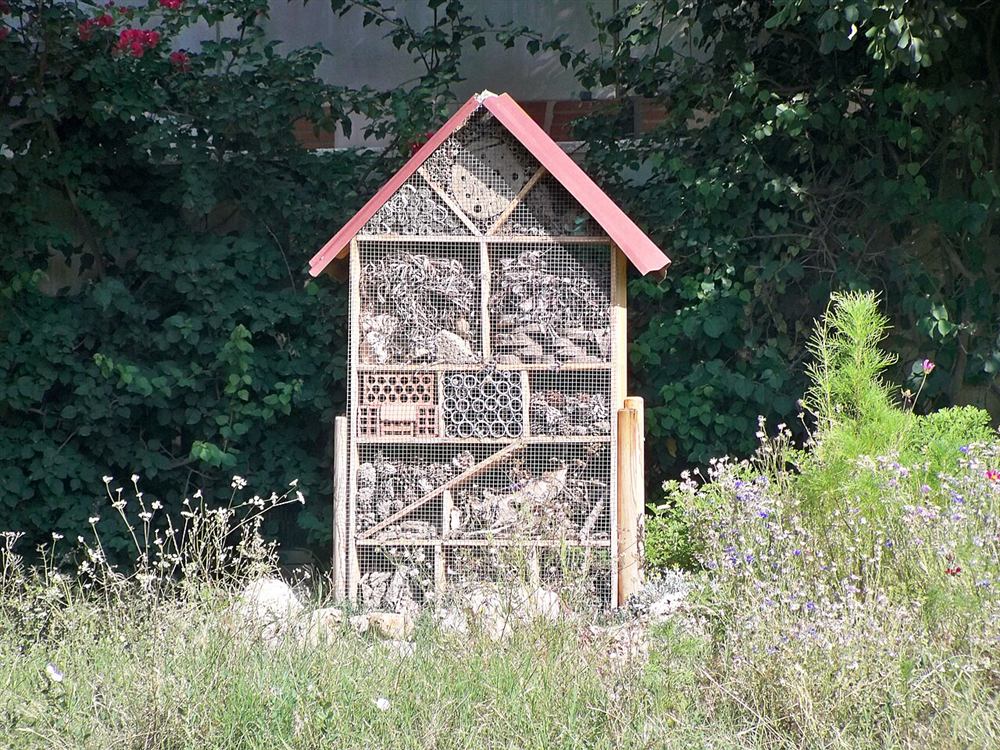
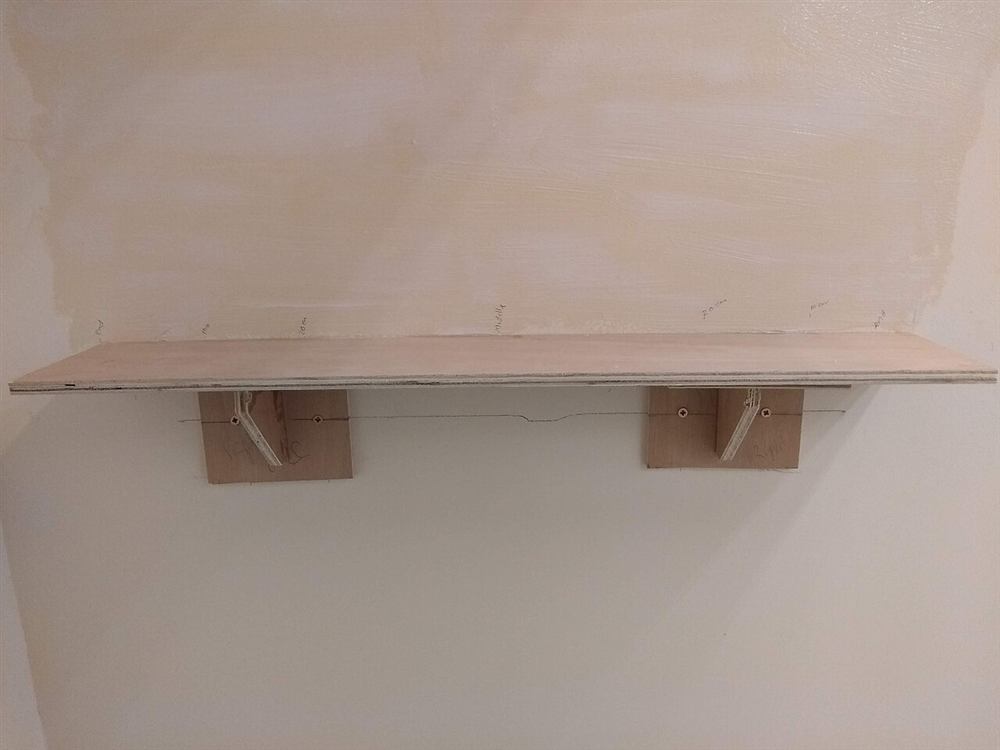
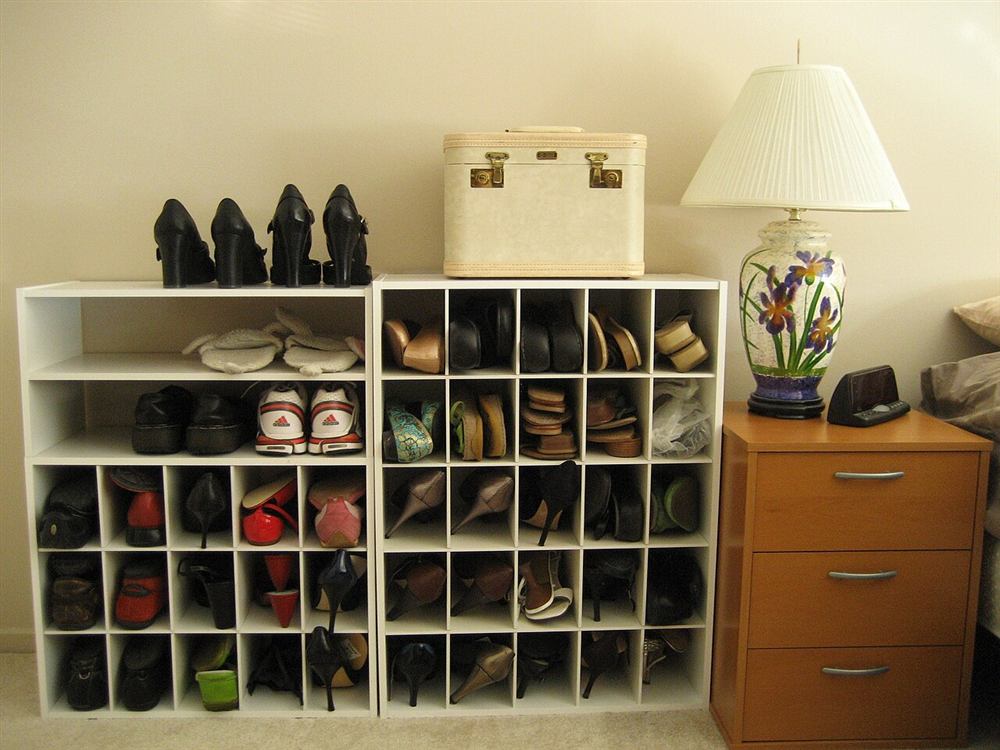
Photos of similar builds by other people, shared under open licenses. They show the idea in practice; the details differ from this guide.
Cut all panels to size, keeping the cuts straight and square; many lumber yards will cut sheet material for you. Mark which edges will show and which face is the better one.
On each side panel, cut a shallow recess about 1 in (25 mm) high along the bottom edge, leaving feet at the front and back. This keeps the bench stable on uneven floors.
Iron edge banding onto every visible plywood edge, trim the overhang with a sharp knife and sand it flush. Doing this before assembly is much easier than afterwards.
Glue and screw the bottom between the sides, then the top over them, drilling pilot holes so the plywood does not split. Clamp and check every corner with a square before the glue sets.
Mark the shelf height so a pair of boots fits under it and shoes above. Glue and screw the shelf between the sides, then fit the divider between bottom and top in the middle to support the seat.
Fill screw holes on visible faces, let the filler dry and sand everything smooth. Apply two or three coats of varnish or paint, sanding lightly between coats; a hard-wearing finish matters on a seat used every day.
Put the bench in place and check that it stands firmly without rocking; adjust with felt pads if the floor is uneven. If you plan to add a tall back or shelves above it later, or if young children may climb on it, fix the bench to the wall with a small bracket screwed into a stud.
General guidance only. Follow the instructions for your tools and materials and your local rules, and use a qualified professional for electrical, gas and structural work.
A shoe bench keeps the hallway tidy and makes mornings easier for everyone. Once you are comfortable with the plywood box method, the same approach works for bookcases, toy boxes and storage units.
About this guide: written by the DIY Outdoor Builds editors from general, widely used building and gardening practice. Text and illustration © DIY Outdoor Builds. Photos are by the people credited under each one, used under their licenses. Found an error? Let us know.
Share your photos, measurements and what you changed. Your build gets its own page and helps the next person.