 Guide
Indoor Furniture
Shelves are one of the most useful things you can build, and one of the easiest to get wrong: a shelf that sags, tilts or pulls out of the wall. The secret is in the fixing, not the board. This guide covers how to fix shelves securely into the wall you have.
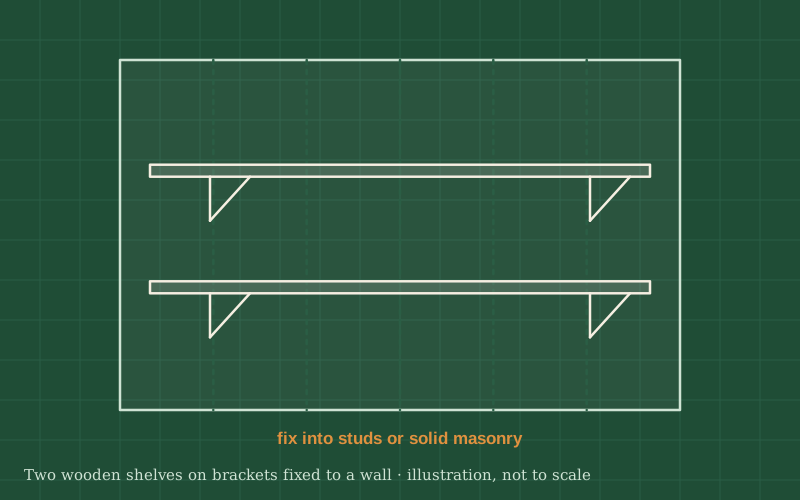
You will find what the wall is made of and where its strong points are, choose brackets and fixings to match, mark a level line and hang the brackets, then fit and finish the shelf boards.
How much a shelf can hold depends on the bracket, the fixings and the wall, not on a general rule. Check the load rating printed on your brackets and wall plugs and stay well below it. For heavy loads like books, fix into wall studs or solid masonry rather than relying on plugs in plasterboard alone.
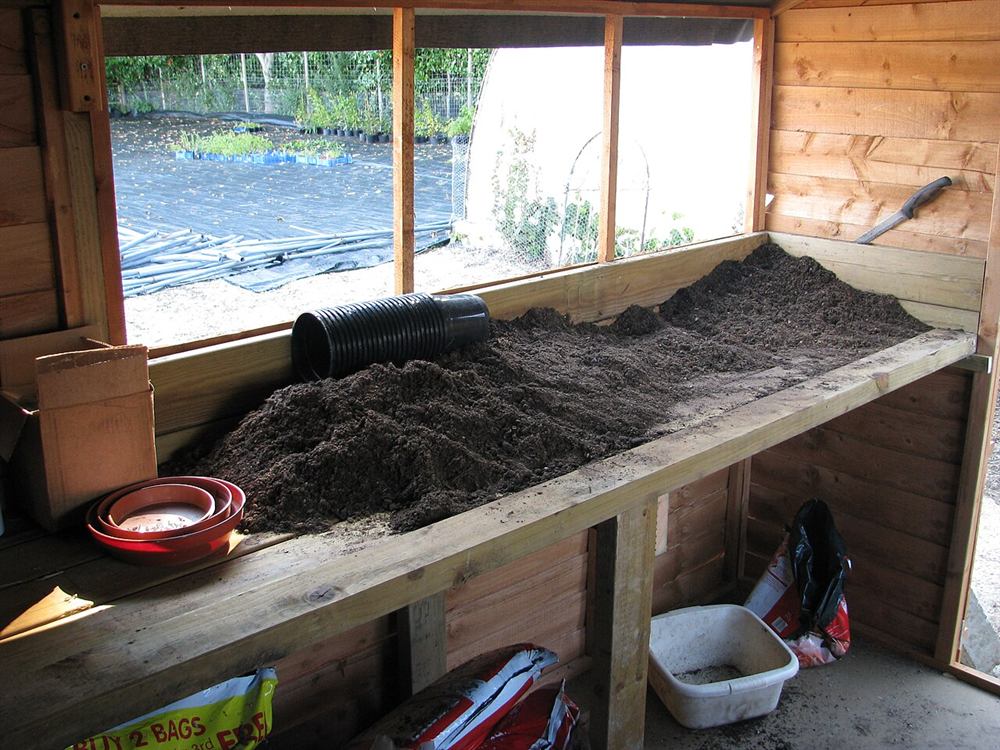
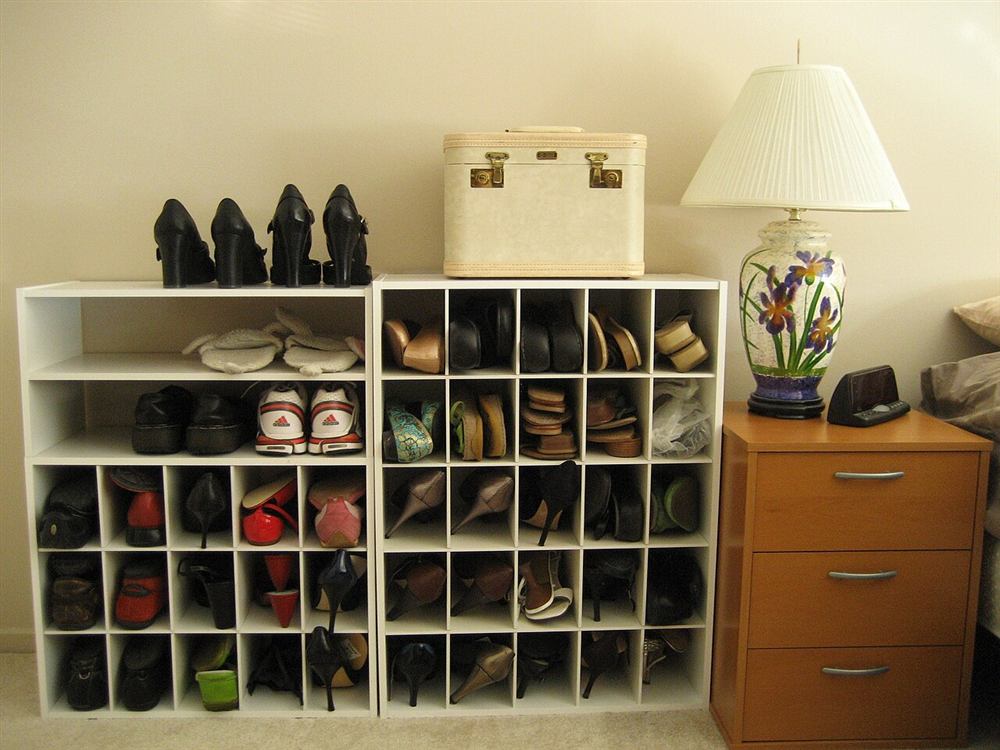
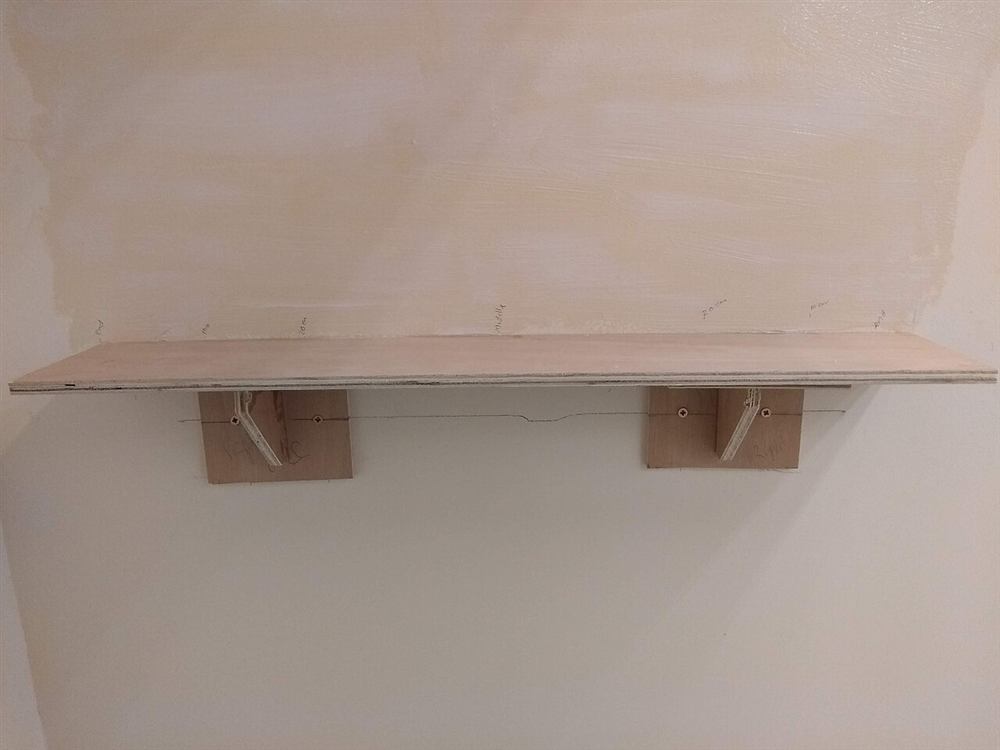
Photos of similar builds by other people, shared under open licenses. They show the idea in practice; the details differ from this guide.
Knock on the wall and drill a tiny test hole in a spot that will be hidden. Hollow plasterboard sounds and drills differently from brick or concrete. The wall type decides which fixings you need.
On stud walls, use a stud finder to locate the wooden or metal studs, typically at regular spacing, and mark them. Use a detector to check for cables and pipes too, and avoid drilling directly above, below or beside sockets and switches, where cables often run.
Decide the shelf height and draw a level pencil line along the wall. Mark the bracket positions on the line, ideally on studs, and not more than about a quarter of the shelf length in from each end so the ends do not droop.
Drill pilot holes into studs, or holes sized for the wall plugs in masonry, and screw each bracket to the wall. Check the first bracket is plumb, fix it, then use the level across to set the second.
Cut the boards to length, sand the faces and edges and apply your finish before fitting; it is much easier than finishing on the wall. Let the finish dry completely.
Lay each board on its brackets, check it with the level and fix it from below with short screws through the bracket holes so it cannot slide or tip.
General guidance only. Follow the instructions for your tools and materials and your local rules, and use a qualified professional for electrical, gas and structural work.
Shelves that are fixed properly into the wall stay level for decades. Once you have the method down, the same steps work for a single picture ledge, a full wall of bookshelves or a row of shelves in the garage.
About this guide: written by the DIY Outdoor Builds editors from general, widely used building and gardening practice. Text and illustration © DIY Outdoor Builds. Photos are by the people credited under each one, used under their licenses. Found an error? Let us know.
Share your photos, measurements and what you changed. Your build gets its own page and helps the next person.