 Guide
Outdoor Furniture
A backless bench is the perfect first outdoor furniture project. It uses only straight cuts, a handful of 2×4 boards and screws, and the result is solid enough to sit on for years: along a path, at a picnic table or by the vegetable beds.
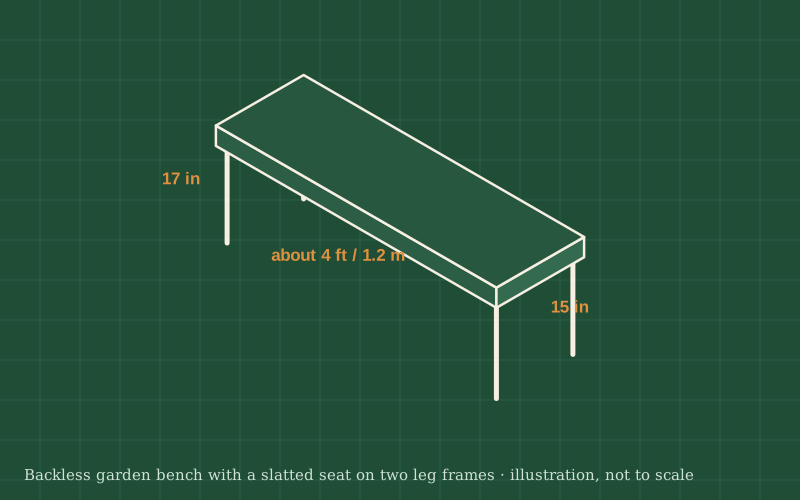
The bench has two leg frames, each made of two legs joined by top and bottom rails, connected by a long stretcher near the ground. Three or four 2×4 boards laid flat form the seat.
A seat height of about 17 to 18 in (43–46 cm) suits most adults, the same as a typical dining chair. The length can change easily: for anything longer than about 5 ft (1.5 m), add a third leg frame in the middle so the seat boards do not bend.
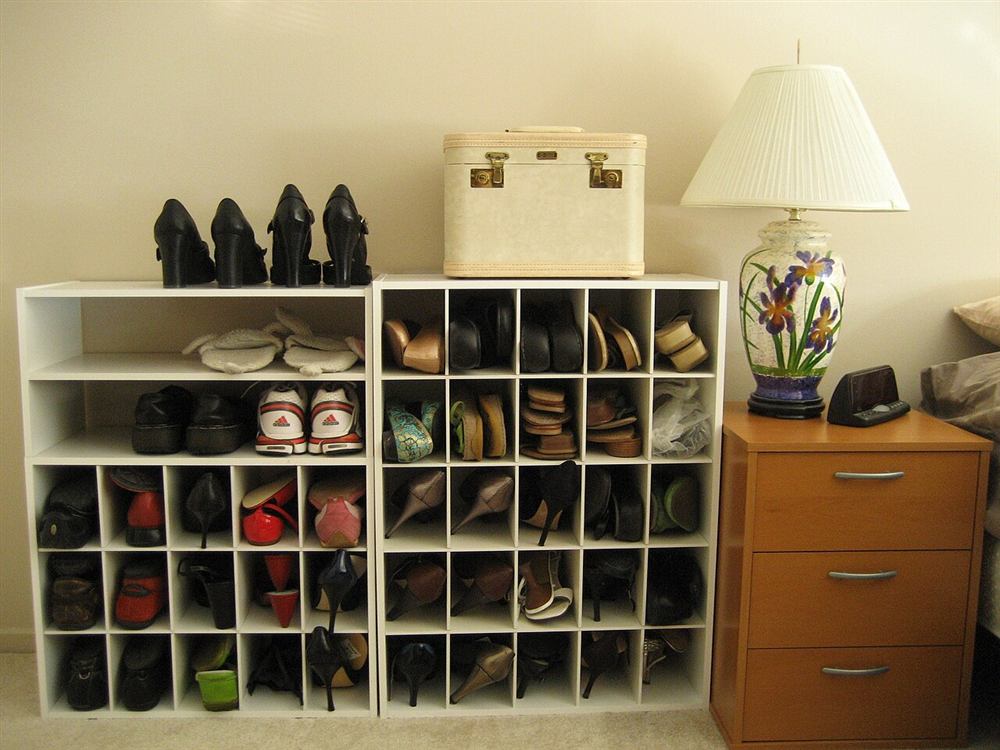
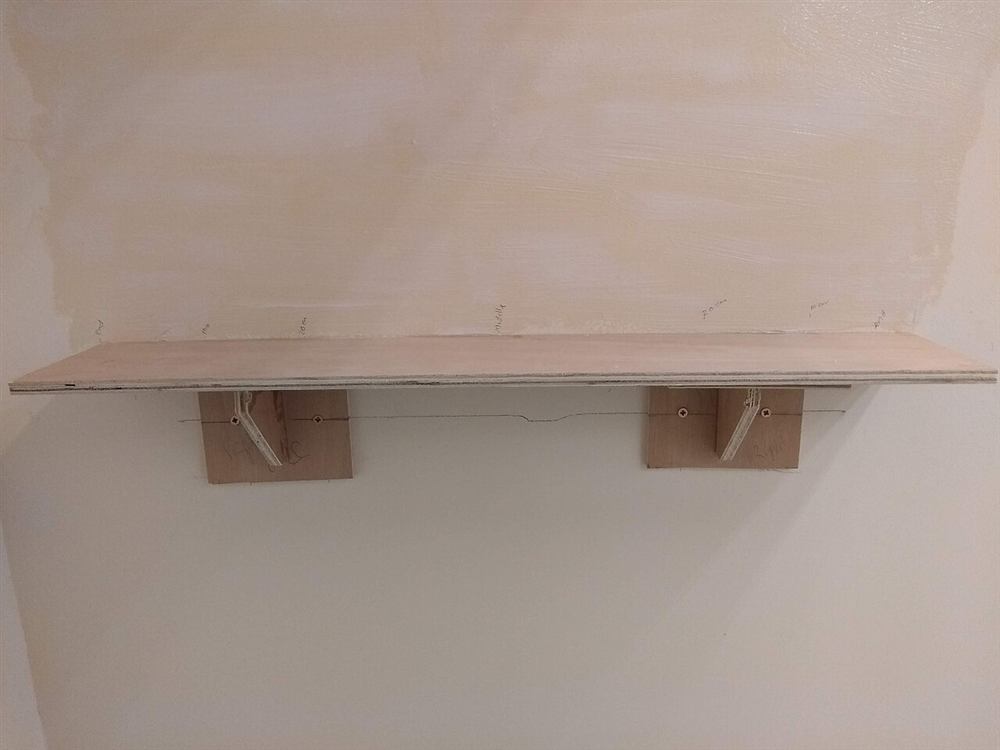
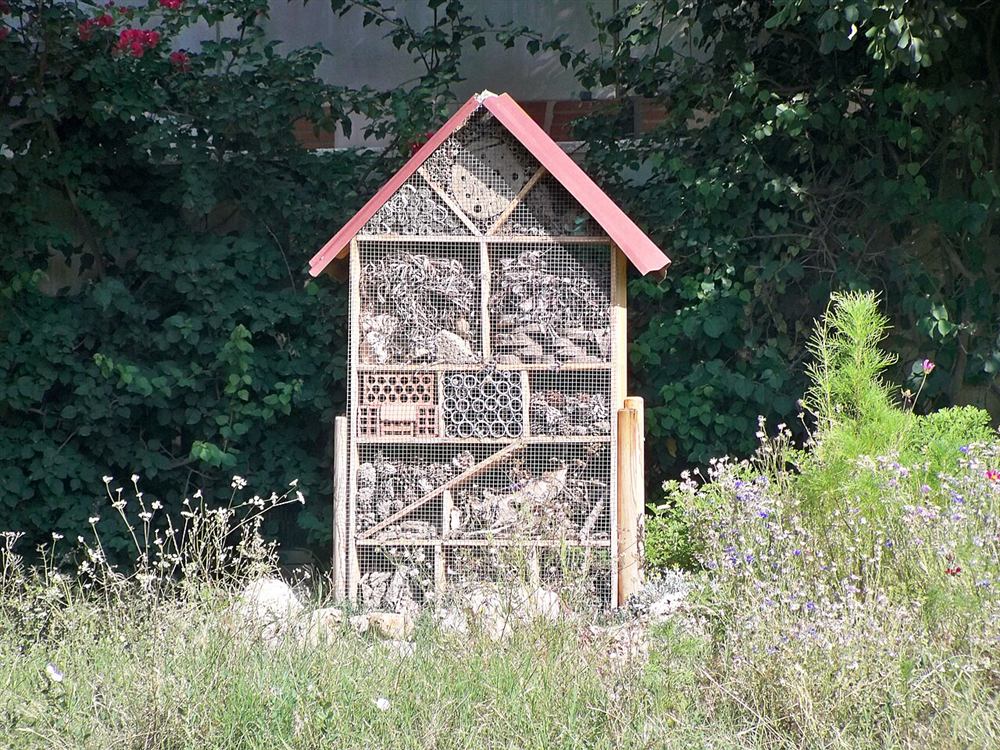
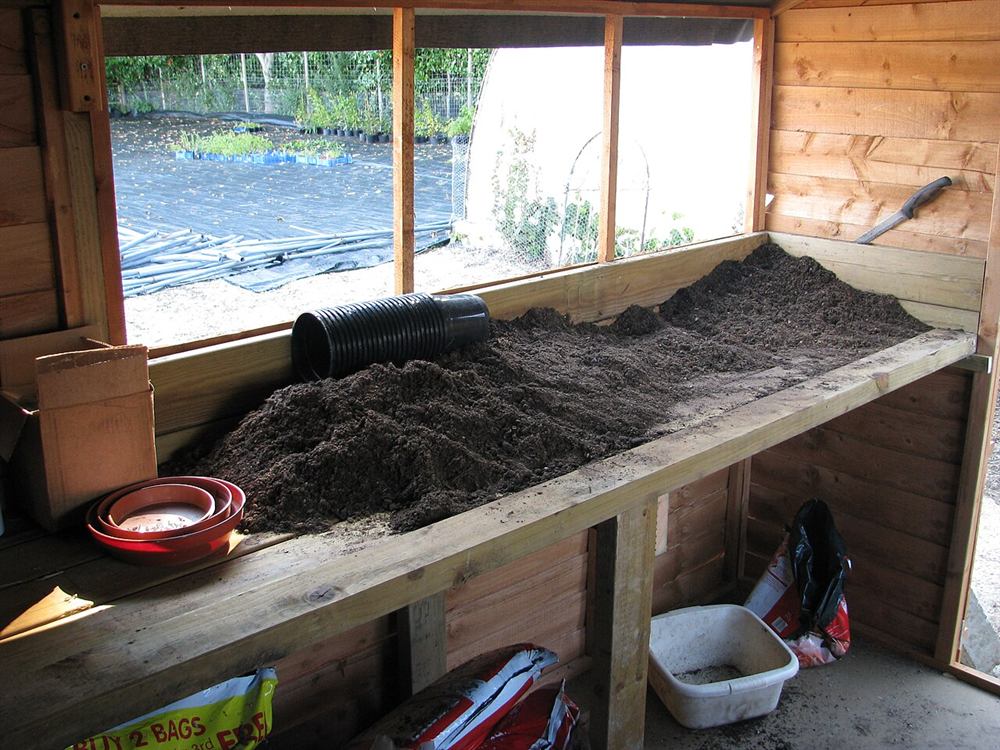
Photos of similar builds by other people, shared under open licenses. They show the idea in practice; the details differ from this guide.

Cut four legs to the seat height minus the thickness of a 2×4 laid flat (about 1½ in or 38 mm). Cut four short rails the depth of the seat, about 14 in (36 cm). Cut one stretcher a little shorter than the seat, and three or four seat boards to the full bench length.
For each frame, lay two legs on a flat surface and fix a rail across their tops and another a few inches above the bottom. Glue and screw through pilot holes, two screws per joint. Check each frame with a square before the glue sets.
Stand the frames up, set them a little in from the ends of the bench length, and screw the stretcher between the lower rails. The stretcher keeps the legs from spreading and the bench from wobbling.
Lay the seat boards across the top rails with small, even gaps of about ¼ in (6 mm) so rainwater drains. Let them overhang the frames equally at both ends. Screw each board down with two countersunk screws into each top rail.
Sand all edges and corners, especially the front edge of the seat and the ends, so there are no splinters. A slightly rounded edge is much more comfortable to sit on and holds finish better.
Apply an exterior oil, stain or paint, paying extra attention to the end grain at the bottom of the legs, which soaks up water. Let it dry fully before using the bench.
General guidance only. Follow the instructions for your tools and materials and your local rules, and use a qualified professional for electrical, gas and structural work.
Once you have built one bench, it is easy to make a matching pair or a longer version for a picnic table. Re-oil it every spring, tighten any screws that work loose, and it will be in the garden for a long time.
About this guide: written by the DIY Outdoor Builds editors from general, widely used building and gardening practice. Text and illustration © DIY Outdoor Builds. Photos are by the people credited under each one, used under their licenses. Found an error? Let us know.
Share your photos, measurements and what you changed. Your build gets its own page and helps the next person.