 Guide
Outdoor Furniture
Potting up seedlings on the ground or a garden table is hard on the back and messy. A potting bench gives you a work surface at the right height, somewhere to keep compost and pots underneath and a rail for the tools you always need.
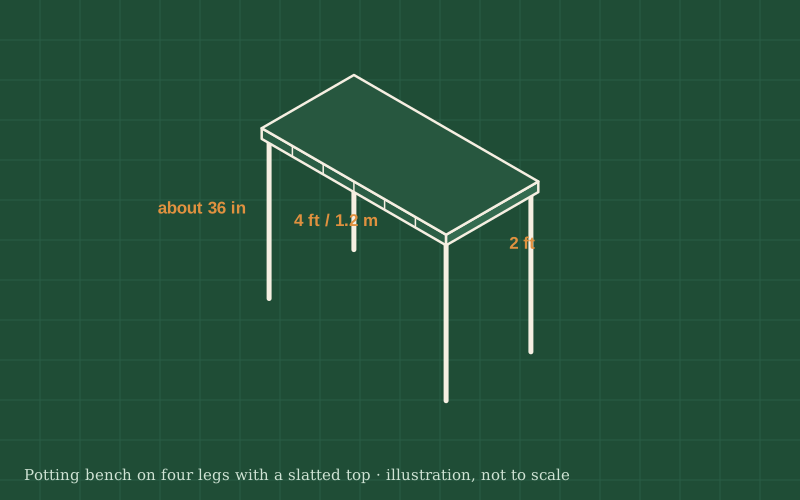
The bench is a sturdy frame of four legs with two levels: a slatted top at working height and a slatted shelf near the ground. A rail across the back of the top stops soil and pots sliding off and holds hooks for trowels and scissors.
A good working height for standing work is roughly where your hands rest with elbows bent, often around 36 in (90 cm). Measure yourself before cutting the legs: the right height makes far more difference than any other detail.
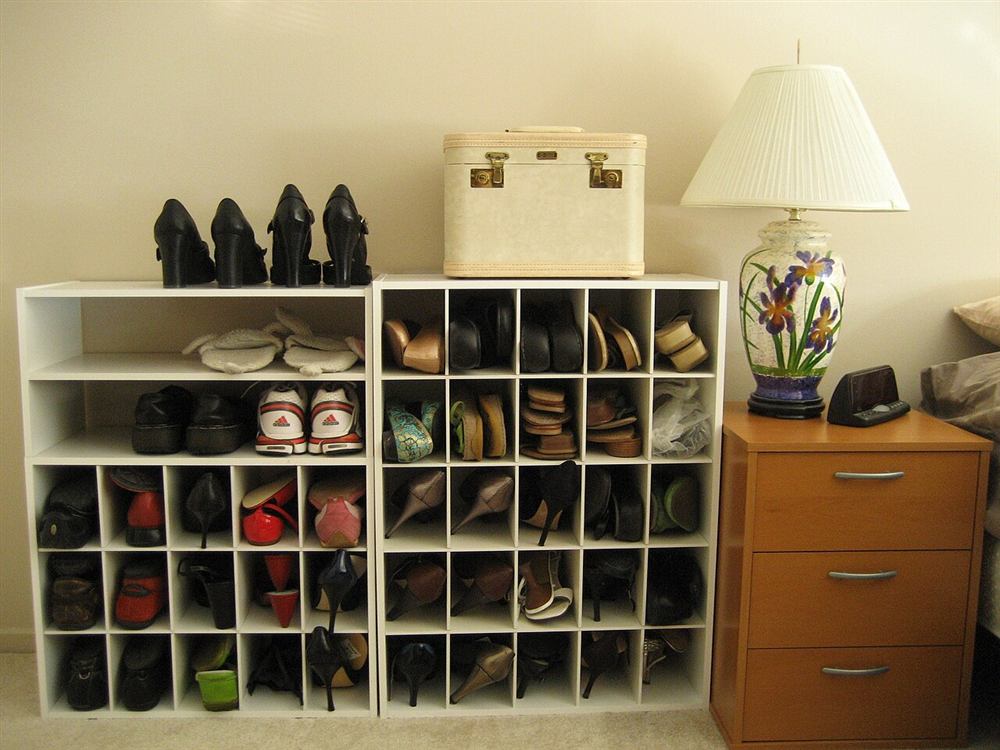
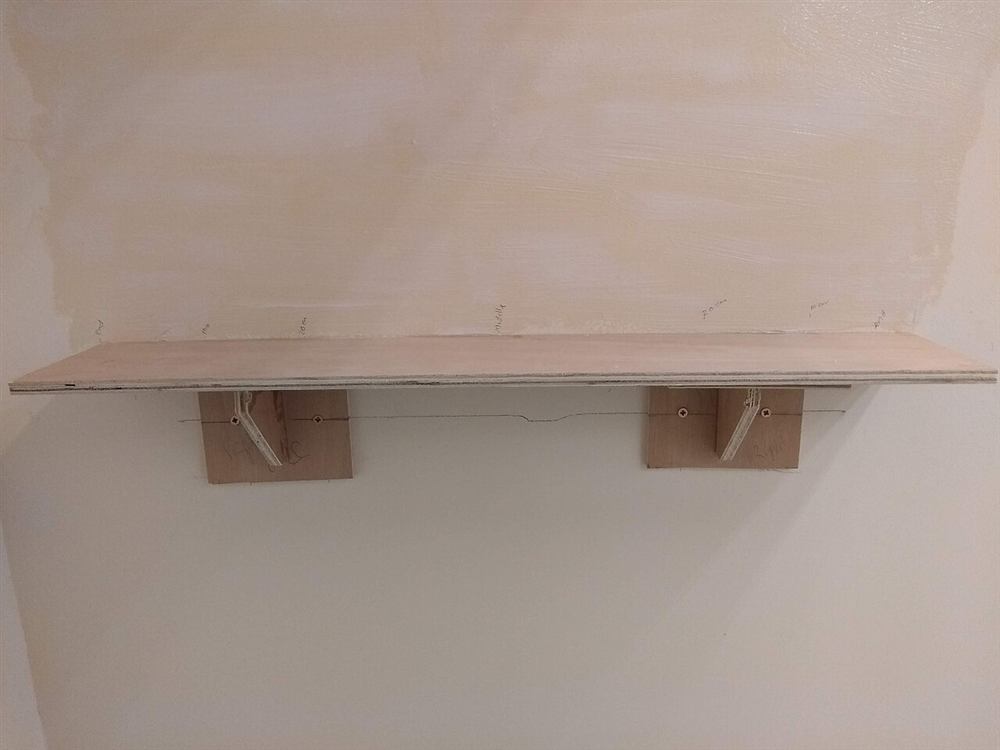
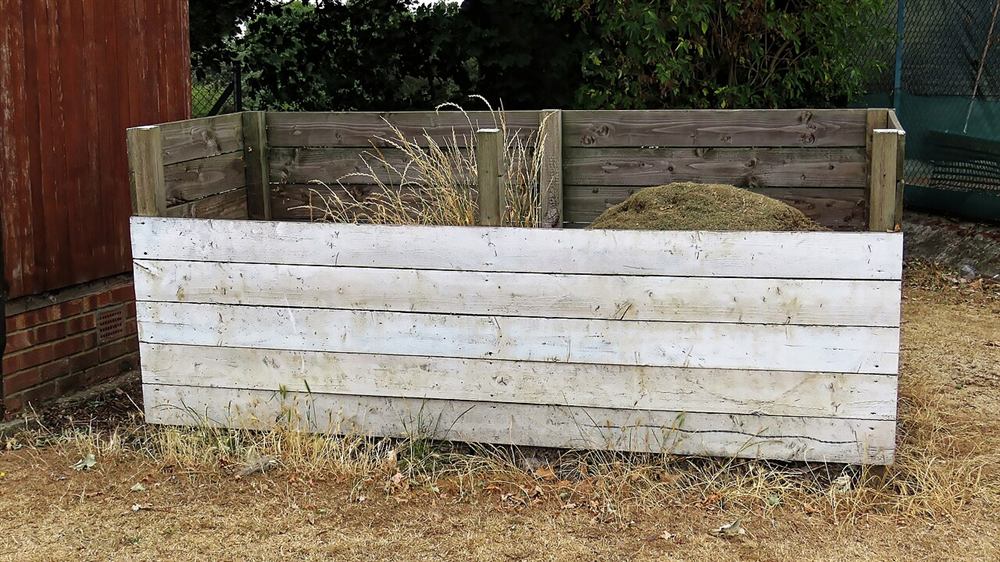
Photos of similar builds by other people, shared under open licenses. They show the idea in practice; the details differ from this guide.
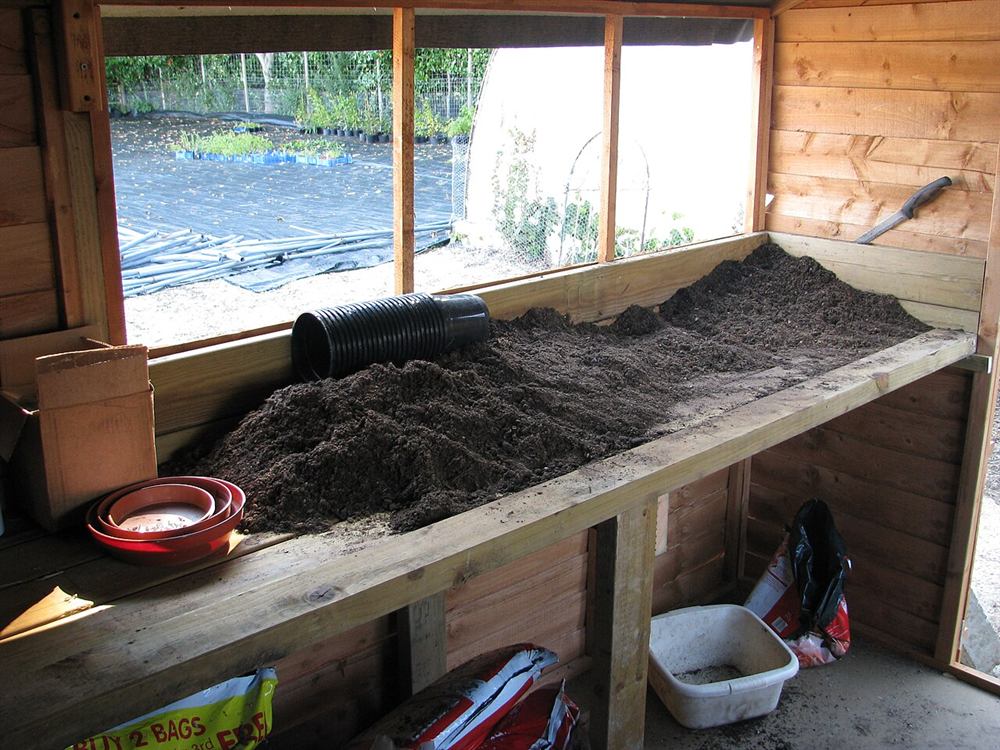
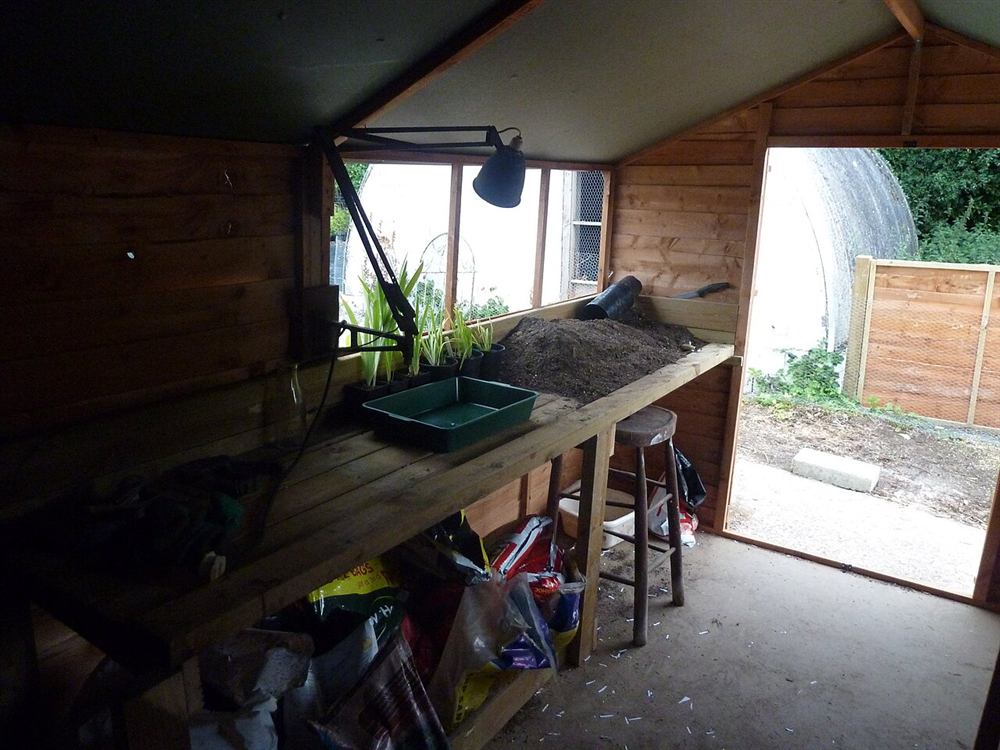
Stand straight with your arms relaxed and elbows bent to about 90 degrees, and measure from the ground to just below your hands. That is roughly the height of the finished top. Subtract the thickness of the top boards to get the leg length.
For each end, join two legs with a short rail at the top and another about 8 in (20 cm) above the ground for the shelf. Screw through pilot holes and check the frames are square.
Stand the end frames up and join them with long rails front and back at both levels. You now have a rigid box frame with support for the top and the shelf. Check that the top rails are level.
Screw the top boards across the frame with gaps of about ¼ in (6 mm) so spilled soil and water fall through. Let the top overhang the front a little; it is more comfortable to work at.
Screw boards across the lower rails in the same way. The shelf will carry heavy bags of compost, so add a centre support if the span is more than about 3 ft (90 cm).
Screw the wide board upright along the back of the top so it stands a few inches higher. Fit hooks along it for hand tools, and finish the whole bench with exterior oil or stain.
Move the bench to its spot and check the top with a level from side to side and front to back. On uneven paving or soil, put a flat paver or a small offcut of treated wood under the short legs rather than cutting them, so you can adjust it again later if the ground settles.
General guidance only. Follow the instructions for your tools and materials and your local rules, and use a qualified professional for electrical, gas and structural work.
A potting bench quickly becomes the busiest spot in the garden in spring. Keep a brush on a hook to sweep the top after each session, re-oil the wood each year, and it will stay a pleasant place to work.
About this guide: written by the DIY Outdoor Builds editors from general, widely used building and gardening practice. Text and illustration © DIY Outdoor Builds. Photos are by the people credited under each one, used under their licenses. Found an error? Let us know.
Share your photos, measurements and what you changed. Your build gets its own page and helps the next person.