 Guide
Workshops & Garages
Every project gets easier with a solid bench to work on: cutting, gluing, assembling and repairing. This bench uses only 2×4s, a sheet of plywood and screws, and it is heavy and rigid enough not to wobble when you saw or hammer on it.
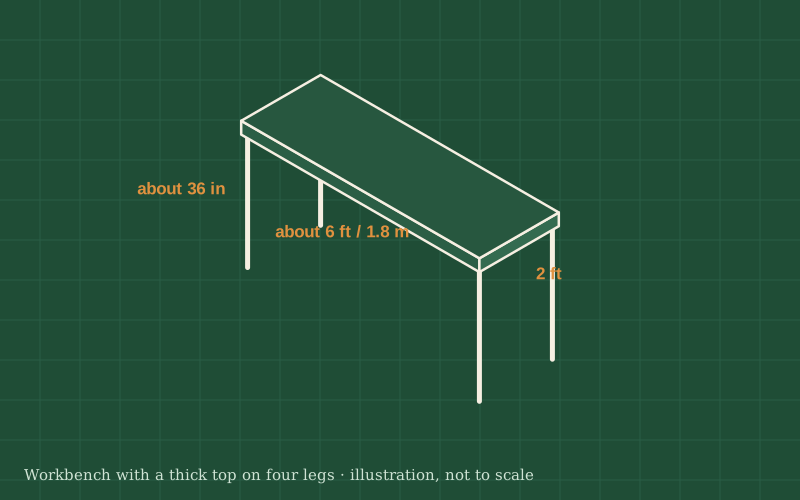
The bench has two rectangular frames, one for the top and one for a lower shelf, joined by four legs. The top is two layers of plywood glued and screwed together for stiffness and flatness; a hardboard layer on top can be replaced when it gets worn.
The right height depends on you and the work. For general work, a common guide is around the height of your wrist when your arms hang at your sides; for fine work, a little higher. Measure yourself before cutting the legs.
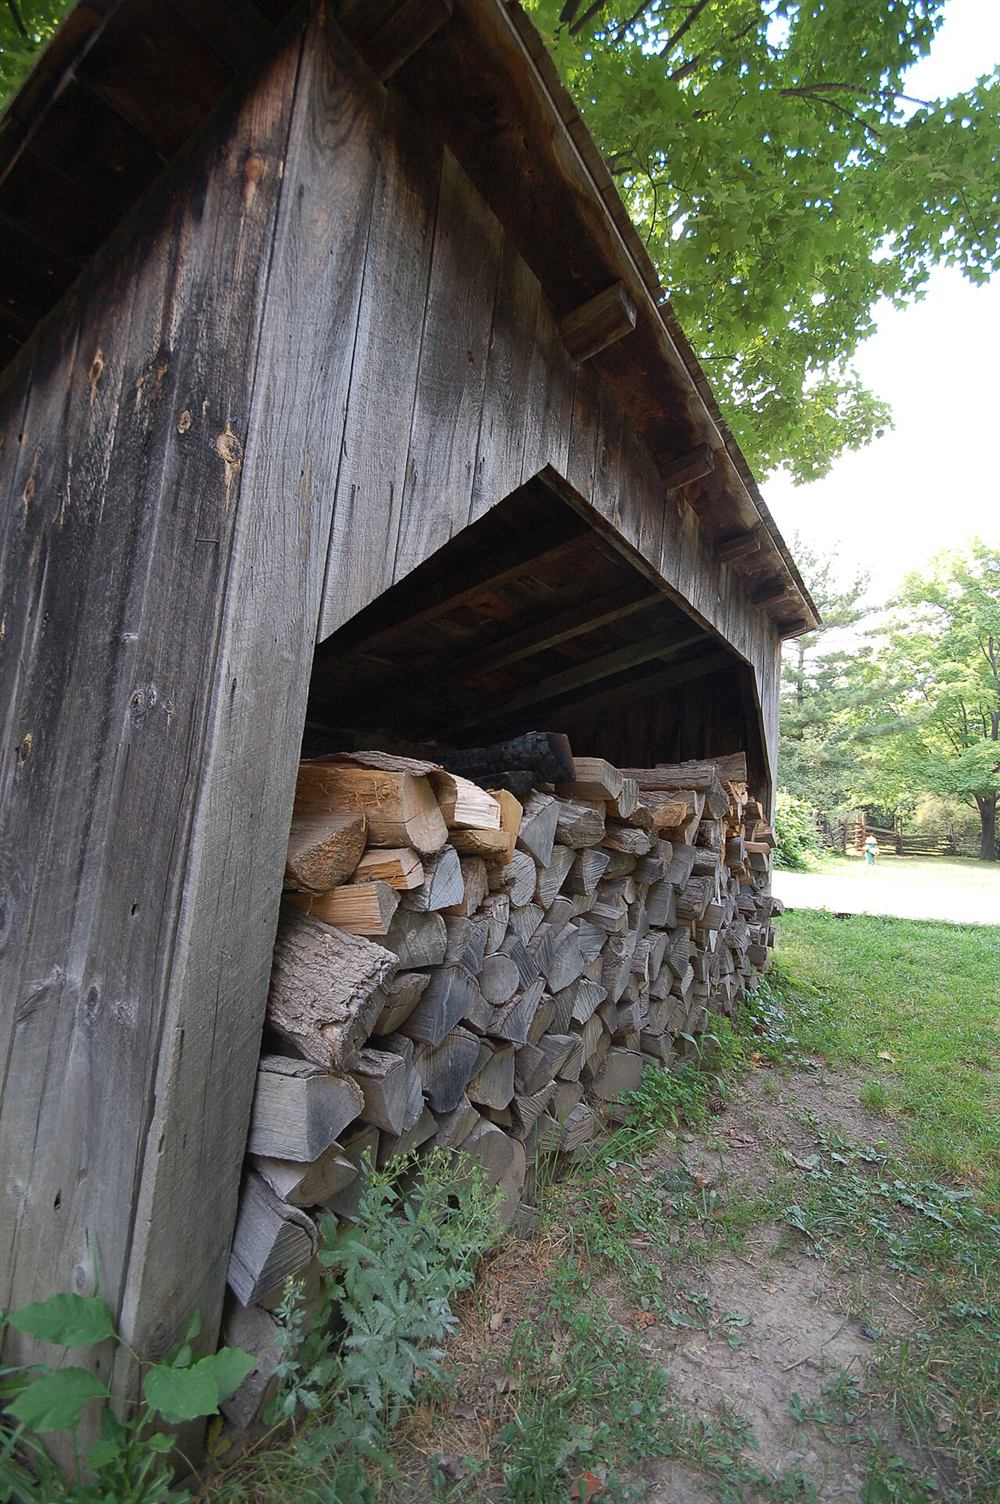
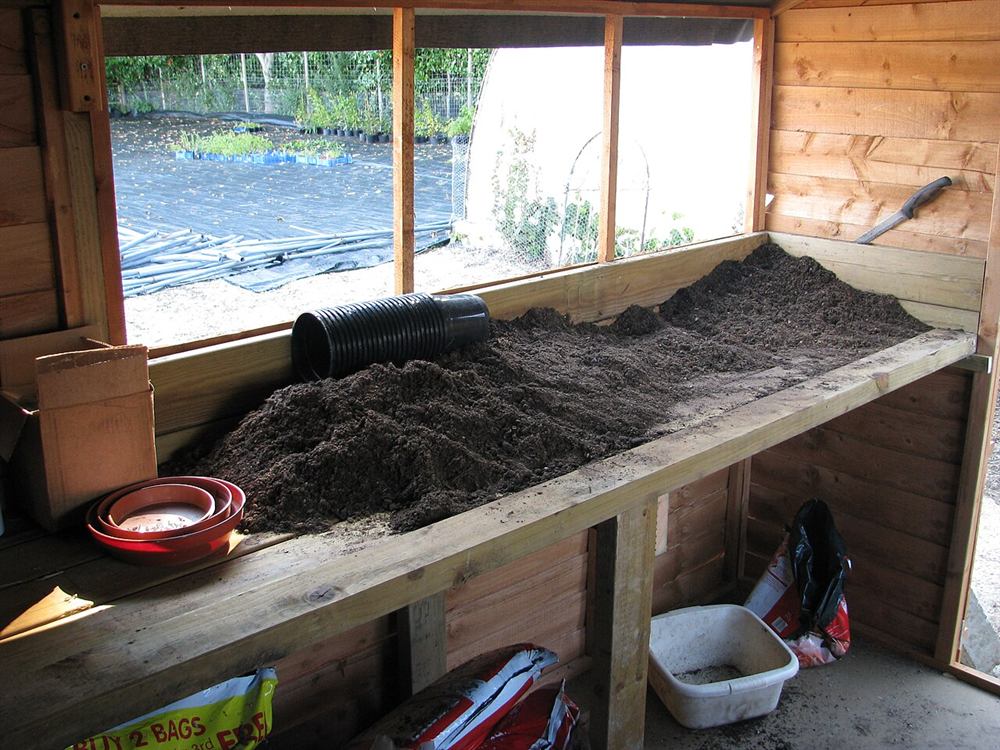
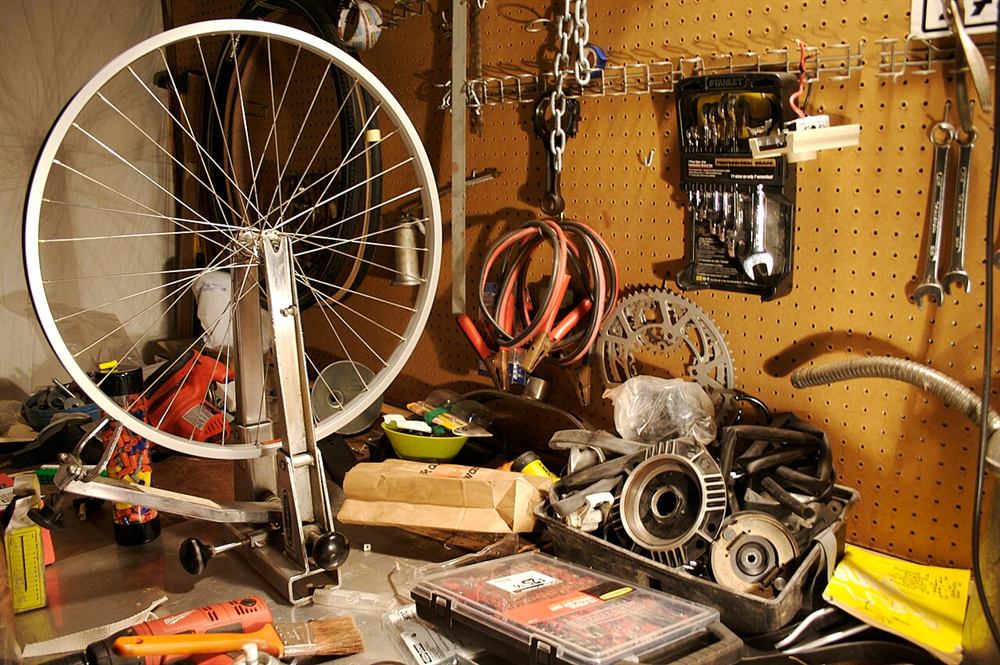
Photos of similar builds by other people, shared under open licenses. They show the idea in practice; the details differ from this guide.
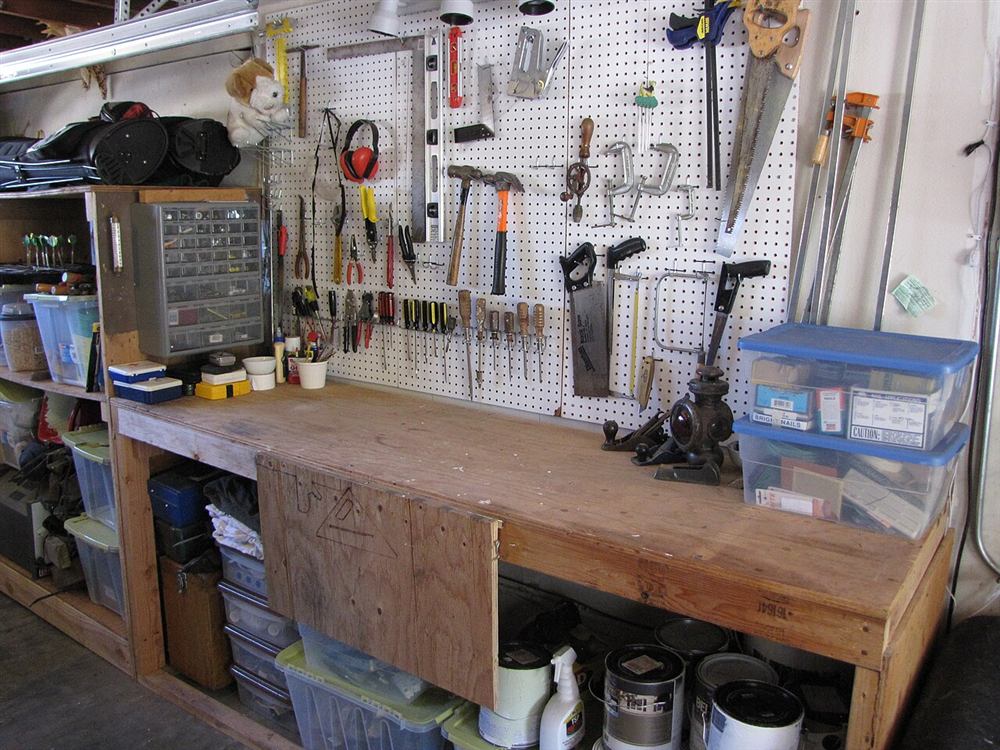
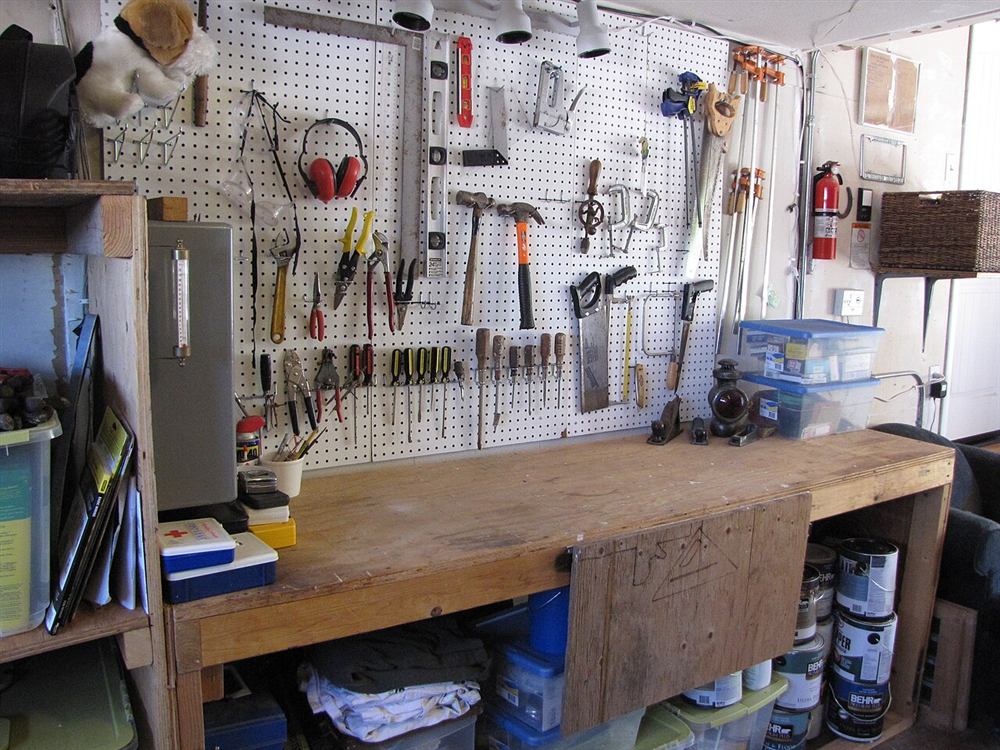
Measure your working height and subtract the thickness of the top to get the leg length. Cut four legs, plus the long and short rails for two identical frames: the frame length and depth are the top size minus a small overhang.
Screw each frame together on a flat floor: two long rails and two short ends, with one or two cross pieces in between. Glue and use two screws per joint, and check that each frame is square by measuring the diagonals.
Stand the top frame upside down on the floor and screw a leg into each inside corner. Slide the shelf frame over the legs to about 8 to 12 in (20–30 cm) from their ends and screw it in place, keeping it level. Turn the bench upright.
Glue and screw the first plywood layer to the top frame. For a stiffer, flatter top, glue a second layer on top with screws from below, so no screw heads are in the work surface. Add a hardboard sheet if you want a replaceable surface.
Cut plywood for the lower shelf, notching the corners around the legs, and screw it to the shelf frame. The shelf adds weight low down, which makes the bench steadier.
Check the top is level and that the bench does not rock; shim a leg if the floor is uneven. Ease the sharp edges with sandpaper, and seal the top with a coat of oil or varnish so glue and paint spills wipe off.
General guidance only. Follow the instructions for your tools and materials and your local rules, and use a qualified professional for electrical, gas and structural work.
A good bench is the start of every other project. Add a vise, a tool rack on the wall behind it and good lighting, and you have a proper workshop corner that will serve you for years.
About this guide: written by the DIY Outdoor Builds editors from general, widely used building and gardening practice. Text and illustration © DIY Outdoor Builds. Photos are by the people credited under each one, used under their licenses. Found an error? Let us know.
Share your photos, measurements and what you changed. Your build gets its own page and helps the next person.