 Guide
Patios & Paths
Gravel paths are quick to build, drain well and crunch pleasantly underfoot. They only stay neat if the gravel is held in by edging and sits on a firm base, otherwise it spreads into the lawn and ruts form. This guide builds it properly in a weekend.
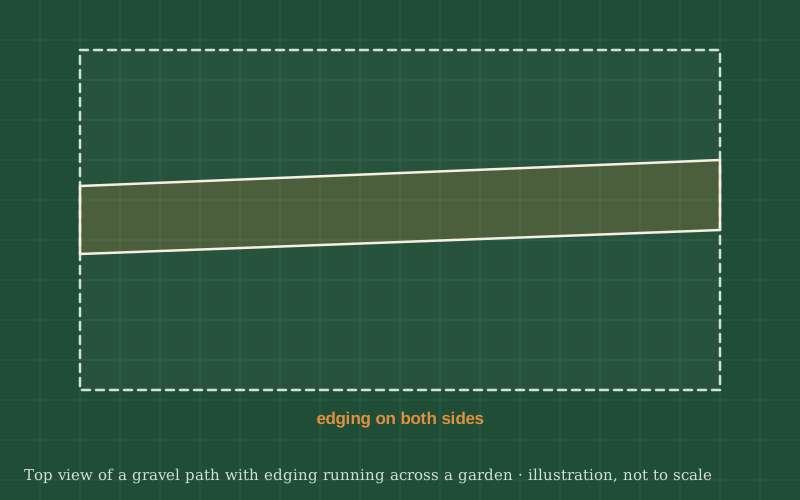
You will dig out the path to a few inches deep, fix edging along both sides, lay and compact a base of crushed stone, cover it with landscape fabric and finish with a layer of decorative gravel. The base gives a firm surface; the fabric keeps the gravel from mixing into the base and slows weeds.
Angular crushed gravel locks together and is easier to walk on and push a wheelbarrow over than round pea gravel, which rolls underfoot. A width of about 3 ft (90 cm) suits one person; make it wider where people walk side by side.
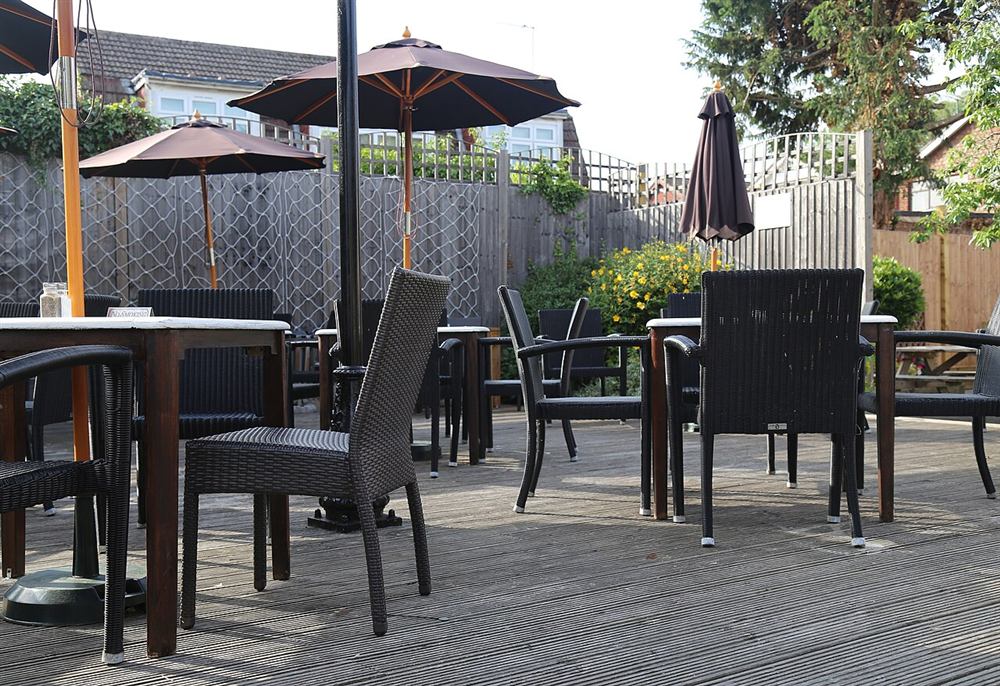
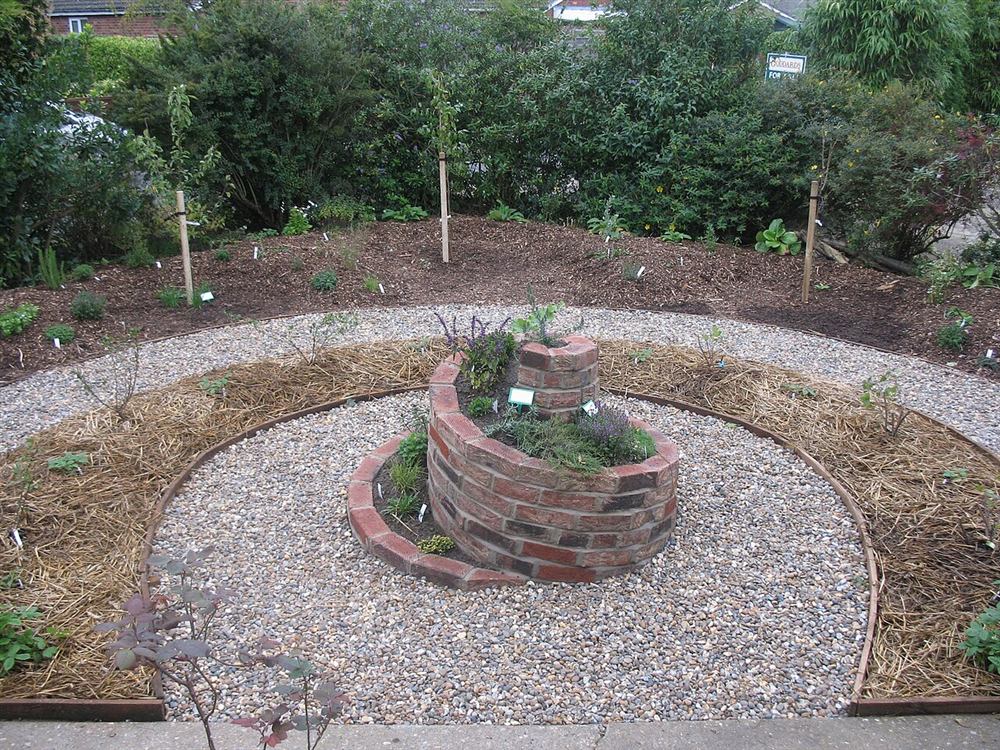
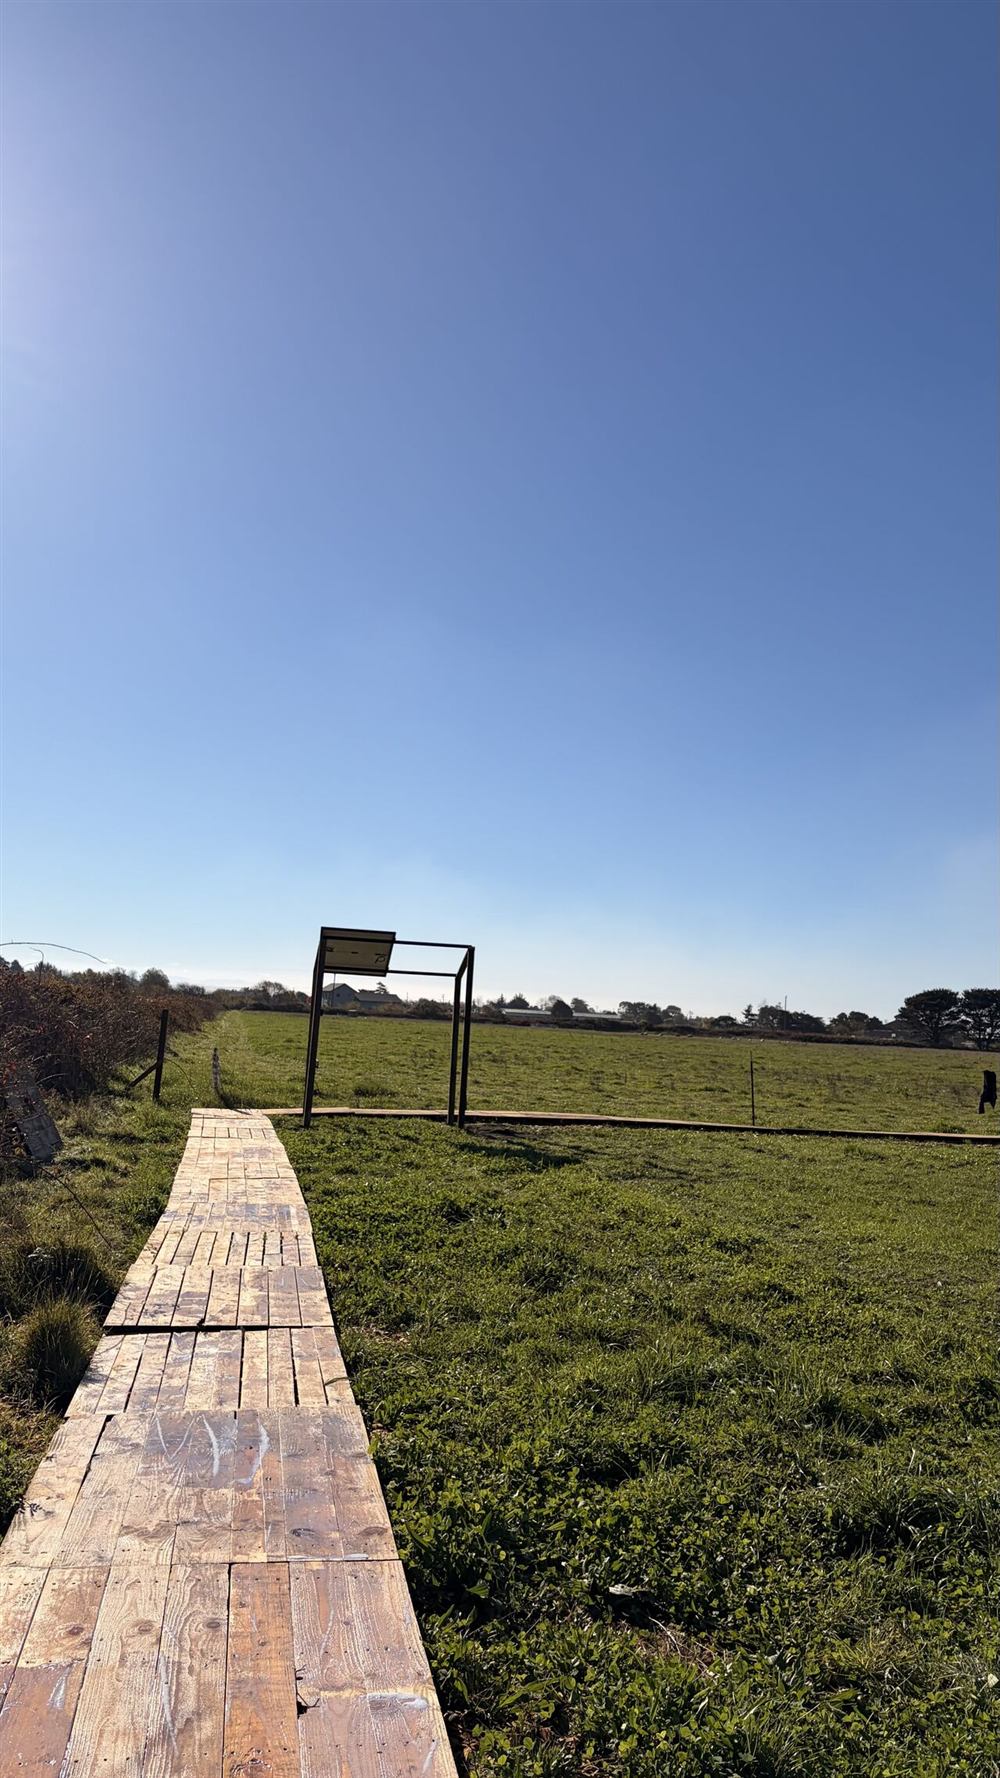
Photos of similar builds by other people, shared under open licenses. They show the idea in practice; the details differ from this guide.
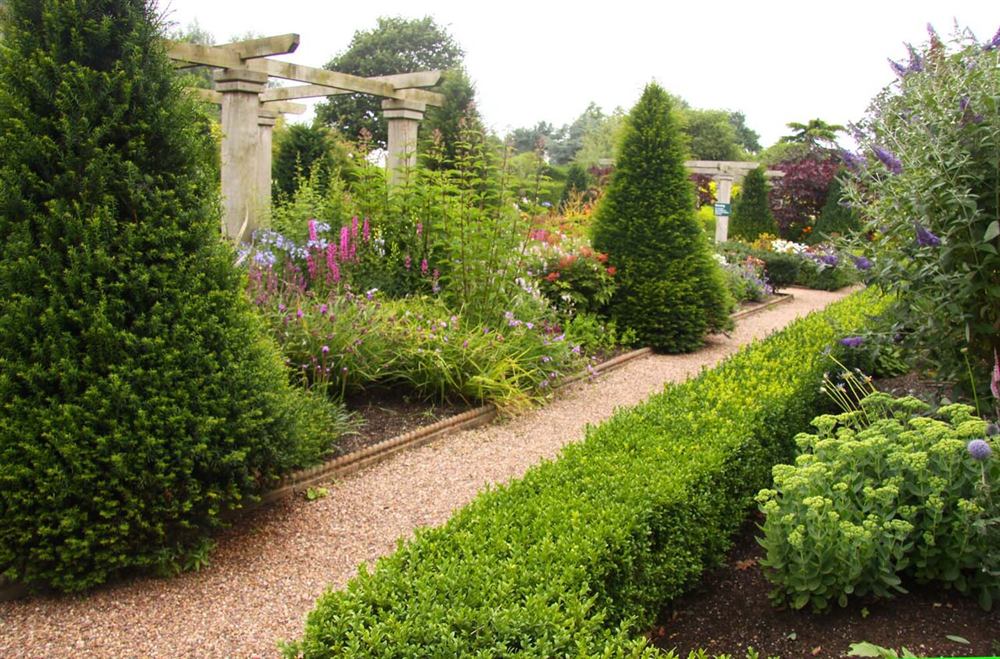
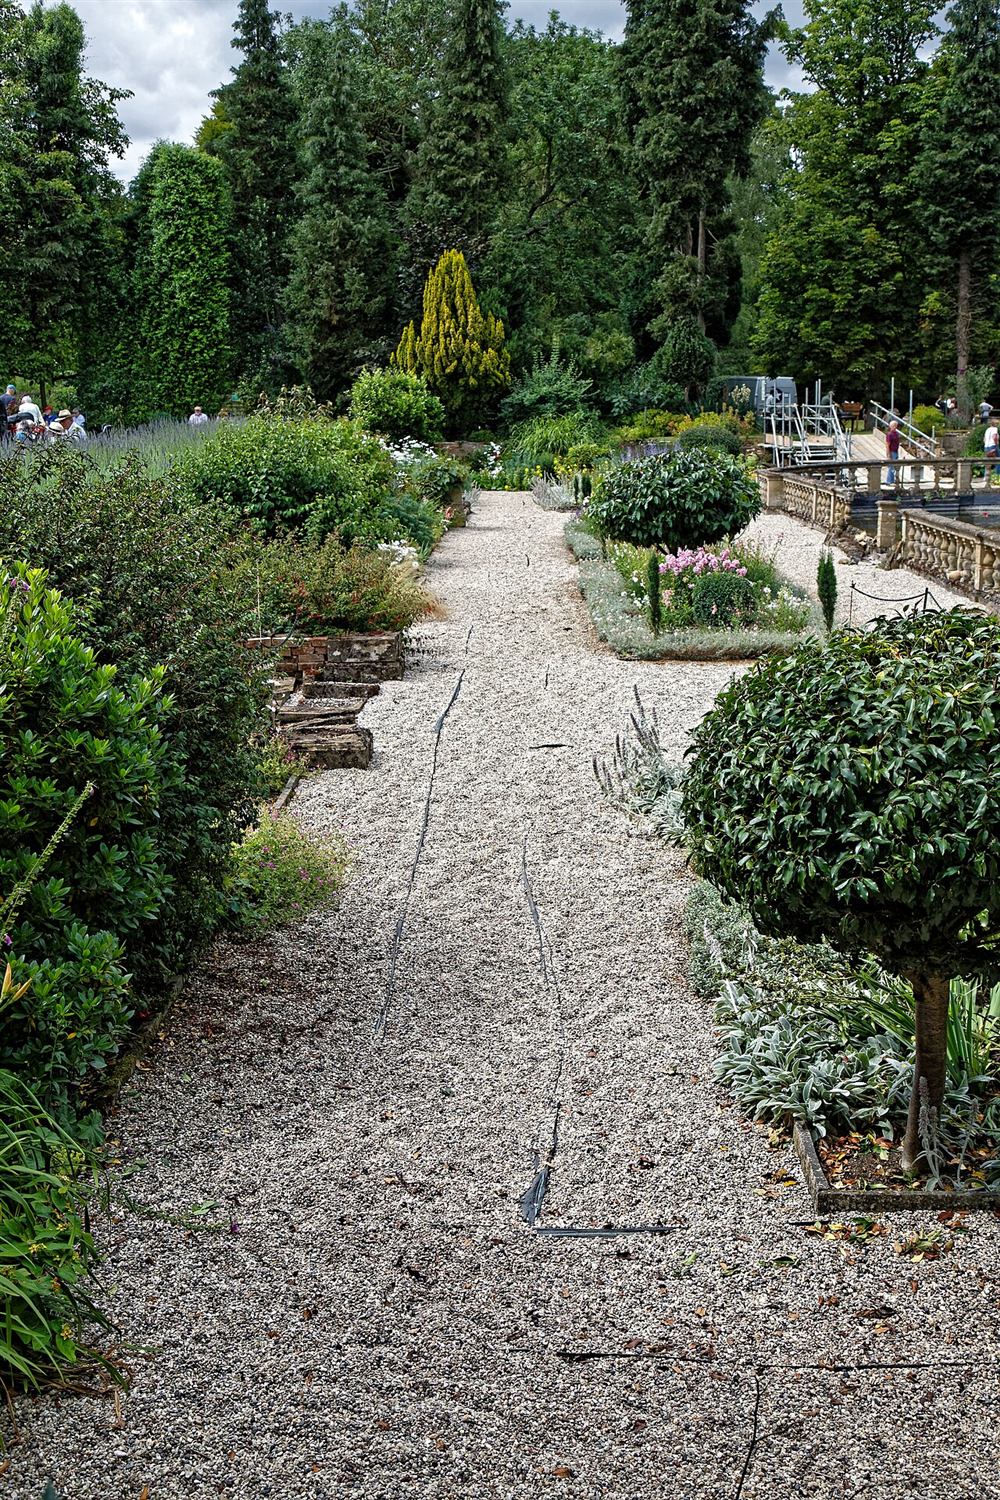
Mark both edges with string lines or marking paint. Use a garden hose to try curves before you commit. Before digging, check where underground cables and pipes run.
Remove turf and soil to a depth of about 4 to 6 in (10–15 cm), keeping the bottom roughly flat and following the slope of the ground. Give the path a slight fall to one side so water runs off.
Install the edging along both sides so its top sits about an inch above the finished gravel level and about level with the surrounding lawn. Peg timber edging every few feet, or set metal strips with their stakes. Edging is what keeps the gravel where it belongs.
Spread crushed stone base in a layer of about 2 to 4 in (5–10 cm) and compact it thoroughly with a tamper or plate compactor. Add and compact in thin layers rather than all at once; a well-compacted base is the difference between a firm path and a rutted one.
Roll landscape fabric over the compacted base, overlap the joints by several inches and pin it down. Tuck the edges up against the edging.
Spread the decorative gravel in a layer of about 1 to 2 in (3–5 cm) and rake it level. Too much gravel is like walking on a beach; you only need enough to cover the fabric well.
General guidance only. Follow the instructions for your tools and materials and your local rules, and use a qualified professional for electrical, gas and structural work.
A well-built gravel path stays firm and tidy for years with little more than a rake. Top up the gravel and pull the odd weed in spring, and keep the edging straight, and it will look as sharp as the day you finished it.
About this guide: written by the DIY Outdoor Builds editors from general, widely used building and gardening practice. Text and illustration © DIY Outdoor Builds. Photos are by the people credited under each one, used under their licenses. Found an error? Let us know.
Share your photos, measurements and what you changed. Your build gets its own page and helps the next person.