 Guide
Patios & Paths
A floating deck sits just above the ground on concrete blocks instead of posts dug deep into the soil. It is not attached to the house, so it is a manageable first decking project and a quick way to turn an uneven corner of the garden into a level seating area.
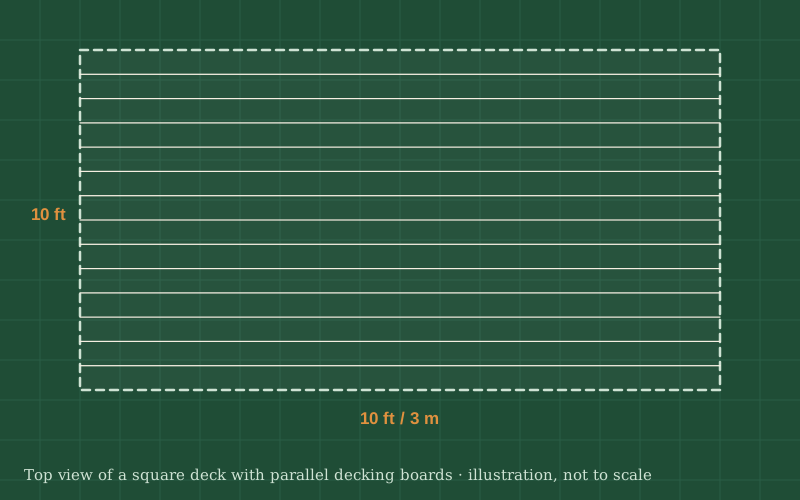
You will level and prepare the ground, set concrete deck blocks in a grid, build a rectangular frame of joists on them and screw decking boards across the top. The deck stays low, typically a few inches to about a foot above the ground.
Joist size and spacing depend on the lumber you use and the decking board's maximum span; many decking boards are made for joists at about 16 in (40 cm) centres, but always check the decking manufacturer's instructions. Even low decks may be covered by local rules in some places, so check before you start.
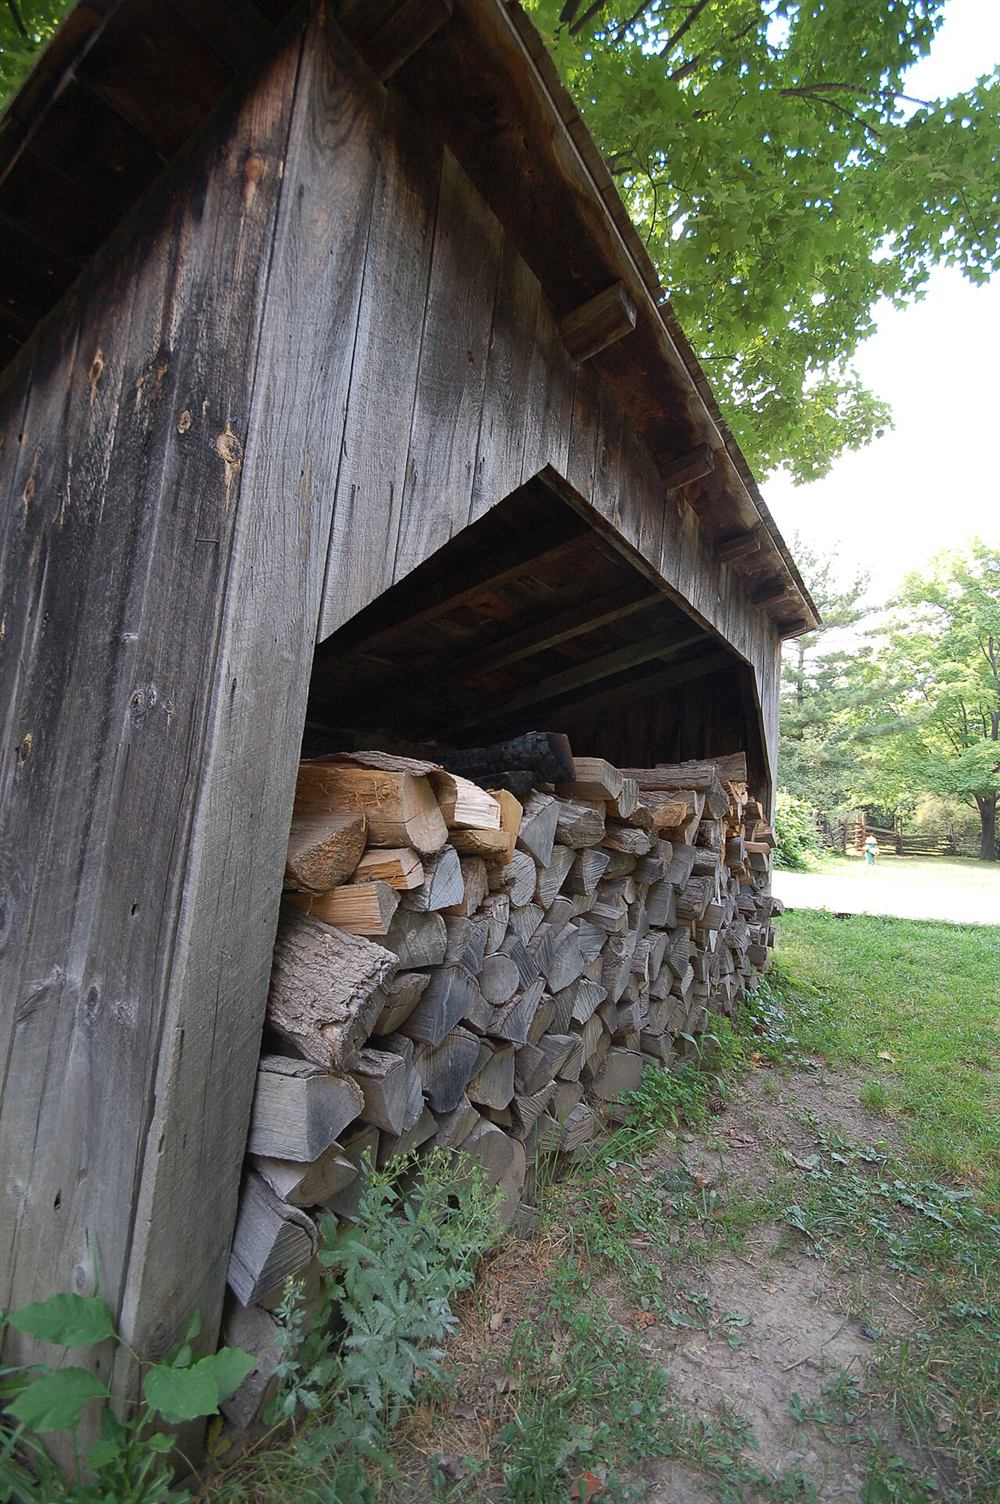
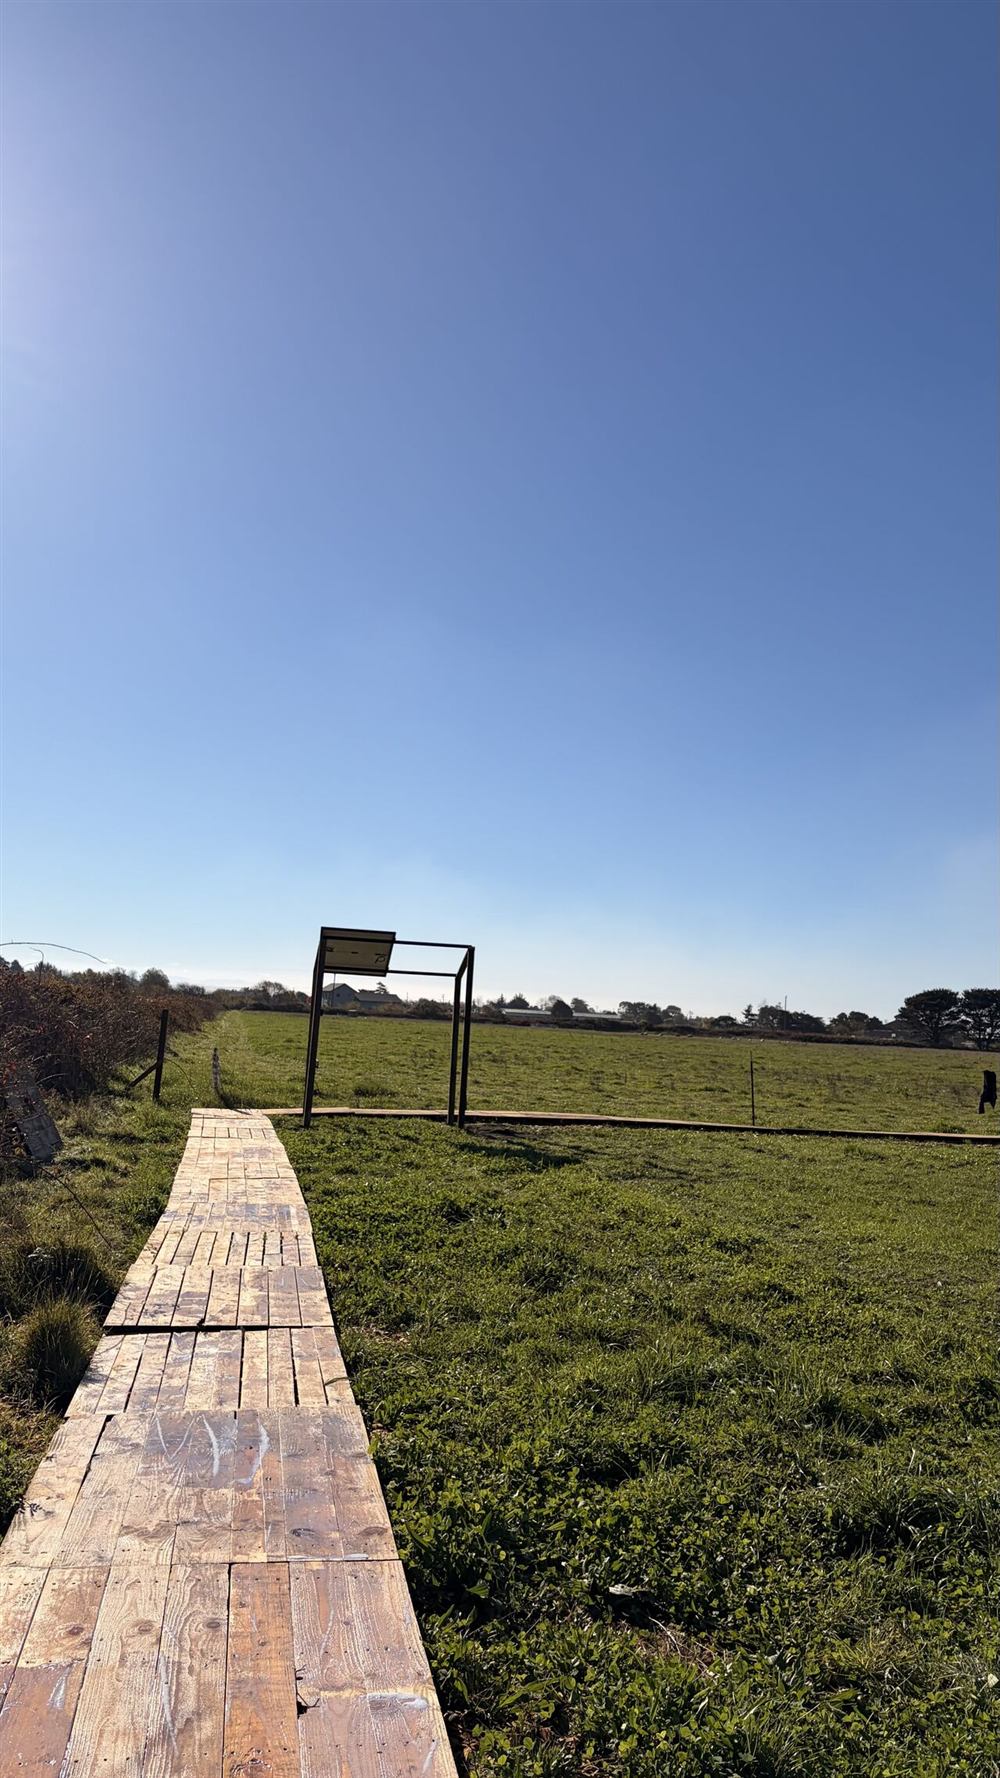
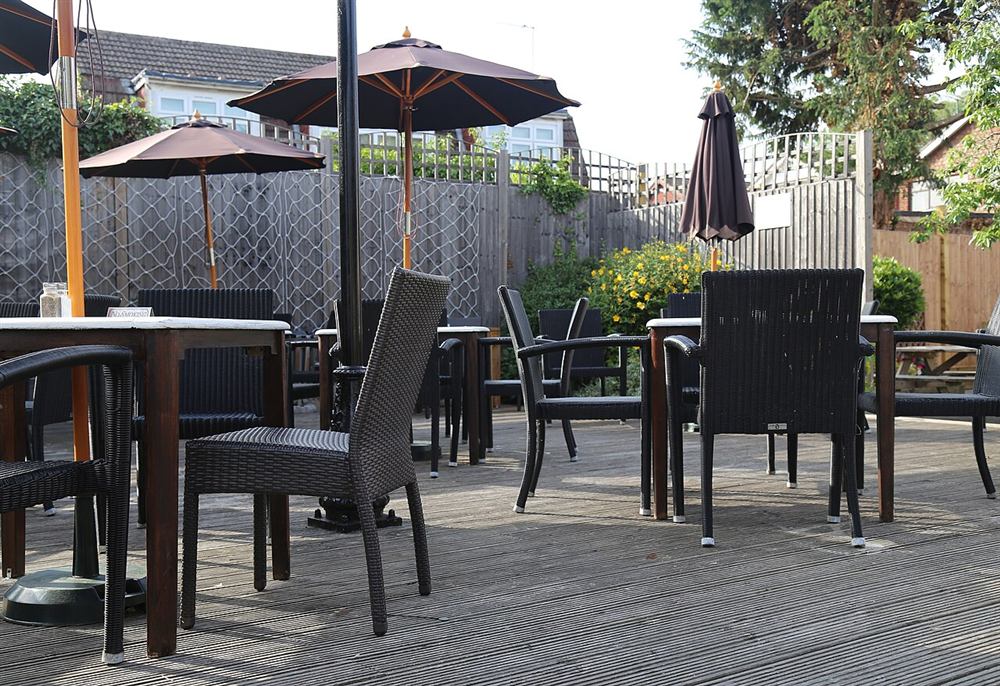
Photos of similar builds by other people, shared under open licenses. They show the idea in practice; the details differ from this guide.
Mark the deck's outline with stakes and string, and check the diagonals so it is square. Remove turf and a few inches of topsoil, level the area roughly and compact it. Lay weed-control fabric and cover it with gravel so water drains away and weeds cannot grow up through the boards.
Set blocks at the corners, along the edges and in a grid under the joists, at the spacing your joist size allows. Bed each block on compacted gravel and check them with a long level or laser so their tops are all at the same height. This is the most important step: a level grid means a level deck.
Cut the rim joists and screw them together into a rectangle on top of the blocks. Measure the diagonals again and adjust until they are equal, then check the frame is level in all directions.
Fix the inner joists between the rim joists with joist hangers, at the spacing your decking requires. Make sure each joist sits on blocks along its length and that the crowns (slight upward bows) all face up.
Start with a full board along the most visible edge and screw it down, checking that it is perfectly straight. Every other board follows this one, so take your time here.
Work across the frame, leaving the gap between boards that the decking maker recommends so water drains and the boards can swell. Use spacers for even gaps, drive two screws per joist, and stagger the board joints so they do not line up.
Snap a chalk line and cut the board ends in one straight line, then fit a fascia board around the frame if you like. Treat cut ends of treated lumber, and apply an oil or stain if your decking needs it.
General guidance only. Follow the instructions for your tools and materials and your local rules, and use a qualified professional for electrical, gas and structural work.
A floating deck gives you a level, dry outdoor floor in a weekend or two, without digging deep footings. Sweep leaves out of the gaps each autumn and re-oil wood decking when water stops beading on it, and it will look good for years.
About this guide: written by the DIY Outdoor Builds editors from general, widely used building and gardening practice. Text and illustration © DIY Outdoor Builds. Photos are by the people credited under each one, used under their licenses. Found an error? Let us know.
Share your photos, measurements and what you changed. Your build gets its own page and helps the next person.