 Guide
Compost Bins
A three-bay bin is the classic way to make a lot of compost: one bay fills with fresh material, one is working and one holds finished compost ready to use. Built from reused pallets, it costs very little and takes an afternoon.
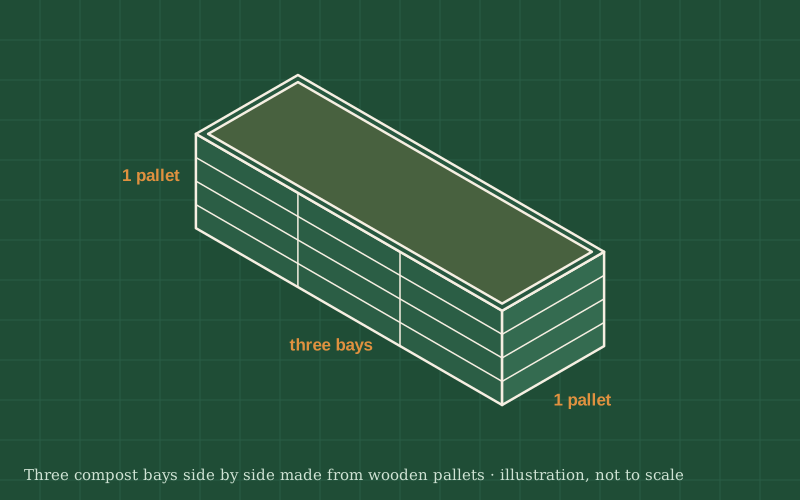
You will stand pallets on edge to form a back wall and four side walls, making three bays open at the front. The fronts are closed with loose boards that slide into slots, so you can open a bay to fill, turn or empty it.
Pallets come in different sizes and some were treated with chemicals, so the first step is choosing the right ones. Look for the treatment stamp: pallets marked HT (heat treated) are the ones to use. Avoid pallets marked MB (methyl bromide), unmarked pallets of unknown origin and anything stained by spills.
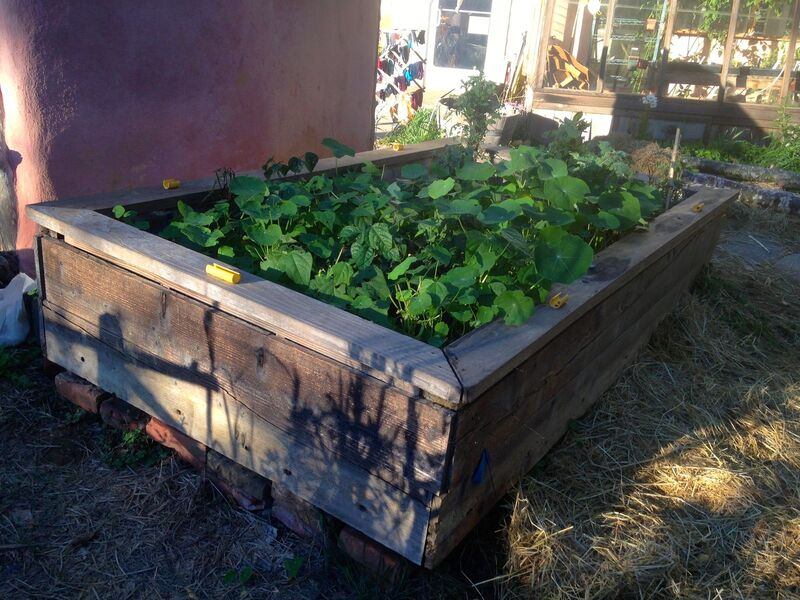
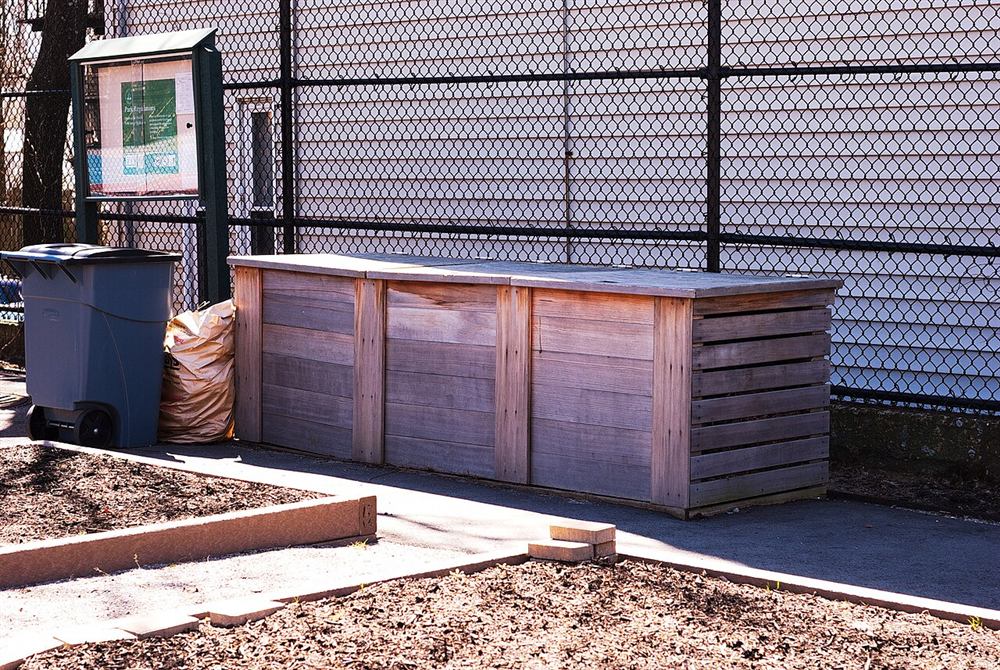
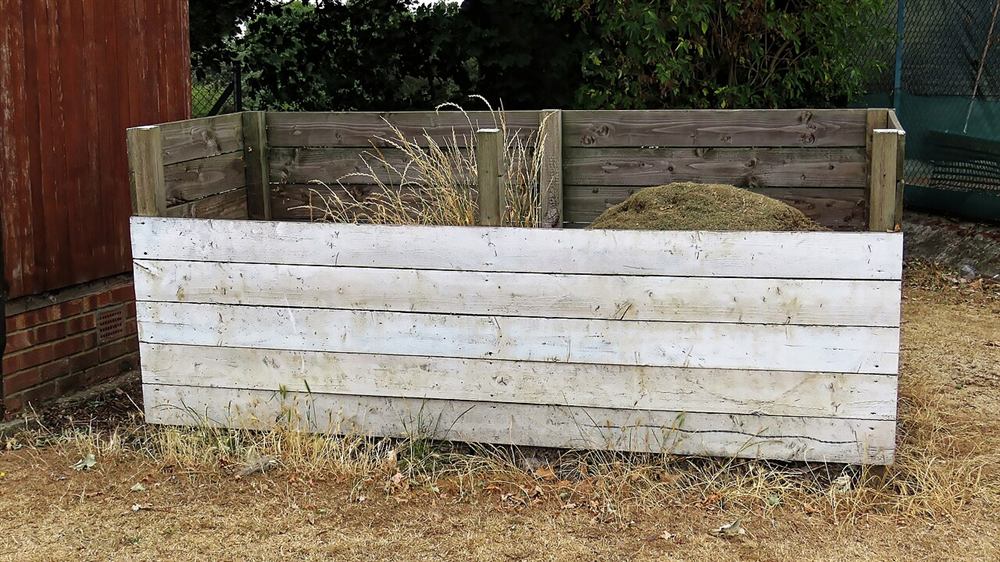
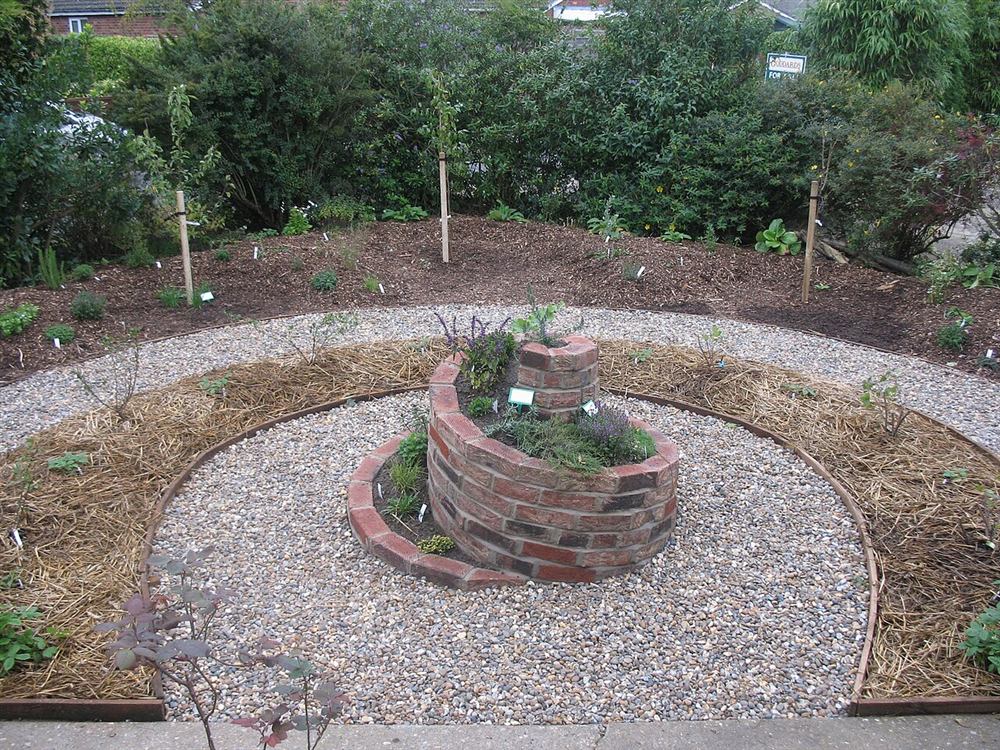
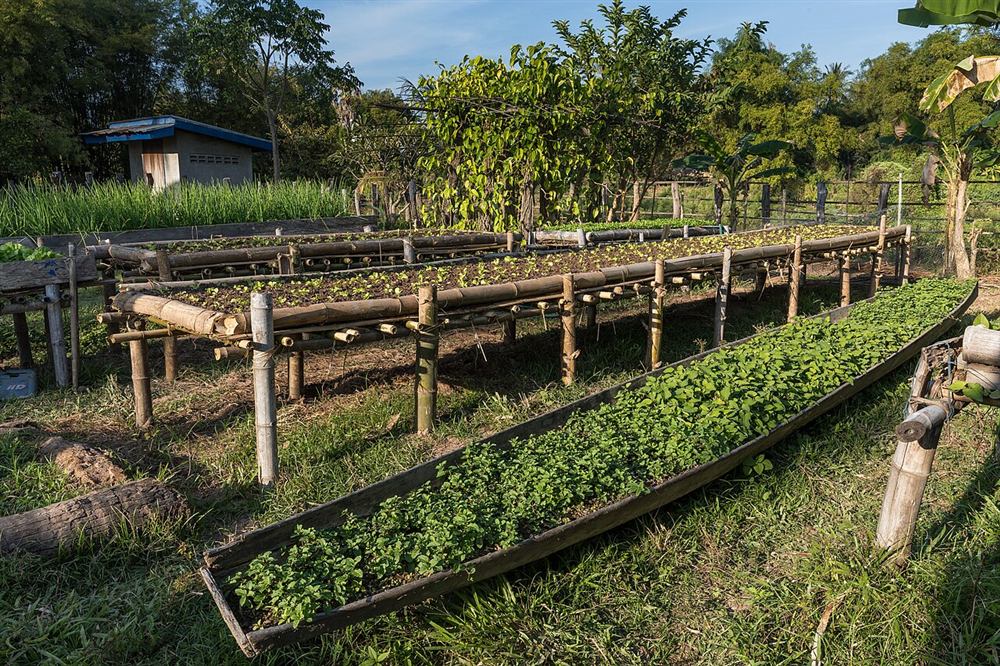
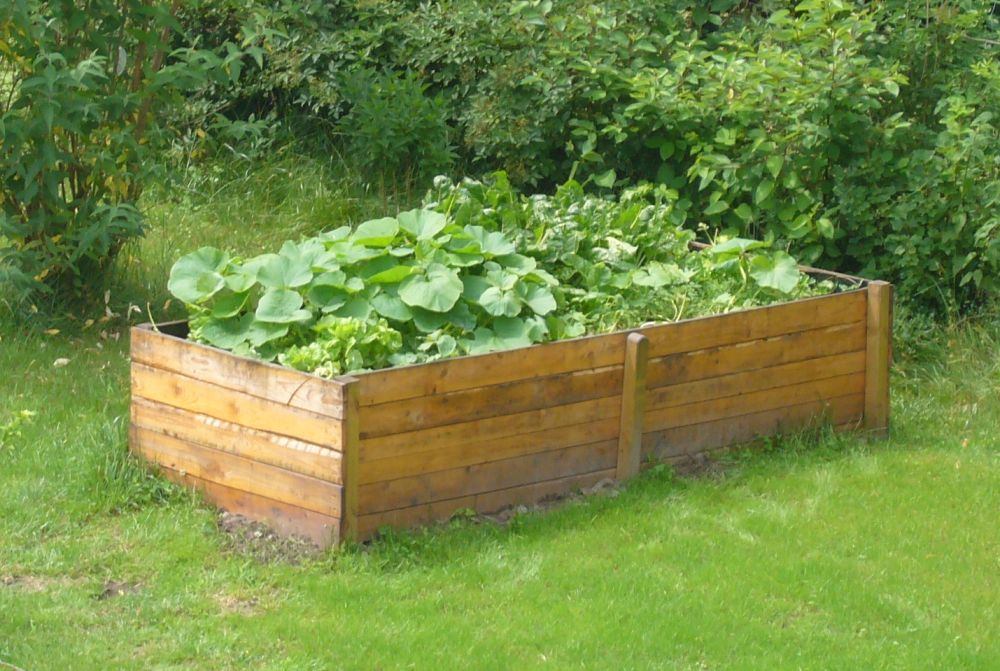
Photos of similar builds by other people, shared under open licenses. They show the idea in practice; the details differ from this guide.
Collect pallets of one size with the HT stamp. Knock in or remove protruding nails, replace broken boards and avoid any that smell of chemicals or show stains. Wear gloves: pallets are full of splinters.
Choose a level spot on bare soil, partly shaded, with easy access for a wheelbarrow. Clear weeds and level the ground roughly. Compost works best on soil, where worms and moisture can move in from below.
Stand three pallets on edge in a row to form the back wall and screw them to each other through their blocks or with brackets. Check that they stand straight up.
Stand a pallet at right angles to the back at each end, and two more in between to make three bays. Screw each one firmly to the back wall at top and bottom. The structure becomes much stiffer once all the sides are joined.
Screw two strips of 2 × 2 in timber upright to the front edge of each divider and end, leaving a gap just wider than your front boards. The boards then slide down into the slots and lift out one by one.
Cut the front boards to fit between the slots and drop them in. Add boards as each bay fills. Cover the bays with old carpet, a tarp or boards to keep heavy rain off and the heat in.
General guidance only. Follow the instructions for your tools and materials and your local rules, and use a qualified professional for electrical, gas and structural work.
A three-bay bin turns garden waste into a steady supply of compost and keeps the work tidy. When a pallet eventually rots, it is easy to unscrew it and replace it with another, so the bin can last for many years.
About this guide: written by the DIY Outdoor Builds editors from general, widely used building and gardening practice. Text and illustration © DIY Outdoor Builds. Photos are by the people credited under each one, used under their licenses. Found an error? Let us know.
Share your photos, measurements and what you changed. Your build gets its own page and helps the next person.
GuideCompost Bins
 Guide
Garden Layouts
 Guide
Raised Garden Beds
 Guide
Raised Garden Beds