 Guide
Other Builds
A nest box gives small garden birds a safe place to raise their young where natural holes in old trees are scarce. It is quick to make from a single board, which makes it a great project to build with children, and it can be used for many years.
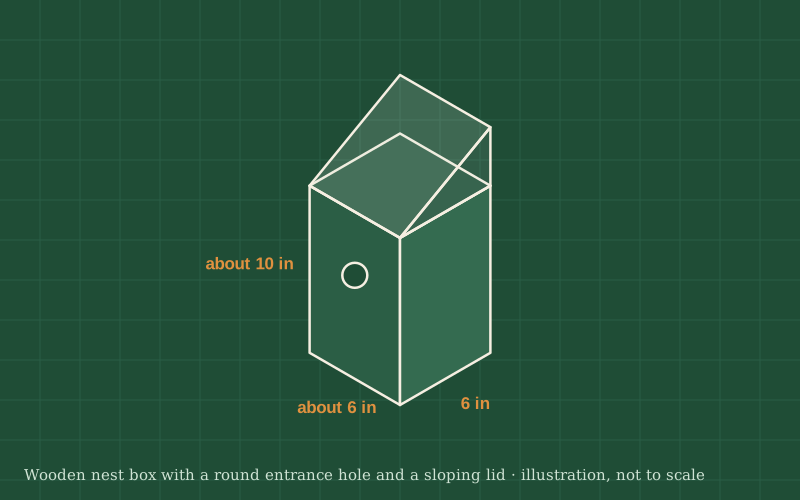
You will cut a front, back, two sides, a floor and a roof from one board of untreated wood, and screw them together with the roof hinged so you can clean the box. A round entrance hole near the top of the front decides which birds can use it.
The right hole size depends on the species you hope to attract, and the recommended sizes differ between regions. Look up the advice of your national bird conservation organisation before drilling, and follow their guidance on height and direction too.
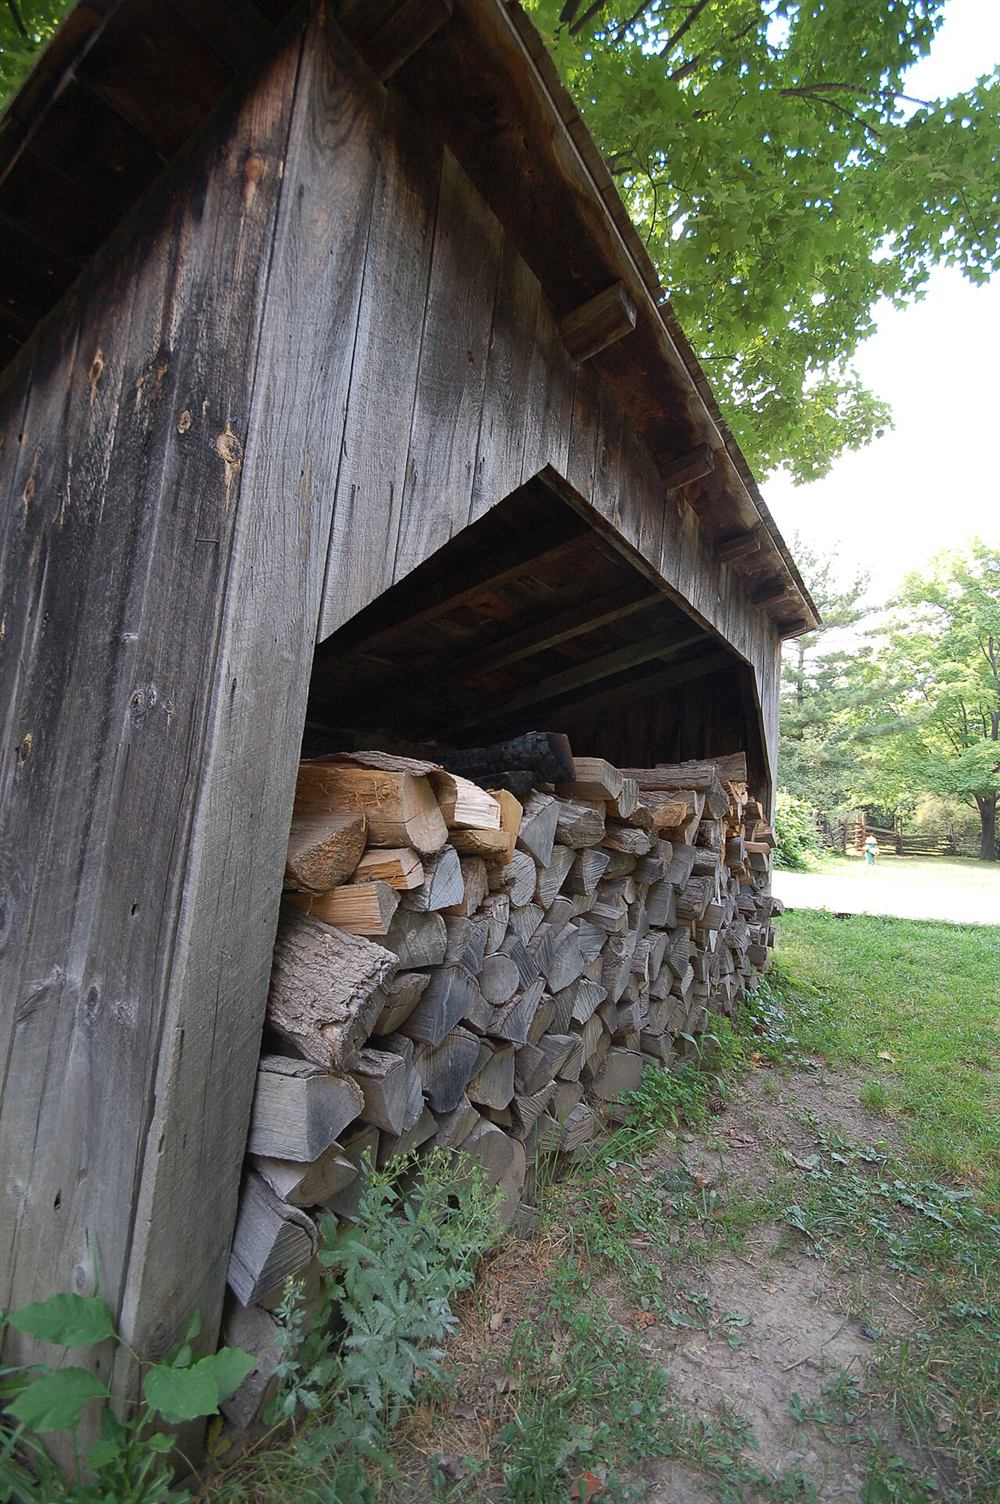
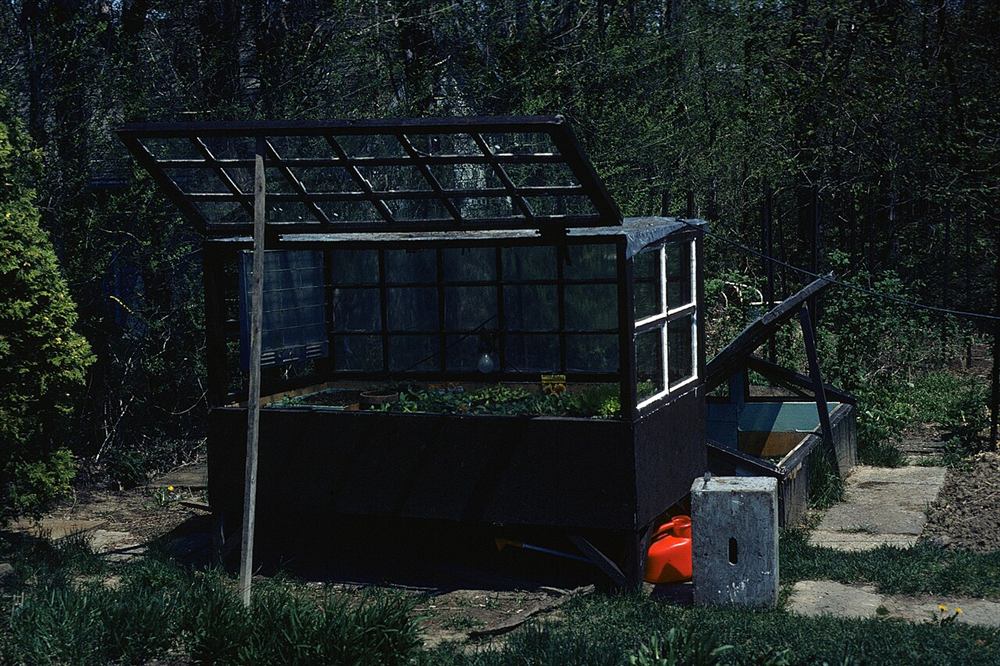
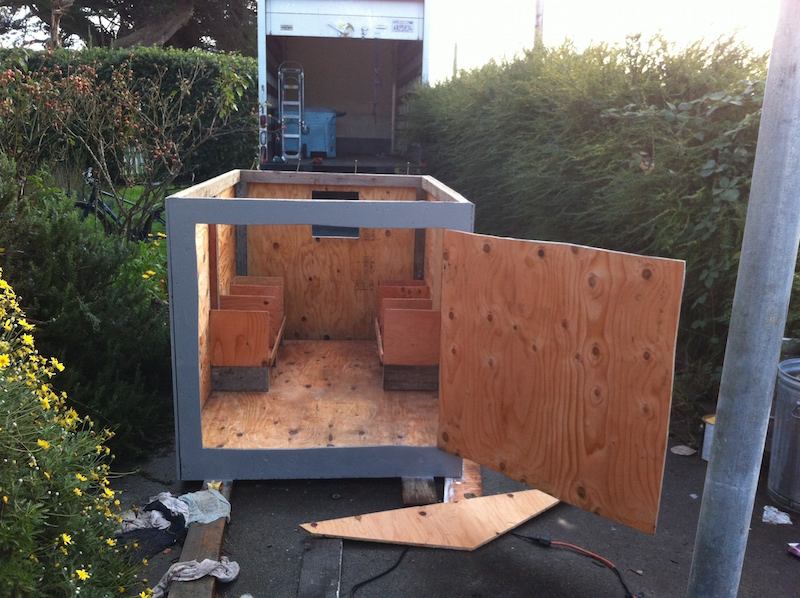
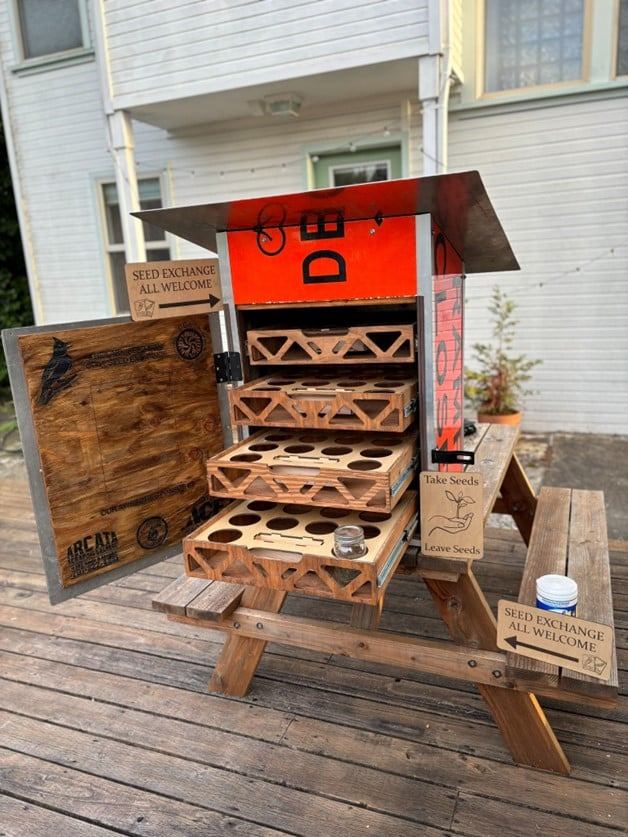
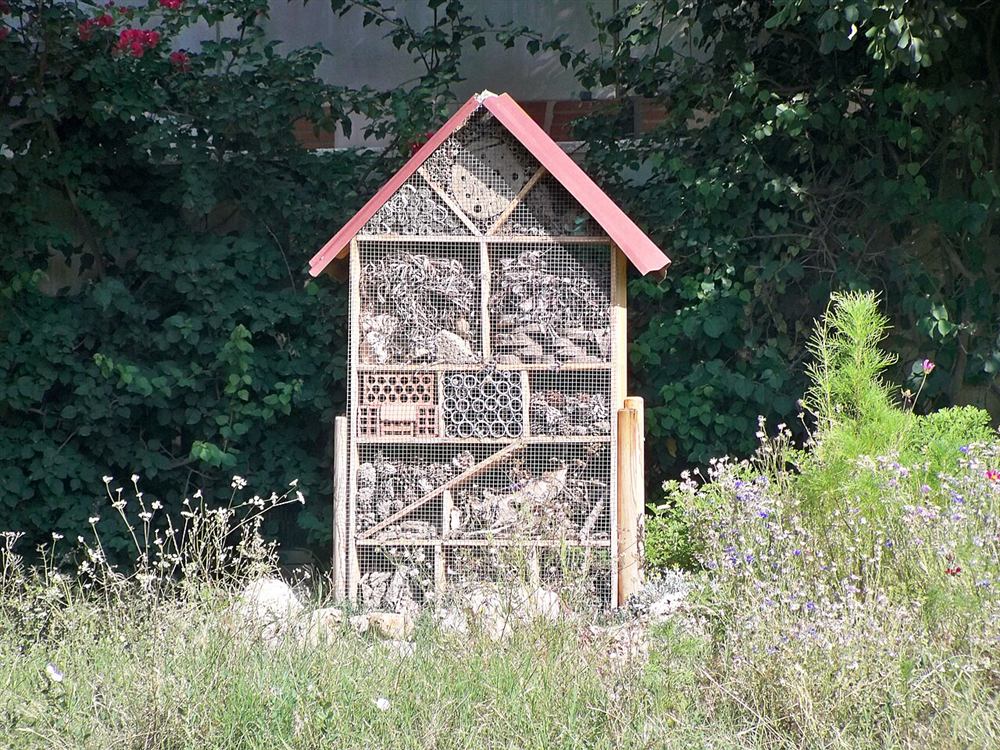
Photos of similar builds by other people, shared under open licenses. They show the idea in practice; the details differ from this guide.
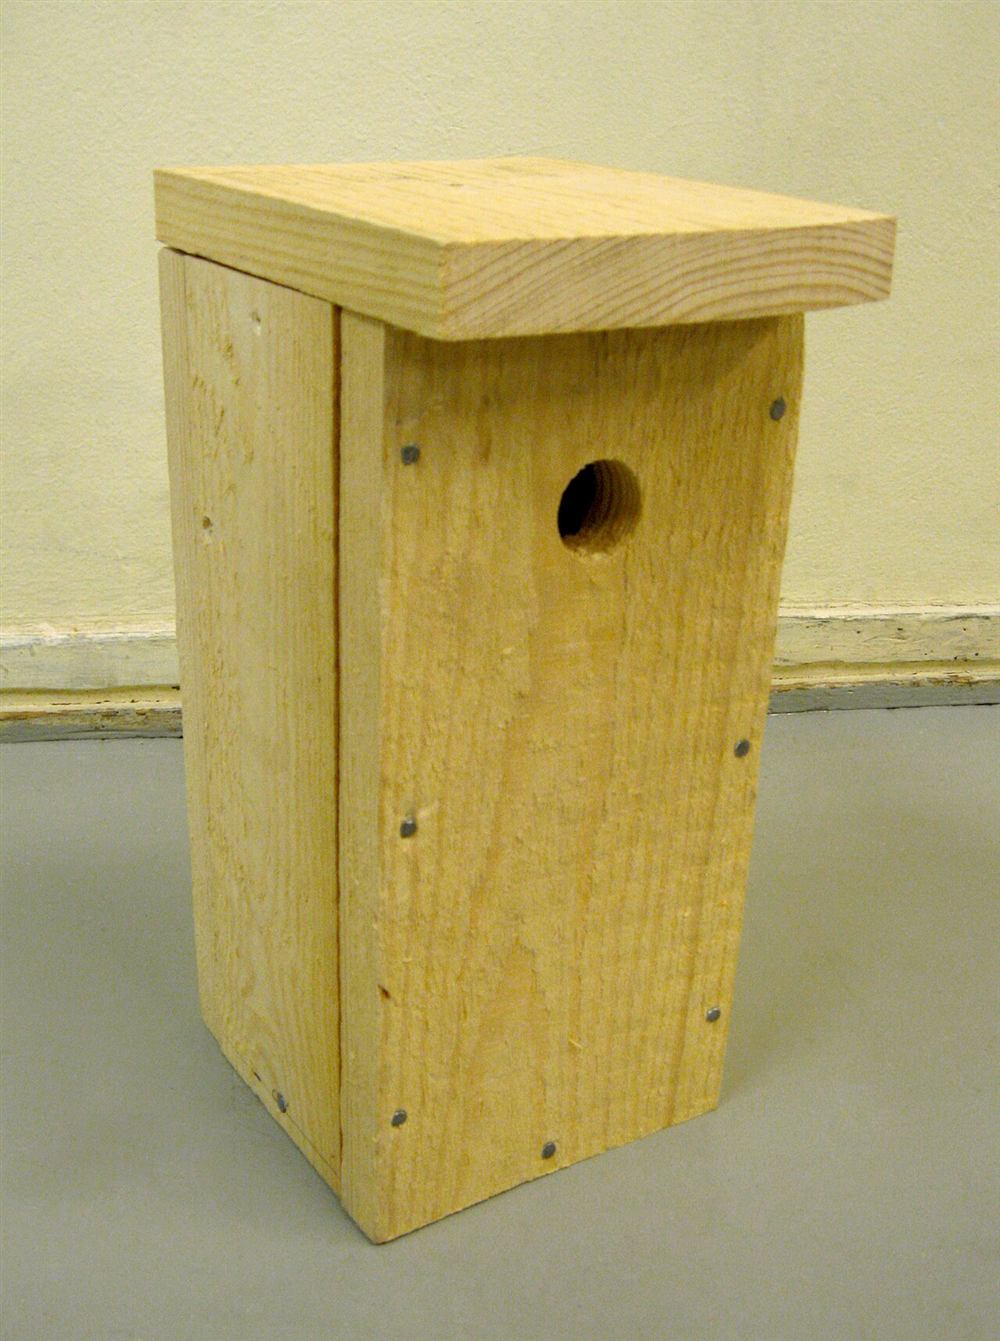
Mark the back, front, two sides, floor and roof along the board, with the sides cut at an angle so the roof slopes forward. Cut the back longer than the rest so it can be fixed to a tree or wall. Keep the inside rough; fledglings need to grip it to climb out.
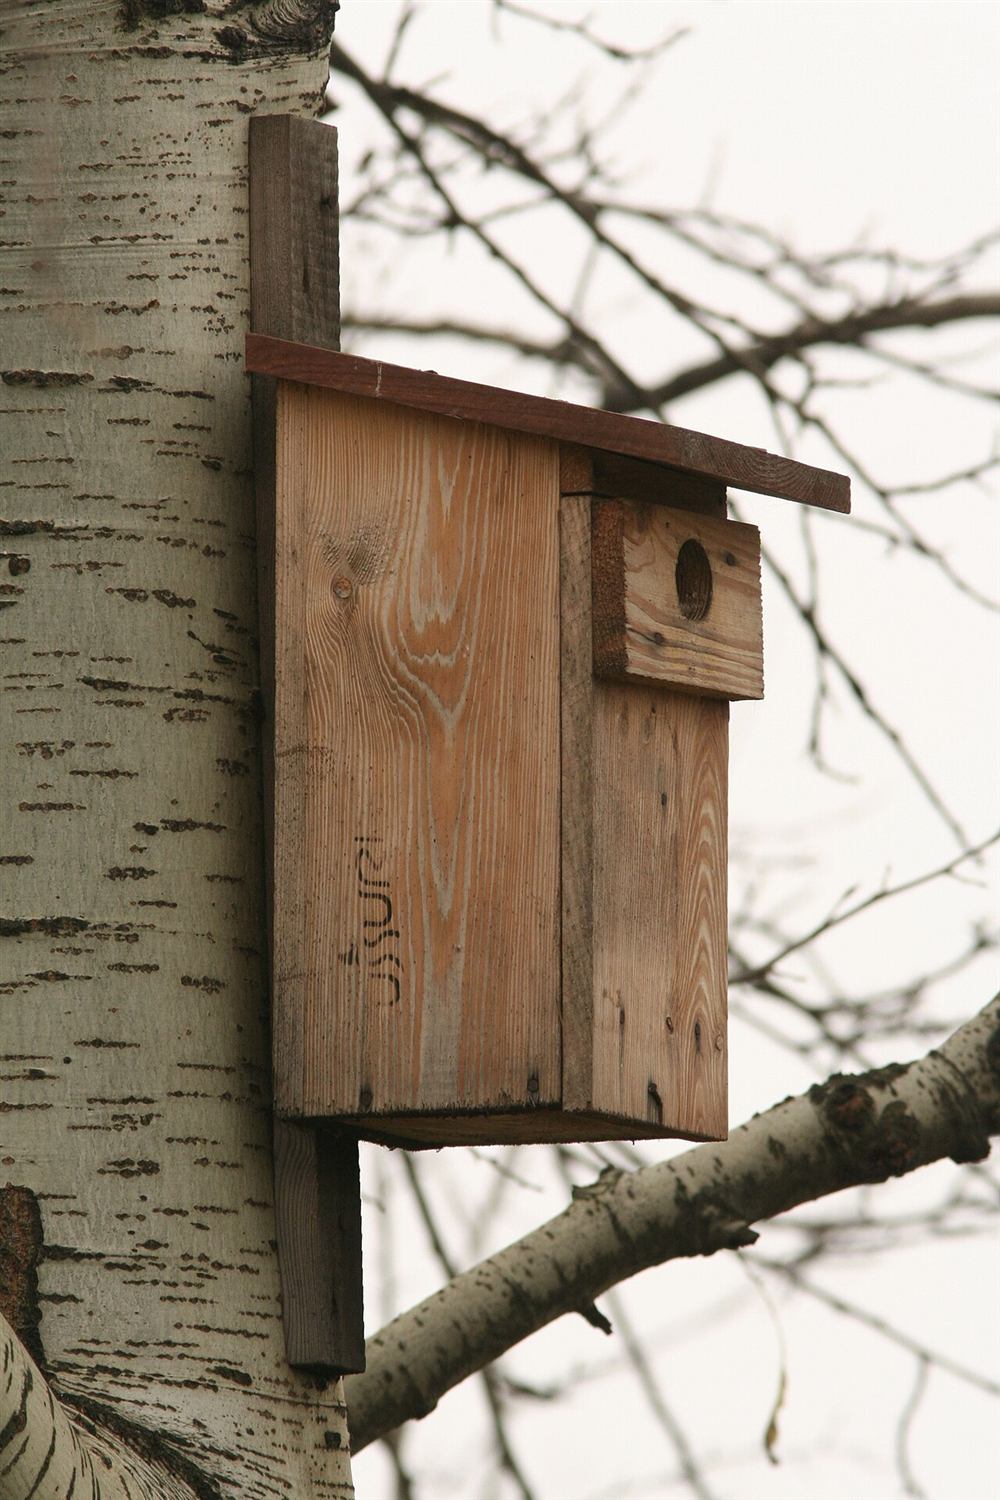
Drill the entrance hole in the front panel, near the top so the nest sits safely below it, at the size recommended for the birds you want. Sand the edges smooth. Do not add a perch: birds do not need it, and it helps predators.
Drill a few small holes in the floor so any water drains out. Leave a narrow gap under the roof at the top of the sides, or drill a couple of small holes there, so the box does not overheat.
Fix the sides to the back, then the floor between them, then the front, using pilot holes so the wood does not split. Fit the floor slightly up from the bottom edges so the end grain does not sit in water.
Attach the roof to the back with a strip of rubber or leather, or a small hinge, so it can lift for cleaning. Add a hook and eye or a screw to hold it shut against curious predators.
Hang the box on a tree trunk or wall, out of reach of cats, with a clear flight path to the entrance. Follow local advice on height and direction; a common recommendation is to avoid strong afternoon sun and the prevailing wind and rain.
General guidance only. Follow the instructions for your tools and materials and your local rules, and use a qualified professional for electrical, gas and structural work.
Few projects give as much back as a nest box: watching birds carry in moss in spring and the first fledglings appear is a highlight of the garden year. Clean it out once a year at the right time and it can be used for many seasons.
About this guide: written by the DIY Outdoor Builds editors from general, widely used building and gardening practice. Text and illustration © DIY Outdoor Builds. Photos are by the people credited under each one, used under their licenses. Found an error? Let us know.
Share your photos, measurements and what you changed. Your build gets its own page and helps the next person.