 Guide
Storage Solutions
Long-handled tools leaning in a corner always fall over when you need the one at the back. A peg rack on the shed or garage wall keeps every tool visible, off the damp floor and within reach, and it takes an afternoon to make.
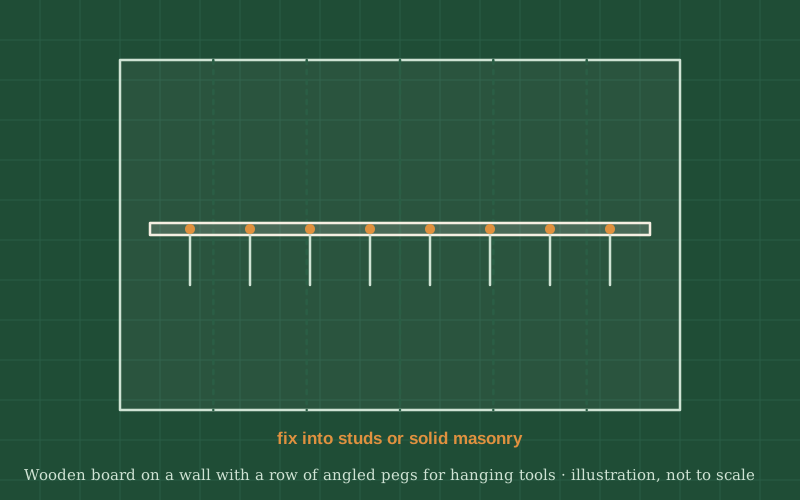
The rack is a sturdy board fixed to the wall, with pairs of hardwood pegs angled slightly upward so tools cannot slide off. A tool hangs head-down between two pegs, or by its handle hole on a single peg.
Plan the layout around your actual tools: lay them on the floor in a row with a little space between them, and measure. Most heads need a gap of about 1¼ to 1½ in (30–40 mm) between a pair of pegs, but check your own tools.
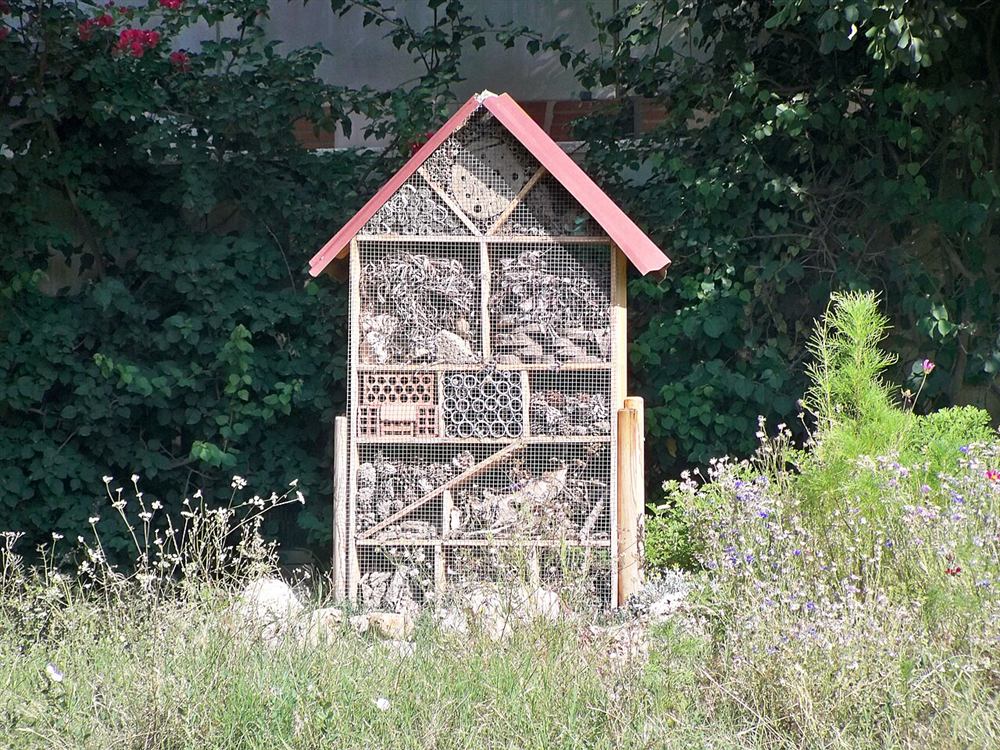
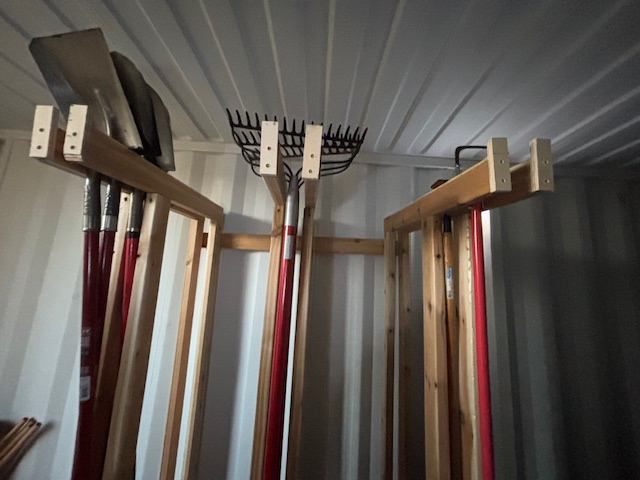
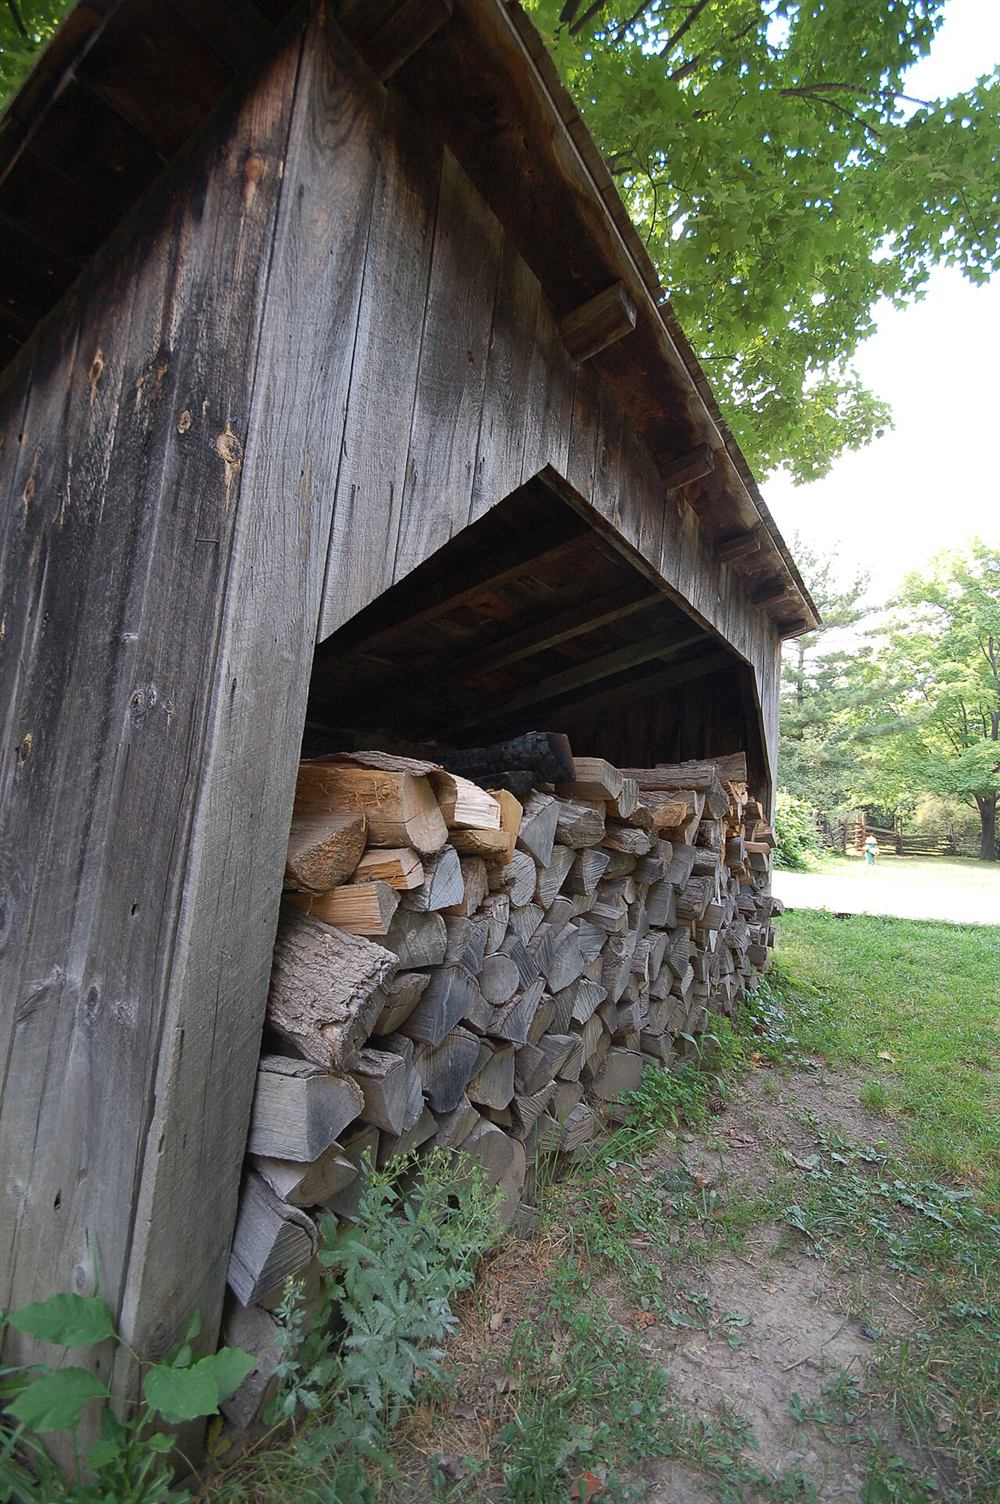
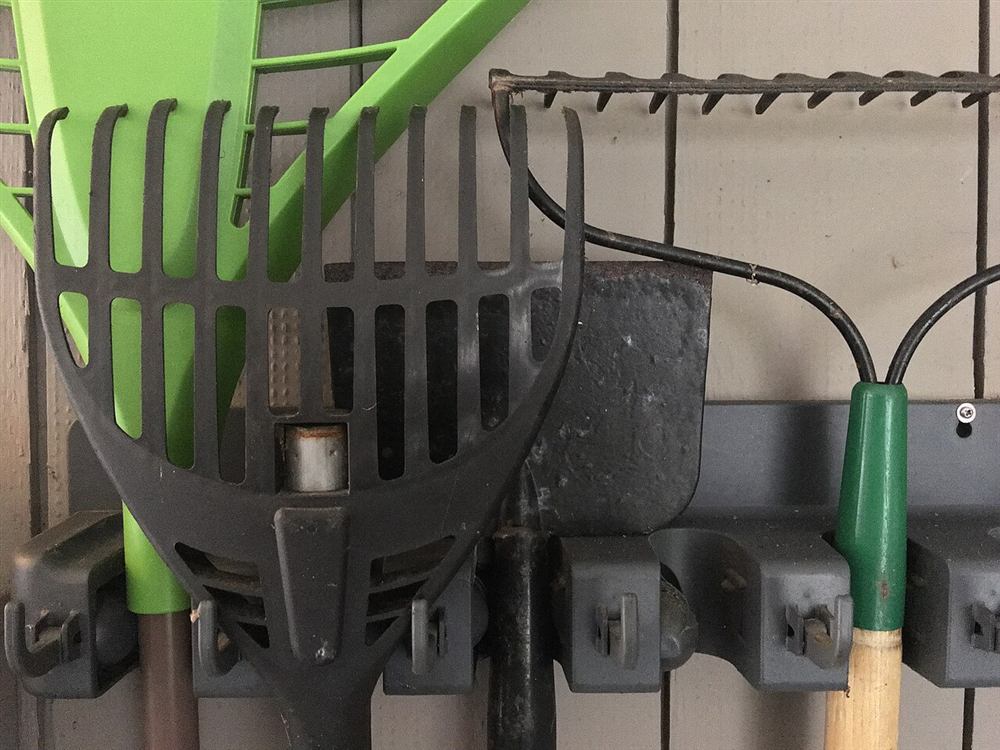
Photos of similar builds by other people, shared under open licenses. They show the idea in practice; the details differ from this guide.
Lay your tools in a row on the floor and decide the order. Mark the centre of each tool on the board, then the positions of the two pegs for each one, spaced to fit the tool's neck. Leave enough space between tools that their heads do not clash.
Cut the dowel into pegs about 6 in (15 cm) long. Round over the outer end of each peg with sandpaper so tools slide on and off easily and nobody catches a sleeve on a sharp edge.
Drill the holes about two-thirds of the way through the board, tilted upward by roughly 10 to 15 degrees. A scrap block cut to the angle and clamped beside the drill helps keep them all the same. Do not drill right through the board.
Put glue in each hole and tap the pegs in with a mallet. Wipe off any glue that squeezes out, and leave the board flat until the glue has set.
Sand the board and pegs and apply oil or paint. Finishing before mounting is easier, and it protects the wood in a damp shed.
Find the studs or check the wall material. Hold the rack level at a height where the longest tool clears the floor, and screw it firmly into at least two studs or into solid masonry with suitable plugs. Hang the tools and check that the rack does not move.
If there is room above the pegs, screw a narrow shelf to the top edge of the board for gloves, twine and plant labels, or add a few screw-in hooks along the bottom for hand tools like trowels and secateurs. Keeping small tools next to the big ones means everything has one place.
General guidance only. Follow the instructions for your tools and materials and your local rules, and use a qualified professional for electrical, gas and structural work.
A tool rack is one of those small projects you appreciate every single time you go to the shed. Once it is up, the same peg method works for brooms, extension cords, hoses and bikes.
About this guide: written by the DIY Outdoor Builds editors from general, widely used building and gardening practice. Text and illustration © DIY Outdoor Builds. Photos are by the people credited under each one, used under their licenses. Found an error? Let us know.
Share your photos, measurements and what you changed. Your build gets its own page and helps the next person.