 Guide
Greenhouses
A cold frame is a bottomless box with a clear lid. It traps the sun's warmth, so seedlings can go outside weeks earlier in spring and salad can keep growing later into autumn. An old window makes a perfect lid, and the box needs only a few boards.
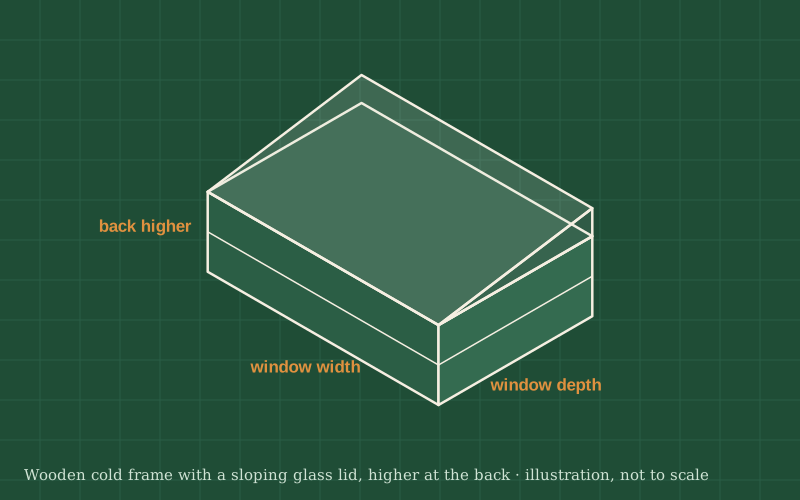
You will build a wooden box sized to fit your window, taller at the back than at the front so the glass slopes toward the sun and rain runs off. The window is hinged along the back edge so you can prop it open to vent.
The box has no bottom; it sits directly on the soil or on a bed. A typical frame is about 12 in (30 cm) high at the back and 8 in (20 cm) at the front, but the exact heights matter less than the slope and a lid that closes without big gaps.
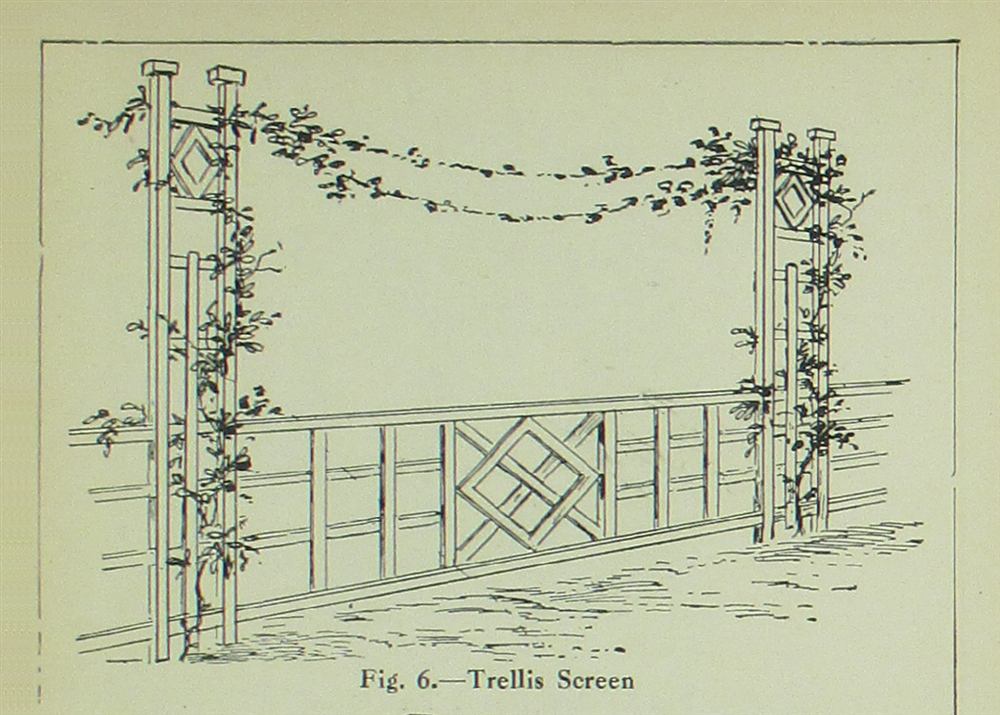
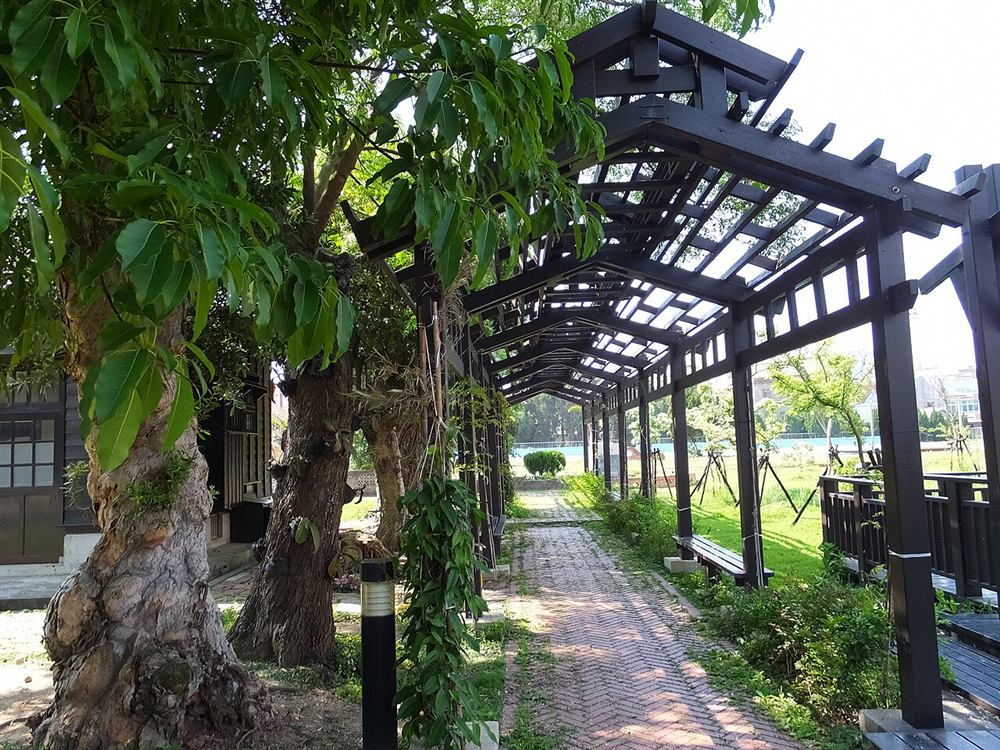
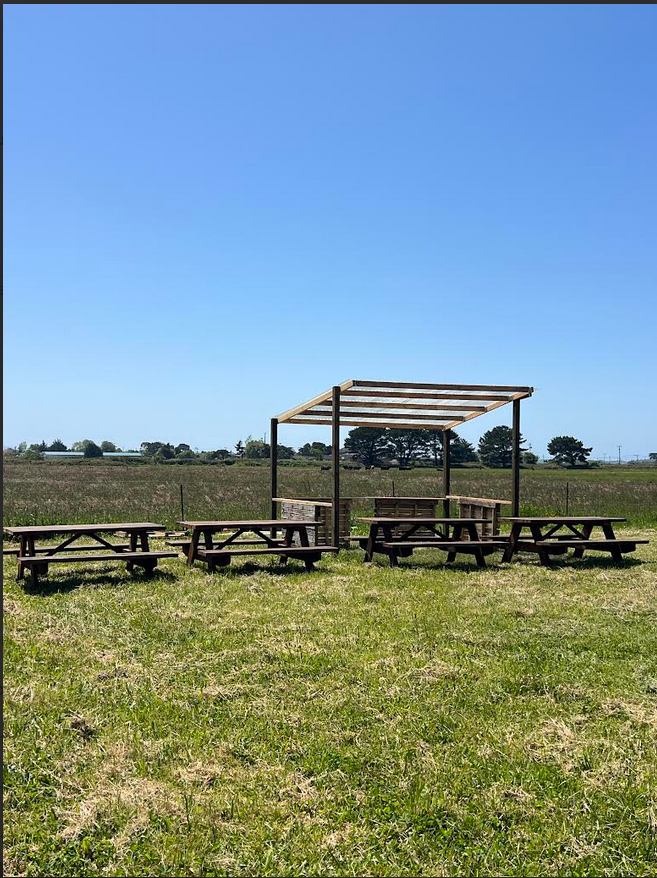
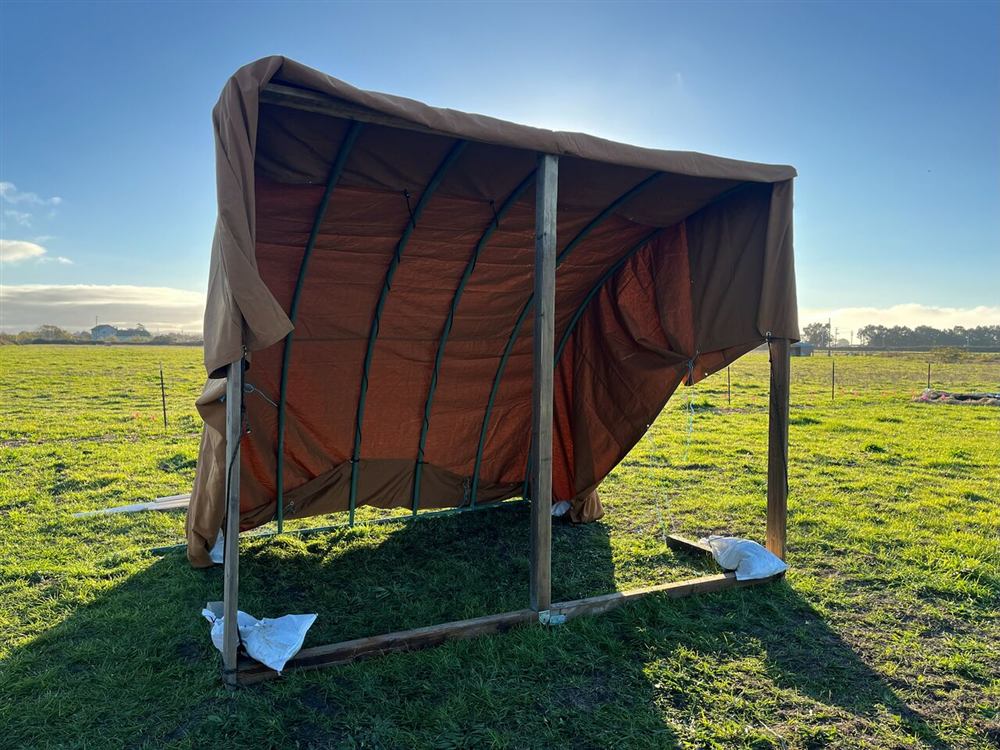
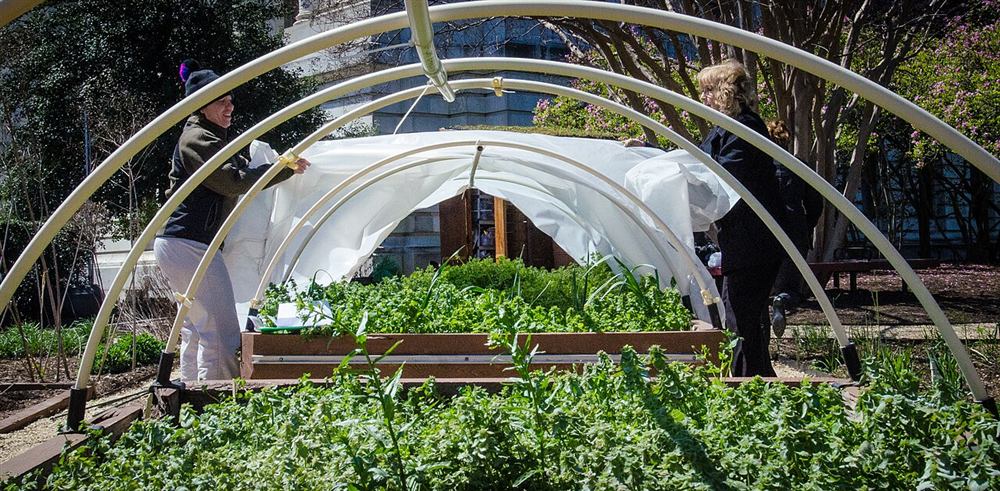
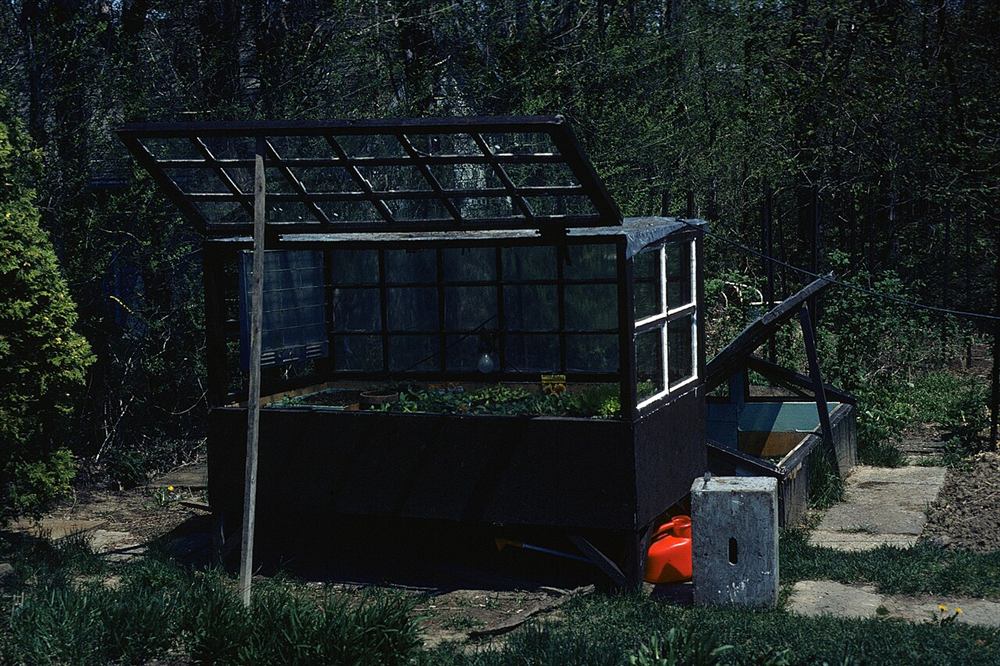
Photos of similar builds by other people, shared under open licenses. They show the idea in practice; the details differ from this guide.
Look for cracked glass and loose putty, and replace or repair them before you build. Old windows are often painted with lead paint; do not sand or scrape the paint. If you are not sure, use a lead test kit and wear gloves.
Measure the outside of the window frame. The box should be the same size or about ½ in (1 cm) smaller, so the window overlaps the box on all sides and rain runs off instead of in. Decide the back and front heights; a back about 4 in (10 cm) higher than the front gives a useful slope.
Cut the front and back boards to the width of the box. For each side, mark the front height at one end and the back height at the other, join the marks with a straight line and cut along it. The two sides must be mirror images, so cut the second one using the first as a template.
Screw the front, back and sides to a 2 × 2 post in each inside corner, drilling pilot holes so the boards do not split. Check that the top edges line up, because any step there leaves a gap under the lid.
Lay the window on the box, centred, with the hinge side along the high back edge. Screw two hinges to the window frame and the back board. Open and close it a few times to check that it moves freely and sits flat when closed.
Cut a stick or batten with a couple of notches so you can hold the lid open at different heights. If there are gaps under the closed lid, stick weatherstrip foam along the top edges of the box.
Set the frame where it gets the most winter and spring sun, with the low front facing toward the midday sun (south in the northern hemisphere, north in the southern). Press it into the soil a little so wind cannot get underneath.
General guidance only. Follow the instructions for your tools and materials and your local rules, and use a qualified professional for electrical, gas and structural work.
A cold frame costs little and changes your growing season: earlier lettuce, stronger seedlings and greens well into autumn. When the window frame eventually wears out, the box can take a new lid made from a clear polycarbonate sheet on a simple timber frame.
About this guide: written by the DIY Outdoor Builds editors from general, widely used building and gardening practice. Text and illustration © DIY Outdoor Builds. Photos are by the people credited under each one, used under their licenses. Found an error? Let us know.
Share your photos, measurements and what you changed. Your build gets its own page and helps the next person.