 Guide
Raised Garden Beds
An elevated planter lifts the soil to waist height, so you can plant, weed and harvest standing up or from a chair. It is ideal for herbs and salad on a patio or balcony, and it keeps slugs and rabbits at a distance. This design is a shallow box on four strong legs.
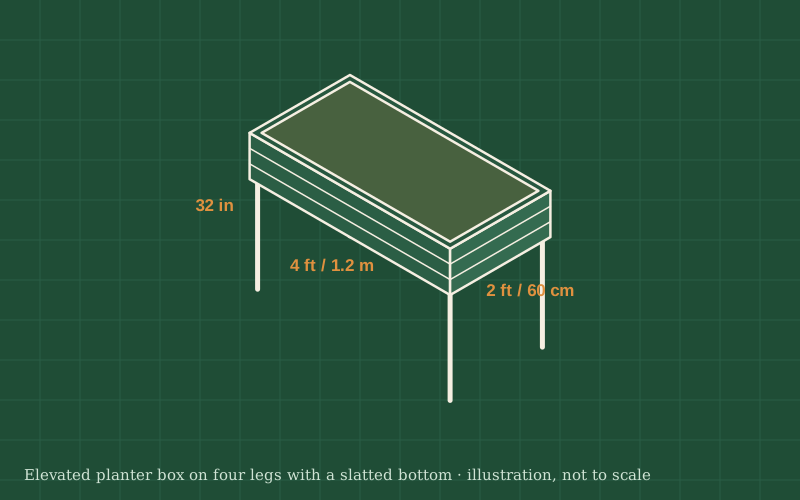
You will build a box about 4 ft long and 2 ft deep (1.2 m × 60 cm), roughly 9 in (23 cm) deep inside, standing on four legs so the top sits about 32 in (80 cm) above the ground. The bottom is made of slats with small gaps for drainage, lined with landscape fabric so the soil stays in.
A box this size full of wet soil is heavy, so the legs run all the way up the inside corners of the box and are screwed to every board. A rail around the legs near the ground stops them from racking sideways. If you need to sit at it in a wheelchair, leave out the lower rail on one long side and keep that side open underneath.
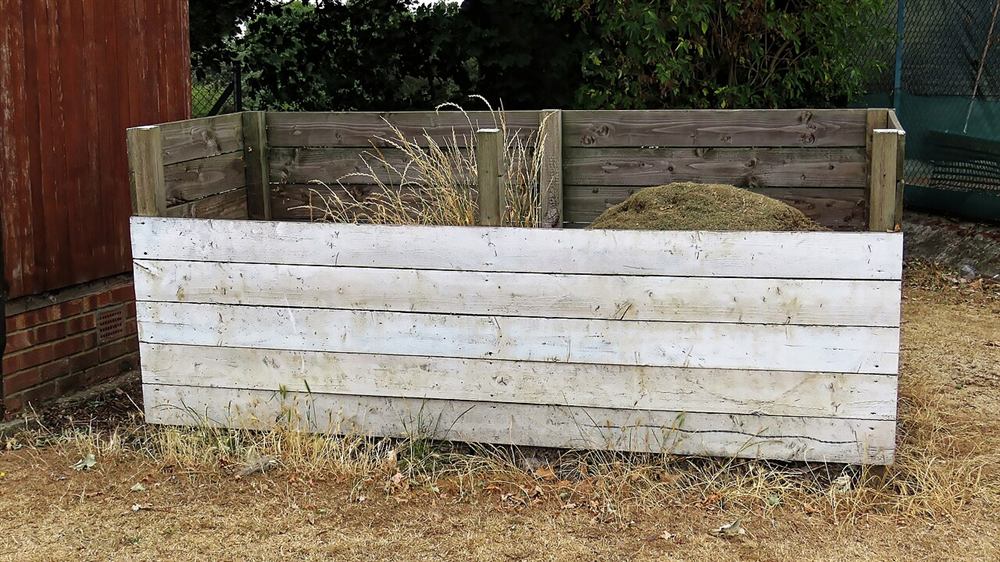
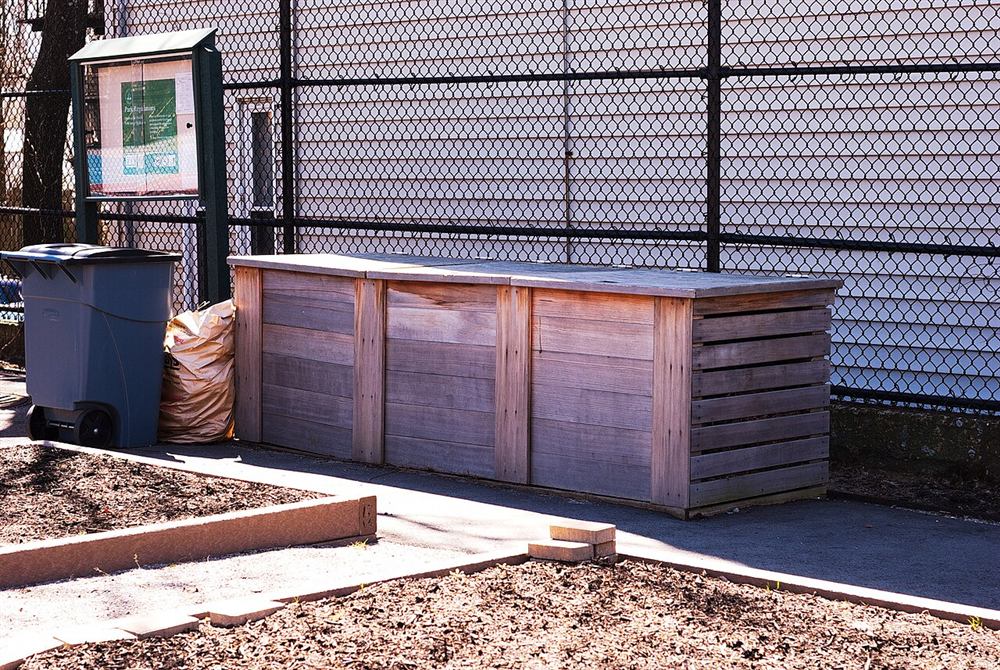
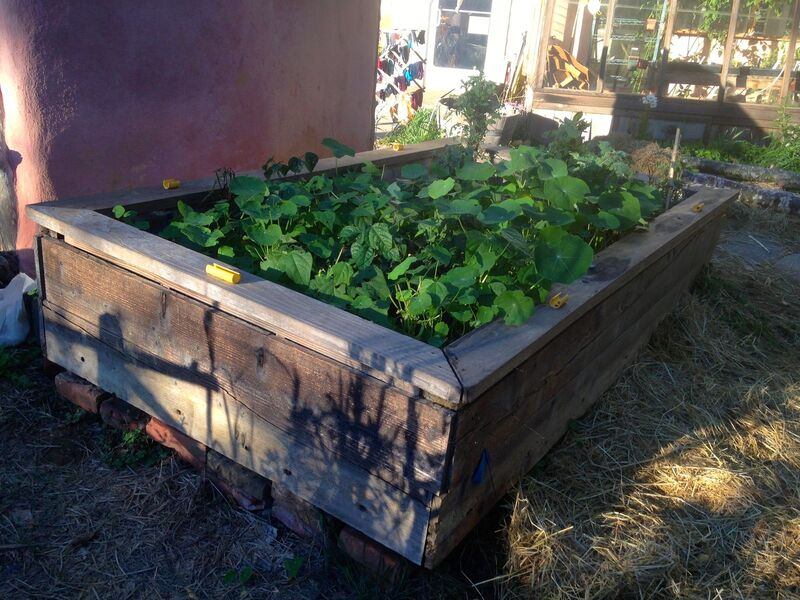
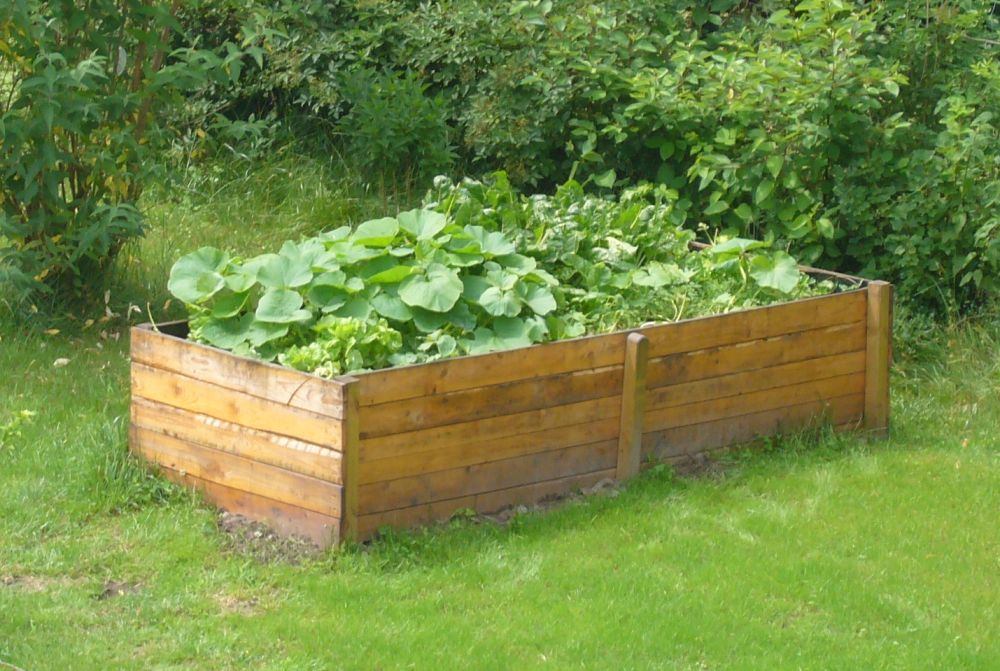
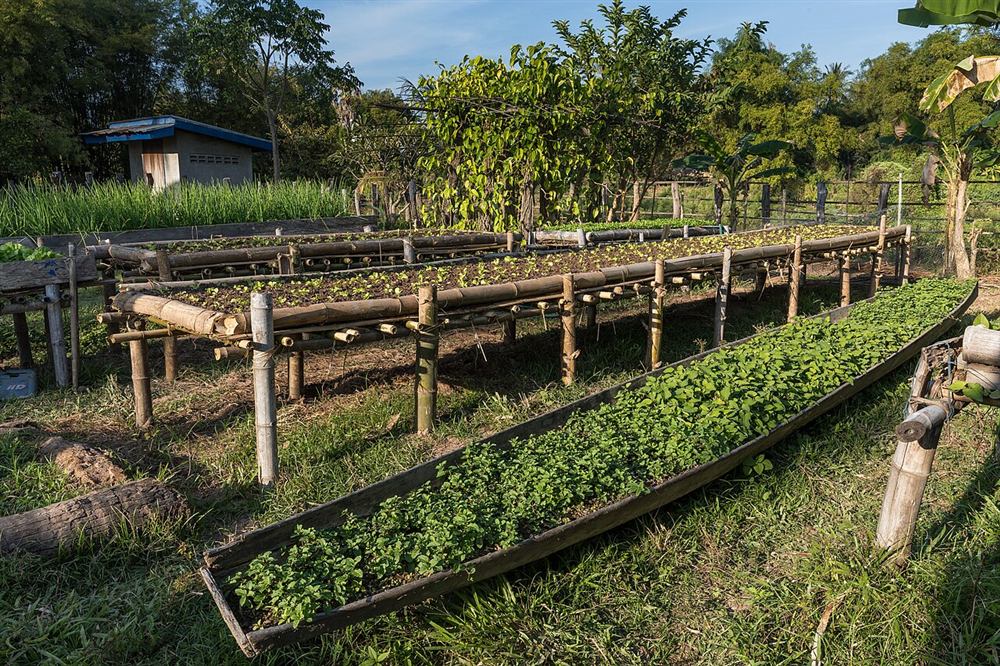
Photos of similar builds by other people, shared under open licenses. They show the idea in practice; the details differ from this guide.
Cut the side boards to length: two long sides at 4 ft (1.2 m) and two short ends that fit between them. Cut the four legs to 32 in (80 cm), the bottom slats to fit across the inside, and two cleats the length of the inside of the long sides. Sand any rough edges you will touch.
Clamp a leg in each inside corner with its top flush with the top of the sides. Screw each side board to the legs with two 1¼ in screws per board per leg, drilling pilot holes first. Stack the boards so the box is about 9 in (23 cm) deep, and check that the box is square by measuring the diagonals.
Screw a 2 × 4 cleat along the inside of each long side, level with the bottom edge of the lowest board, using 2½ in screws into the side and the legs. The cleats carry the slats and the weight of the soil, so use plenty of screws.
Lay the 1 × 4 slats across the cleats with gaps of about ¼ in (6 mm) for drainage. Screw each slat down at both ends. If the span is wider than about 2 ft, add a centre support between the cleats so the slats do not sag over time.
Turn the planter upright on a flat surface. Screw 2 × 4 rails between the legs about 6 in (15 cm) above the ground, on at least three sides. Check with the level that the top of the box is level in both directions before you tighten the last screws.
Line the inside with landscape fabric, folding it into the corners and stapling it near the top edge. The fabric lets water out but keeps soil in. Do not use plastic sheeting on the bottom: water needs to drain away or the roots will rot.
Move the planter to its final spot before you fill it, because full of wet soil it is too heavy to carry. Choose a place with sun for at least six hours if you want vegetables. Fill with potting mix, water it well and top up as it settles.
General guidance only. Follow the instructions for your tools and materials and your local rules, and use a qualified professional for electrical, gas and structural work.
Once planted, an elevated box is one of the most pleasant ways to garden: no kneeling, few weeds and no slugs climbing in easily. Refresh the top few inches of soil with compost each spring, and check the leg screws once a year.
About this guide: written by the DIY Outdoor Builds editors from general, widely used building and gardening practice. Text and illustration © DIY Outdoor Builds. Photos are by the people credited under each one, used under their licenses. Found an error? Let us know.
Share your photos, measurements and what you changed. Your build gets its own page and helps the next person.