 Guide
Raised Garden Beds
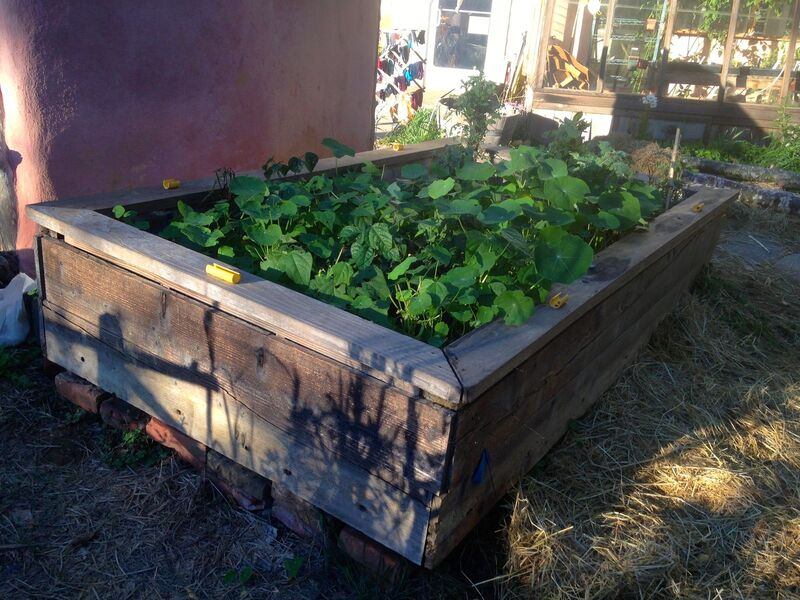
A raised bed is the easiest way to grow vegetables where the ground is poor, compacted or full of roots. This one is a plain wooden box, two boards high, with corner posts that hold everything square. It needs no special tools, and you can build it in an afternoon.
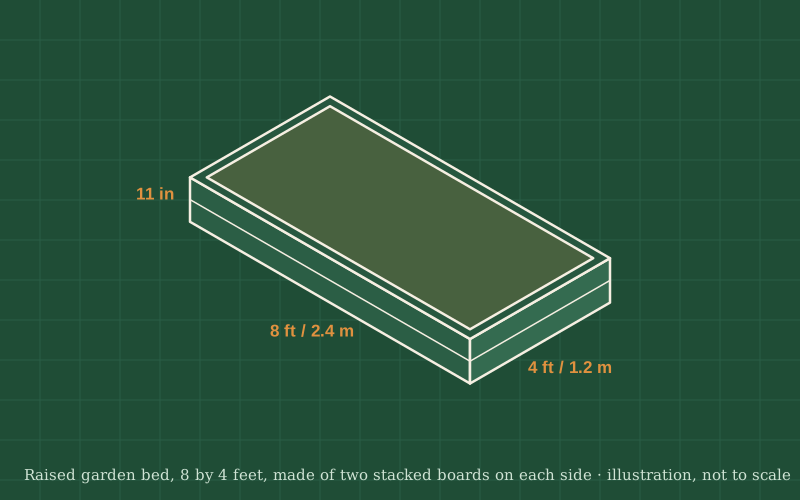
You will build an open-bottomed box 4 ft wide and 8 ft long (about 1.2 × 2.4 m) from 2 × 6 boards (about 45 × 145 mm), stacked two high. Short 2 × 4 posts in the inside corners hold the boards together, and a centre post on each long side stops the boards from bowing out when the bed is full of wet soil.
The 4 ft width matters more than the length: you can reach the middle from either side without stepping on the soil, so it stays loose and drains well. If you want a longer bed, keep it 4 ft wide and add one more pair of centre posts for every extra 4 ft.
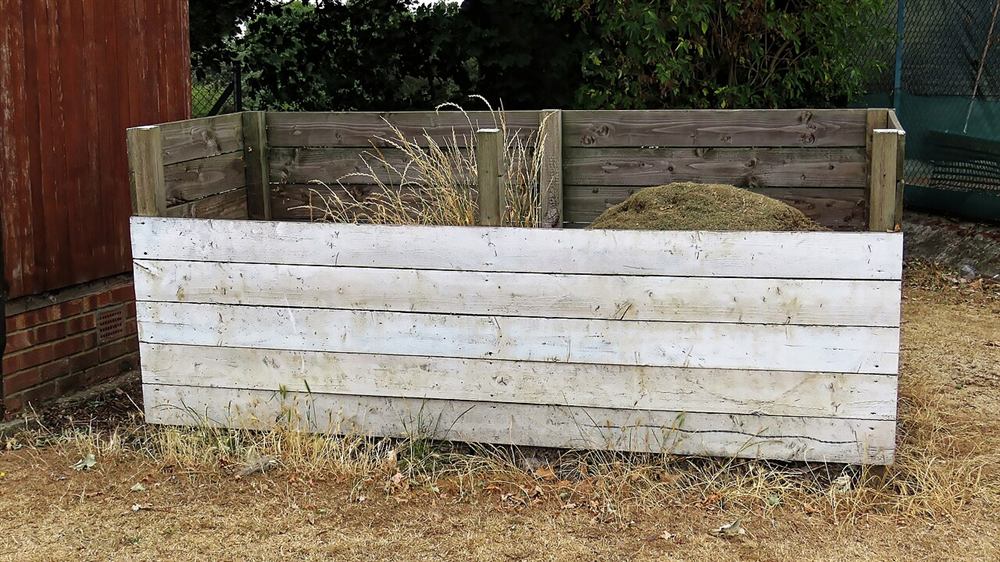
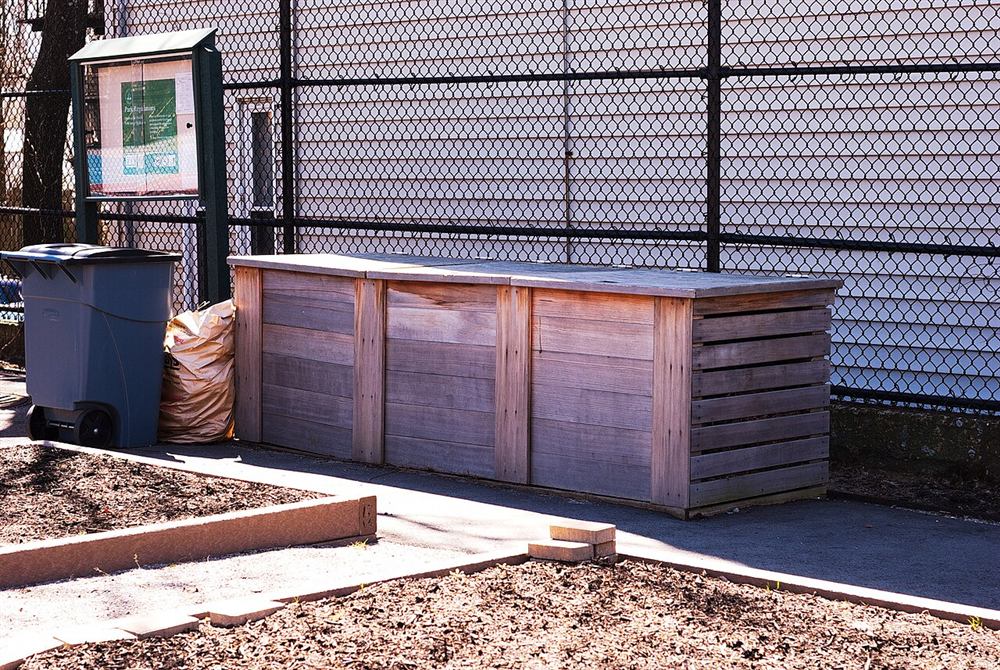
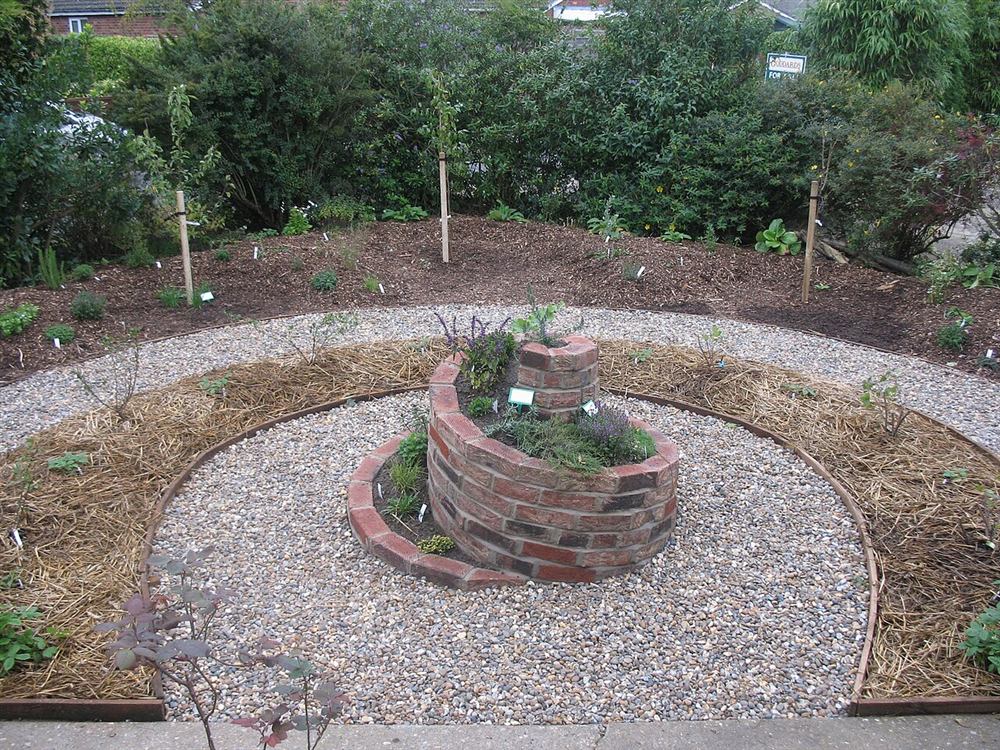
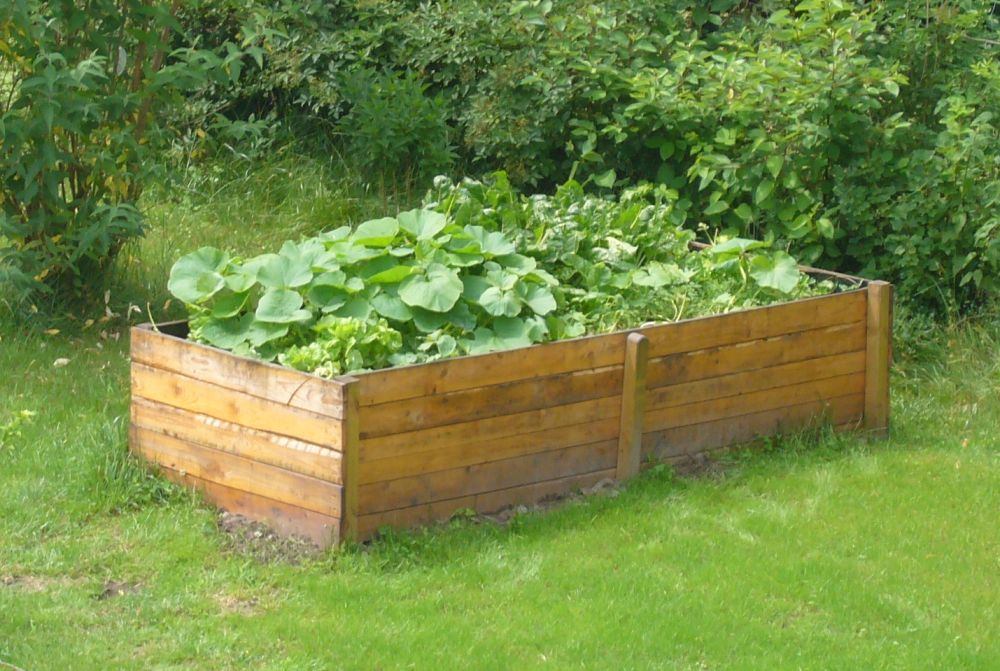
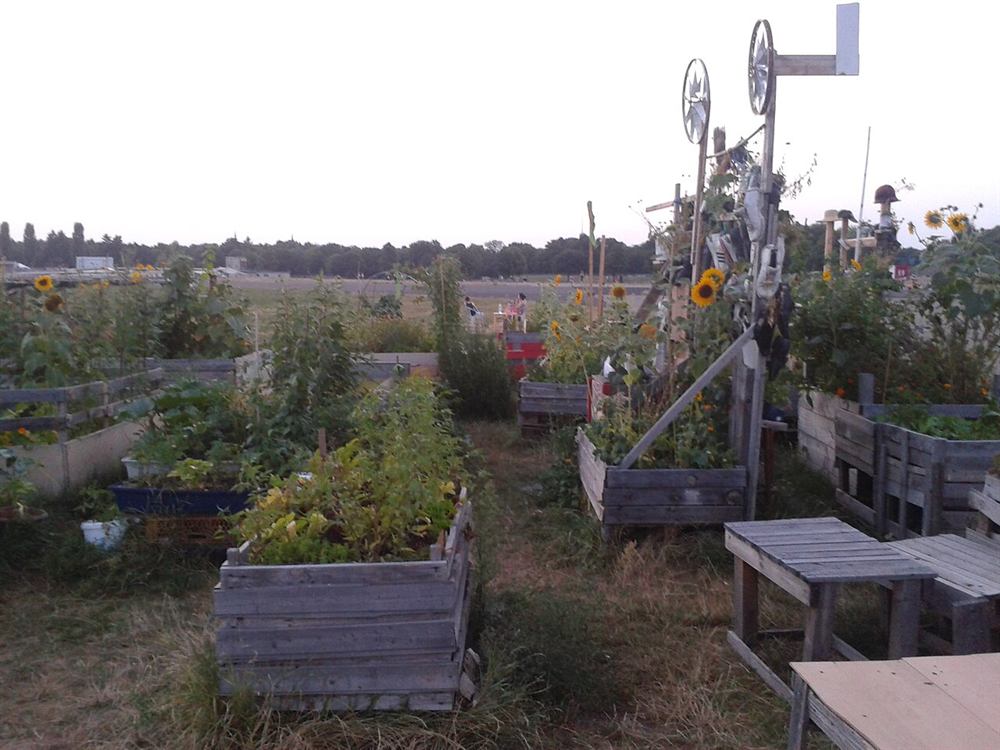
Photos of similar builds by other people, shared under open licenses. They show the idea in practice; the details differ from this guide.
Most vegetables want at least six hours of direct sun a day, so watch the spot for a day before you build. Keep the bed within reach of a hose. A level site makes everything easier; on a slope you will need to dig the uphill side in so the bed sits flat.
If your lumber yard did not cut them, cut two of the 8 ft boards in half to make four 4 ft end pieces. Cut the 2 × 4 into six posts as tall as the two stacked boards, about 11 in (28 cm). Check each cut with the square: square ends are what make the corners close tightly.
Lay two end boards on a flat surface, one above the other, and place a post flush with each end on the inside face. Drill pilot holes so the wood does not split, then drive two screws through each board into each post. You now have two rigid end frames.
Stand the end frames up 8 ft apart and screw the long boards to the posts, again two screws per board per post. Work on a flat surface or on the site itself, so the frame does not twist as it comes together.
Screw a post to the middle of each long side on the inside. Then measure both diagonals of the box: when they are the same length, the bed is square. Push the long corners gently until they match.
Set the bed in place and check it with the level, digging under the high side until it sits flat. Mow or cut the grass short inside the frame and cover it with overlapping sheets of plain cardboard; it smothers the grass and rots away within a season. If moles or voles are a problem, lay hardware cloth under the bed first and bend it up the inside walls.
Fill the bed with a mix of topsoil and compost and water it well. The soil will settle by several centimetres over the first weeks, so top it up before you plant. Leave an inch or two (2–5 cm) of board above the soil so mulch and water stay in.
General guidance only. Follow the instructions for your tools and materials and your local rules, and use a qualified professional for electrical, gas and structural work.
Once it is filled, the bed will last many seasons with no more care than an occasional check of the screws. Plant tall crops on the north side so they do not shade the rest, and add a fresh layer of compost each spring to keep the soil rich.
About this guide: written by the DIY Outdoor Builds editors from general, widely used building and gardening practice. Text and illustration © DIY Outdoor Builds. Photos are by the people credited under each one, used under their licenses. Found an error? Let us know.
Share your photos, measurements and what you changed. Your build gets its own page and helps the next person.