 Guide
Compost Bins
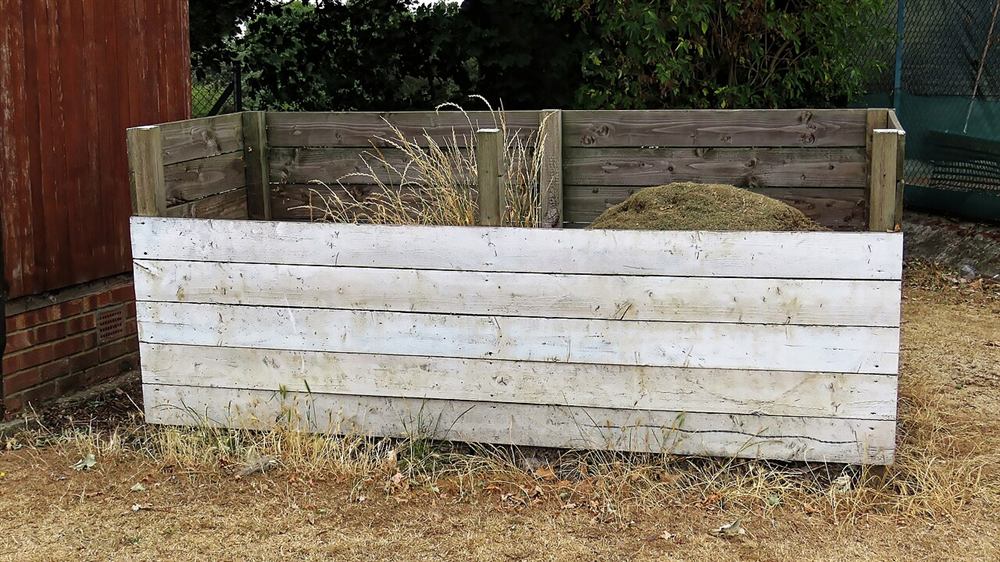
In a small garden, a single tidy compost bin is often all you need. This one is a square box of slats with small gaps for air, and a front made of loose boards you lift out to reach the finished compost at the bottom.
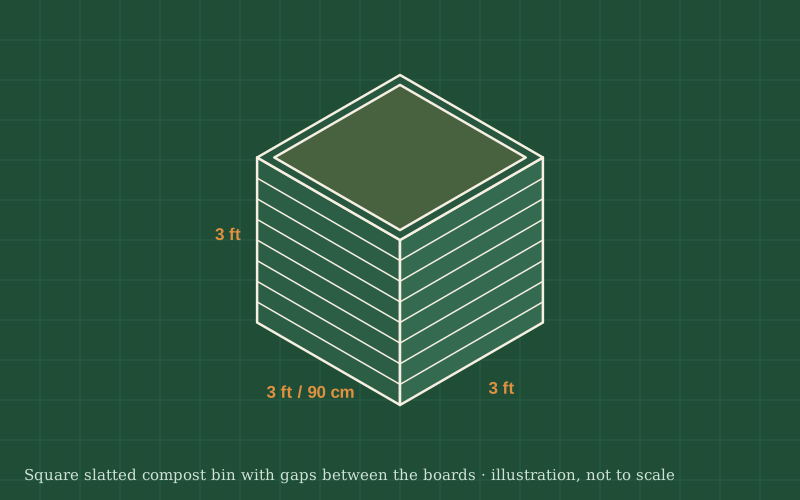
Four corner posts hold three fixed slatted sides. On the front, two strips on each front post form slots, and boards slide down into them. A simple hinged or loose lid keeps off heavy rain.
A cube of about 3 ft (90 cm) is big enough to heat up when filled with a good mix, yet small enough for a small garden. The gaps between slats should be narrow, about ½ in (1 cm), enough for air but not for the compost to fall out.
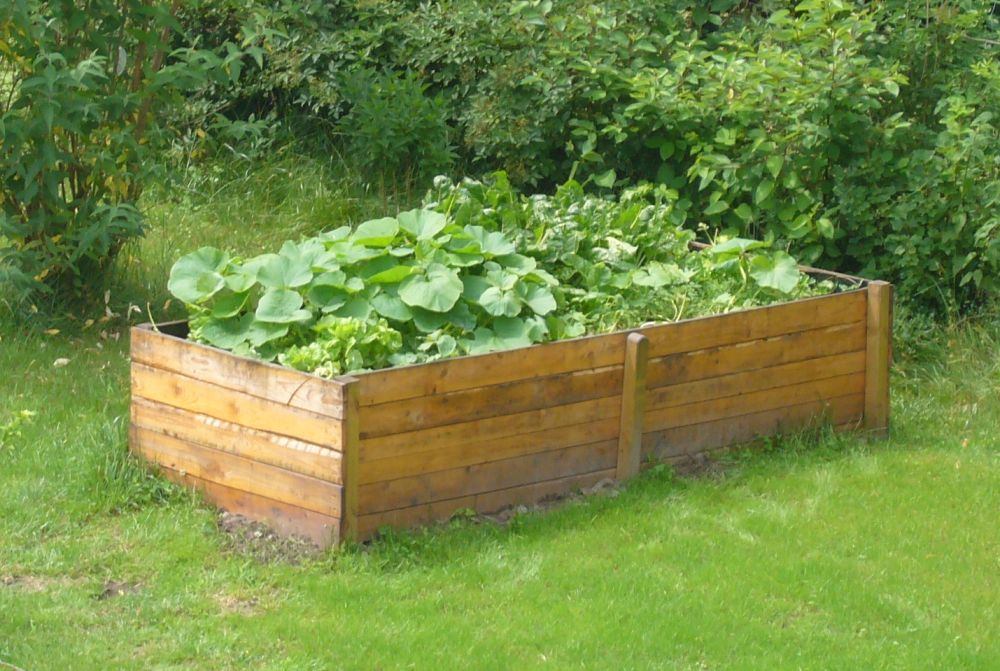
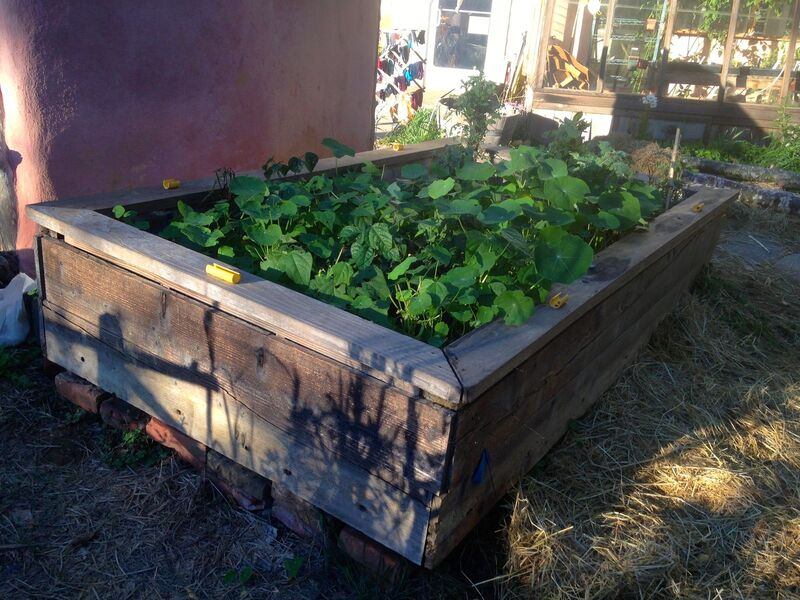
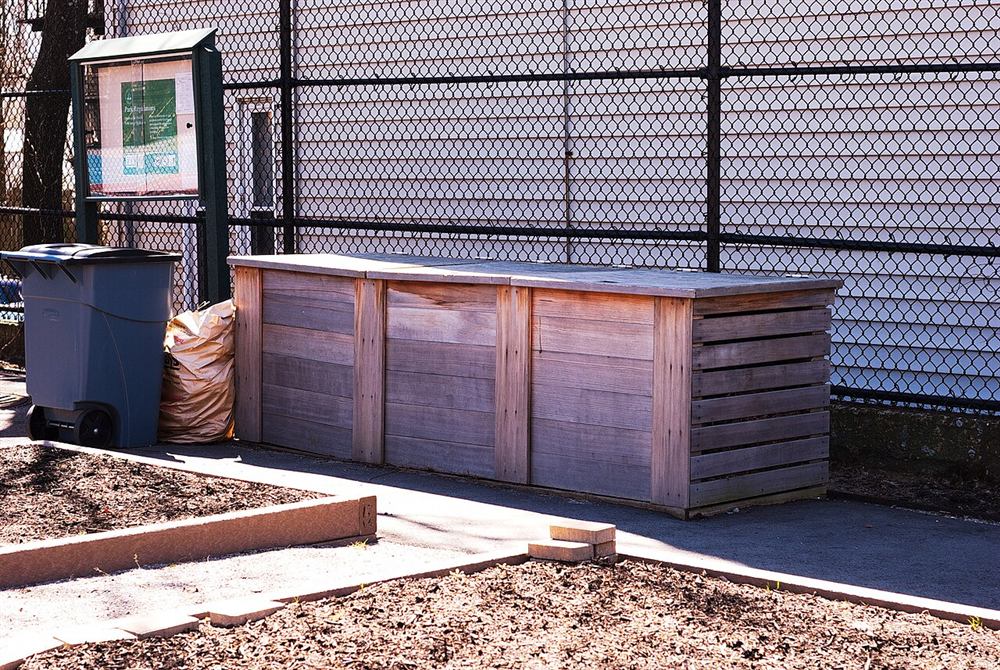
Photos of similar builds by other people, shared under open licenses. They show the idea in practice; the details differ from this guide.
Lay two posts on a flat surface, 3 ft apart. Screw slats across them from bottom to top, using spacers to keep a gap of about ½ in (1 cm) between slats. Make a second identical panel.
Stand the side panels up facing each other and screw slats across the back posts to join them, again with even gaps. Check that the box is square by measuring the diagonals before the last screws go in.
On the inside face of each front post, screw two thin strips upright with a gap between them slightly wider than your boards. The front boards will slide down into these slots.
Cut boards to fit between the slots with a little play, so they slide easily even when swollen with damp. Drop them in from the bottom up. A small handhold cut in the top board makes lifting easier.
Screw boards or plywood onto two battens to make a lid slightly larger than the box. Either hinge it to the back or let it rest loose on top. A lid keeps rain from soaking the heap and helps hold in the heat.
Place the bin on bare, level soil in a partly shaded spot, so worms and moisture can move in from below. Start with a layer of coarse twigs at the bottom to help air reach the heap.
Add material in layers as it comes: a bucket of kitchen scraps, then a couple of handfuls of dry leaves or shredded cardboard. When you have enough to fill the bin about halfway, fork it through and water it if it looks dry. In warm weather a well-mixed heap feels warm in the middle within a week or two.
General guidance only. Follow the instructions for your tools and materials and your local rules, and use a qualified professional for electrical, gas and structural work.
A slatted bin looks tidy, works well and is easy to fix. When you lift out the first barrowful of dark, crumbly compost from the bottom, you will wonder why you ever bought bags of it.
About this guide: written by the DIY Outdoor Builds editors from general, widely used building and gardening practice. Text and illustration © DIY Outdoor Builds. Photos are by the people credited under each one, used under their licenses. Found an error? Let us know.
Share your photos, measurements and what you changed. Your build gets its own page and helps the next person.