 Guide
Fences & Gates
A gate that drags on the ground or will not latch is one of the most common garden annoyances. The cause is usually one of three things: loose hinges, a gate frame that has racked out of square, or a leaning post. This guide helps you find which one and fix it.
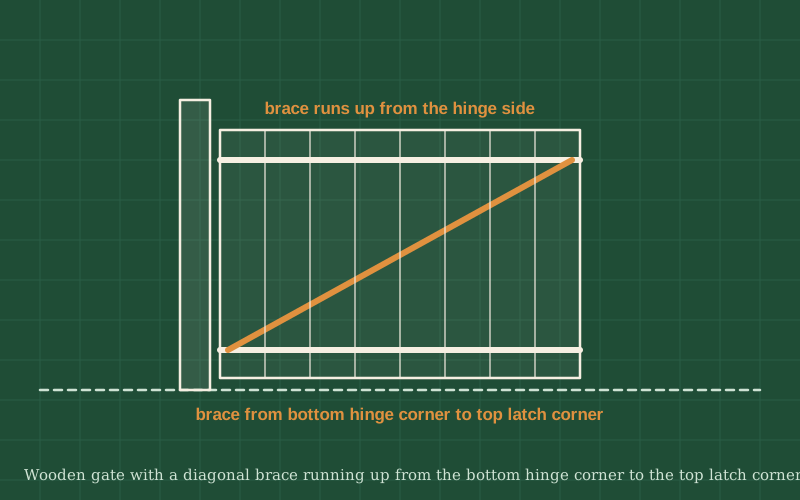
You will diagnose the sag, then fix it in the right place. Loose hinges are tightened with longer screws or through-bolts. A racked gate is squared up and given a diagonal brace or an anti-sag cable. A leaning post is a bigger job, covered at the end.
The key fact about bracing: a wooden brace works in compression, so it must run from the bottom corner on the hinge side up to the top corner on the latch side. A steel cable or turnbuckle works in tension, so it runs the opposite way, from the top hinge corner down to the bottom latch corner.
Photos of similar builds by other people, shared under open licenses. They show the idea in practice; the details differ from this guide.
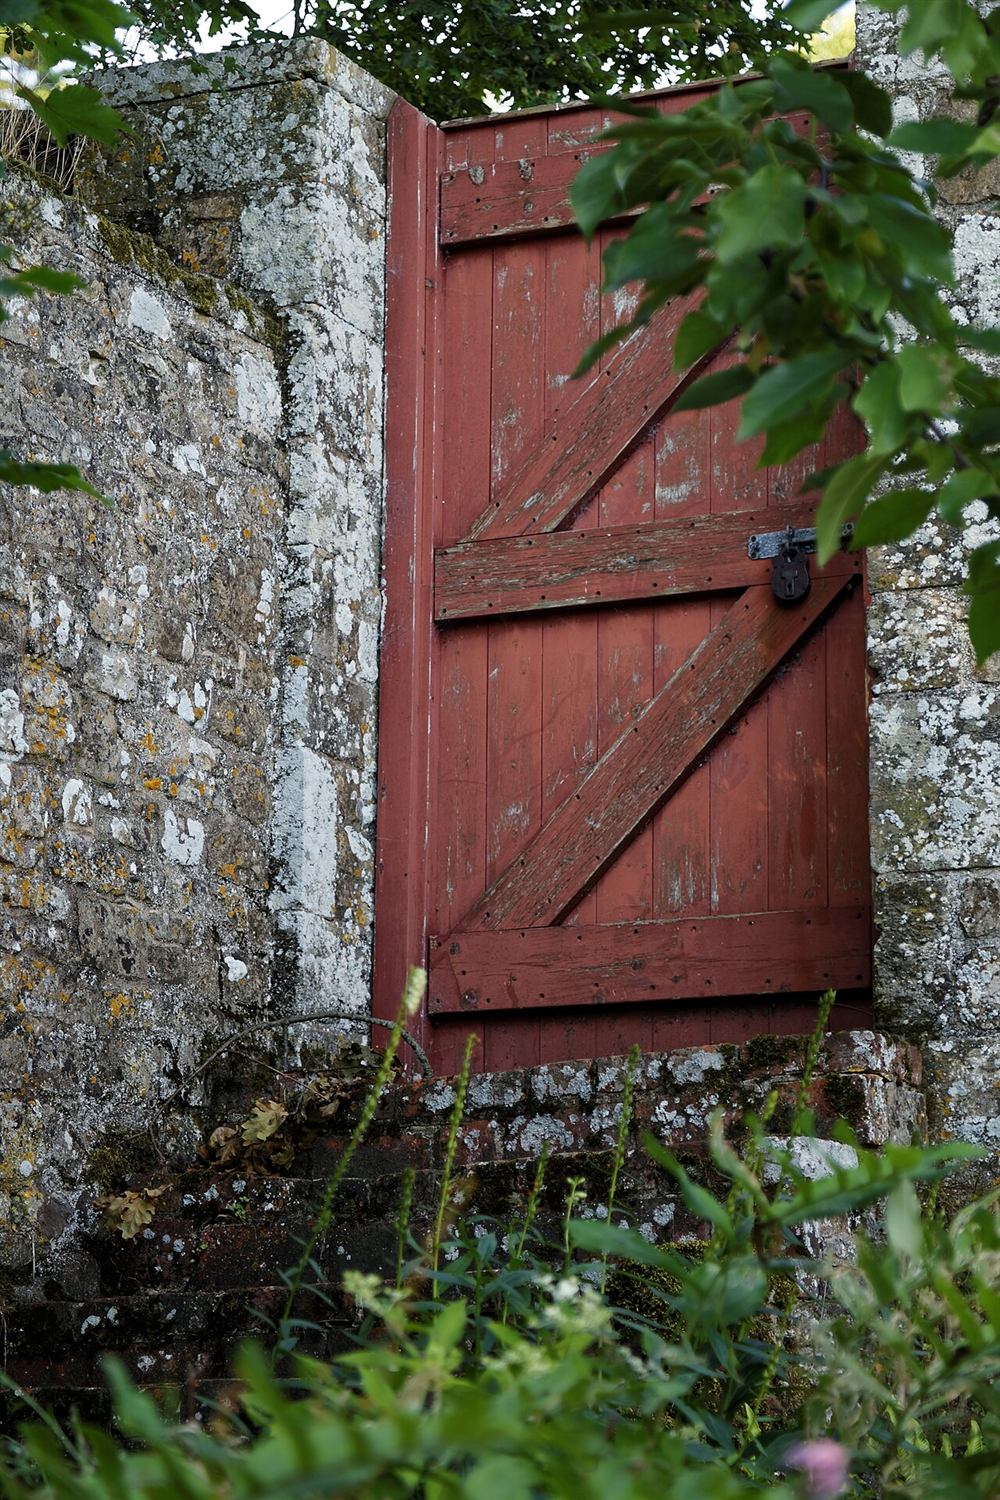
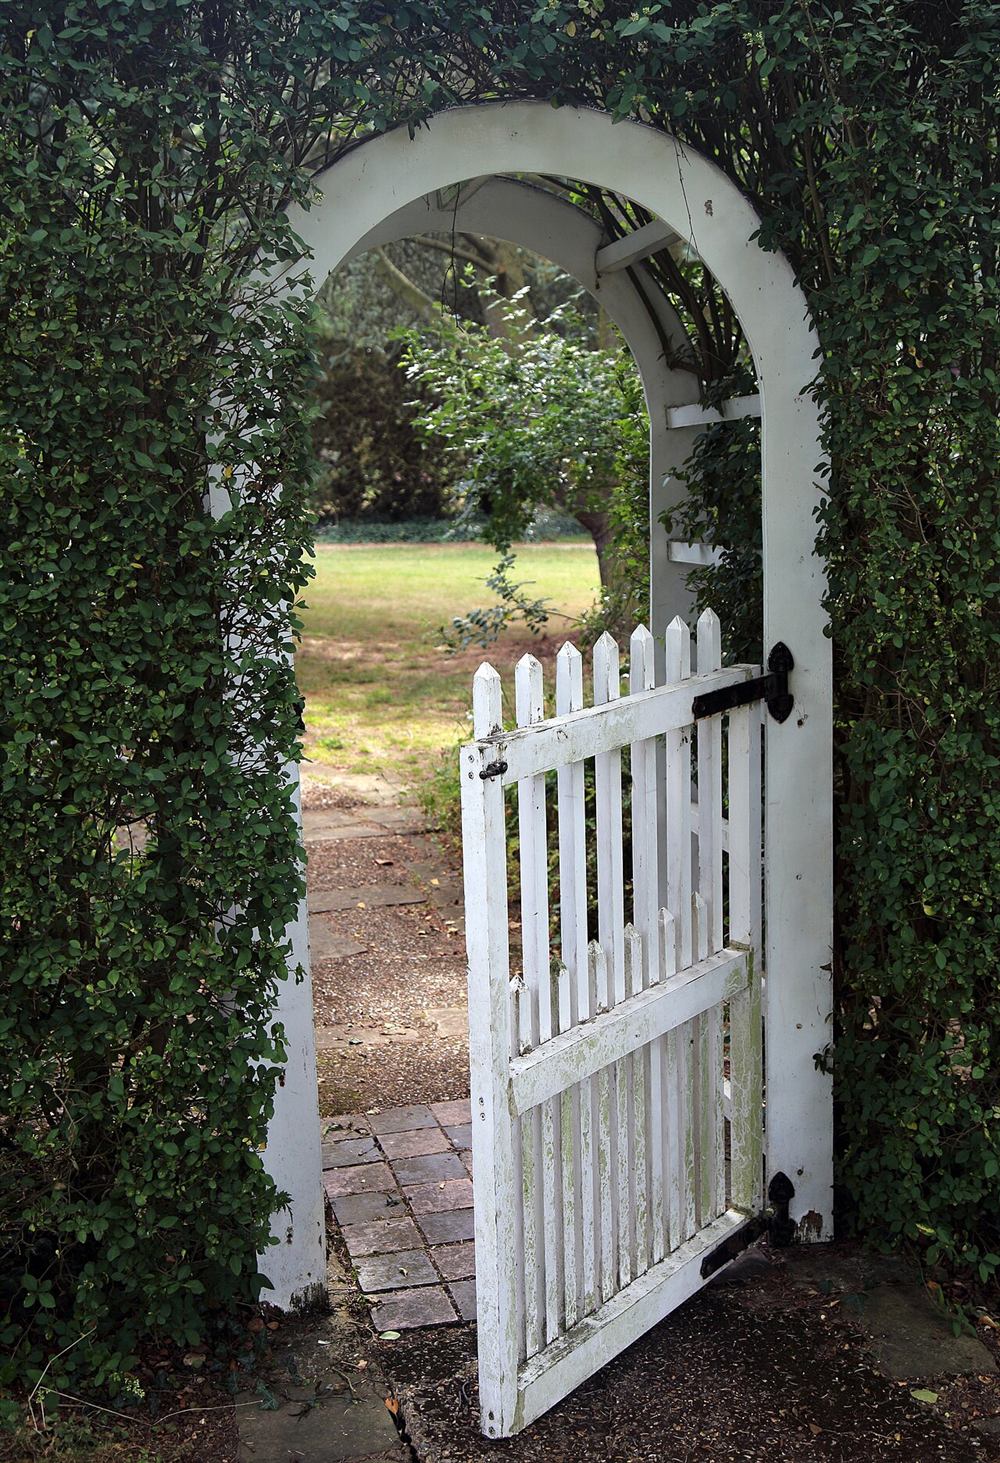
Close the gate and hold a level against the hinge post. If the post leans, the post is the problem. If the post is plumb, check the hinges by lifting the latch end of the gate: if the hinges move or the screws pull out, they are loose. If the hinges are tight but the gate's corners are no longer square, the frame has racked.
Prop the gate up level with shims or offcuts underneath. Replace stripped hinge screws with longer ones that bite into fresh wood, or through-bolt the hinges with carriage bolts. Fill old, oversized holes with glued wooden plugs before re-drilling.
Take the gate off its hinges if possible and lay it on a flat surface. Push it back into square, checking with a square or by measuring the diagonals, and hold it there with clamps.
Lay a board across the back of the gate from the bottom hinge-side corner to the top latch-side corner, mark the angled cuts where it meets the rails and cut it to fit tightly. Glue and screw it into the rails and through the boards. Rehang the gate and check that it swings and latches freely.
If you cannot fit a wooden brace, install an anti-sag kit: fix the top bracket at the hinge-side top corner and the bottom bracket at the latch-side bottom corner, then tighten the turnbuckle until the gate lifts back into square. Do not overtighten.
A leaning hinge post usually means the post has rotted at ground level or its footing has moved. Short-term, a diagonal brace from the post to the ground can help. The lasting fix is to reset or replace the post; see our guide to replacing a broken fence post.
General guidance only. Follow the instructions for your tools and materials and your local rules, and use a qualified professional for electrical, gas and structural work.
Most sagging gates can be fixed in an afternoon once you know where the problem really is. A tight set of hinges and a correctly placed brace will keep the gate swinging and latching smoothly for years.
About this guide: written by the DIY Outdoor Builds editors from general, widely used building and gardening practice. Text and illustration © DIY Outdoor Builds. Photos are by the people credited under each one, used under their licenses. Found an error? Let us know.
Share your photos, measurements and what you changed. Your build gets its own page and helps the next person.