 Guide
Fences & Gates
Wooden fence posts usually rot at ground level, where wood stays wet and has air, and the fence starts to lean. Replacing a single post is a manageable job for one person with a helper for an hour, and it saves replacing the whole fence.
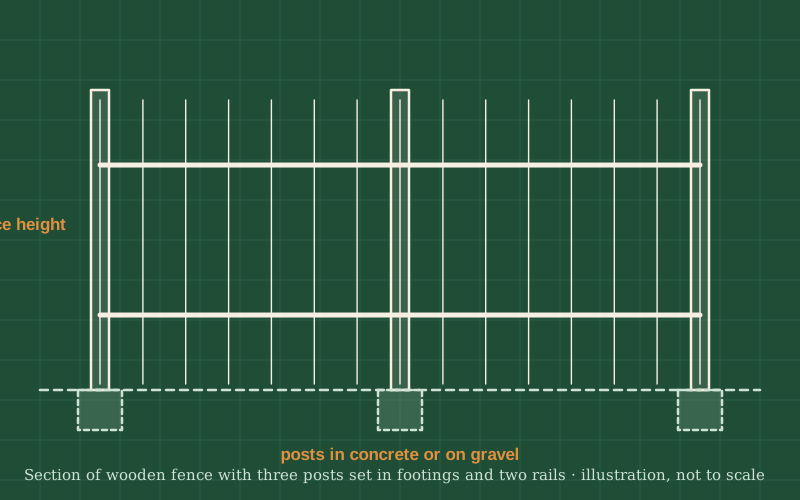
You will prop up the fence, detach the panels or rails from the broken post, remove the old post and its footing, set a new post plumb in fresh concrete or compacted gravel, and reattach the fence.
The new post should match the size of the old one and be rated for ground contact. The depth of the hole depends on the fence height, your soil and local practice; a common rule of thumb is about a third of the post's above-ground height, deeper in loose soil or where frost heave is a problem. If several posts are rotten, the fence may be near the end of its life.
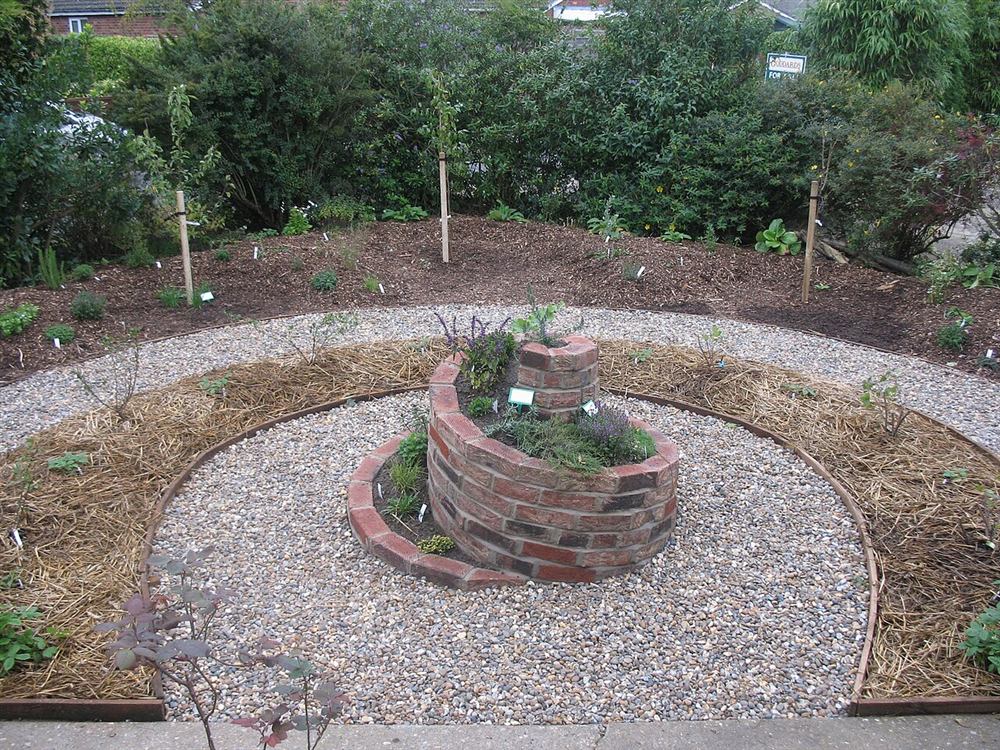
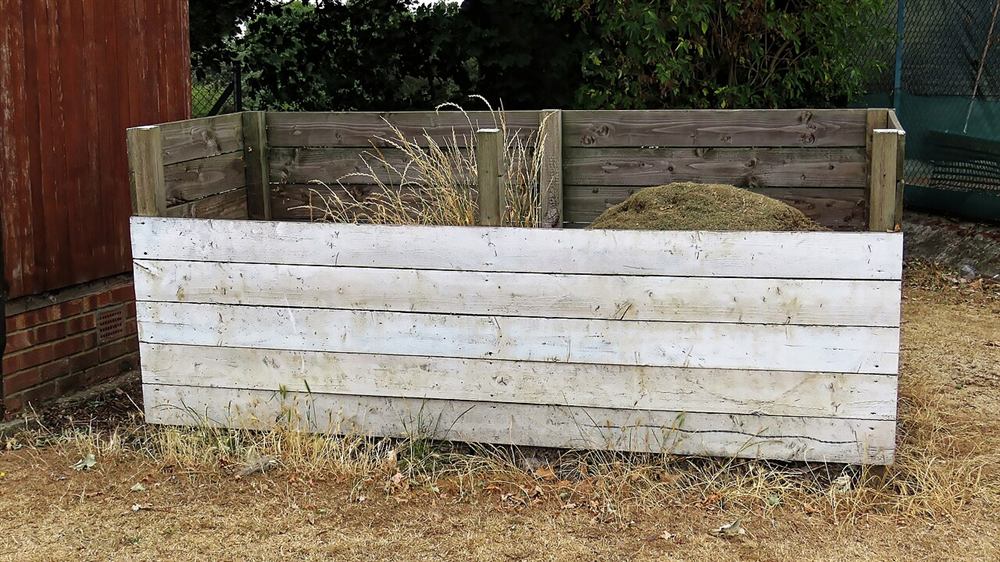
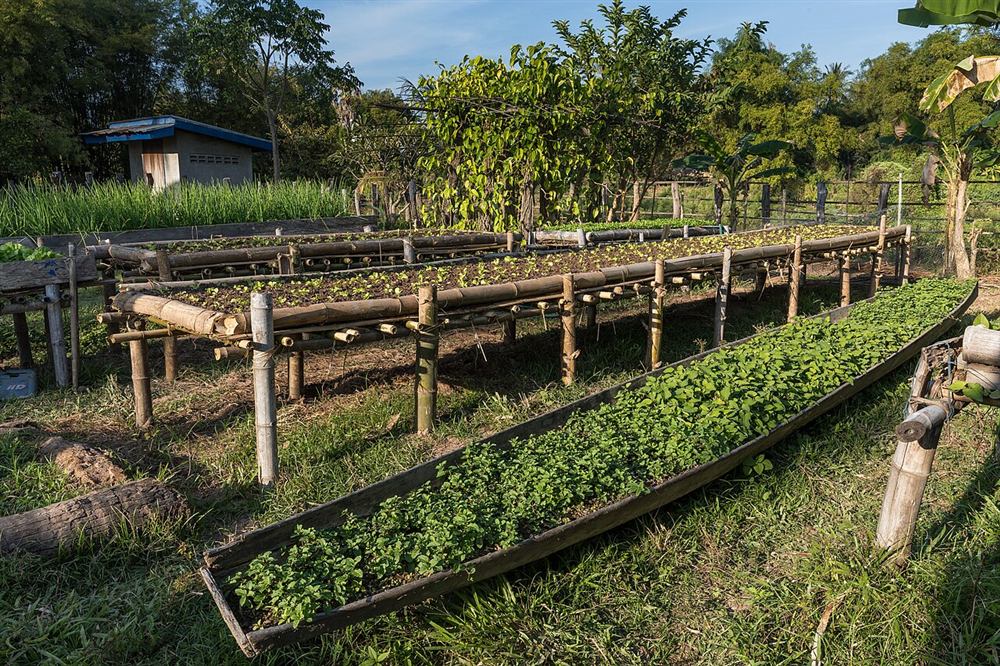
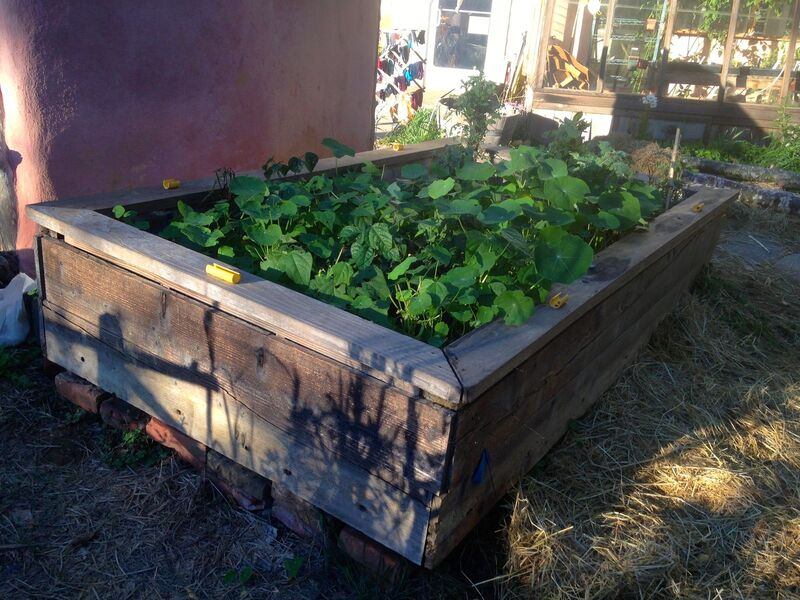
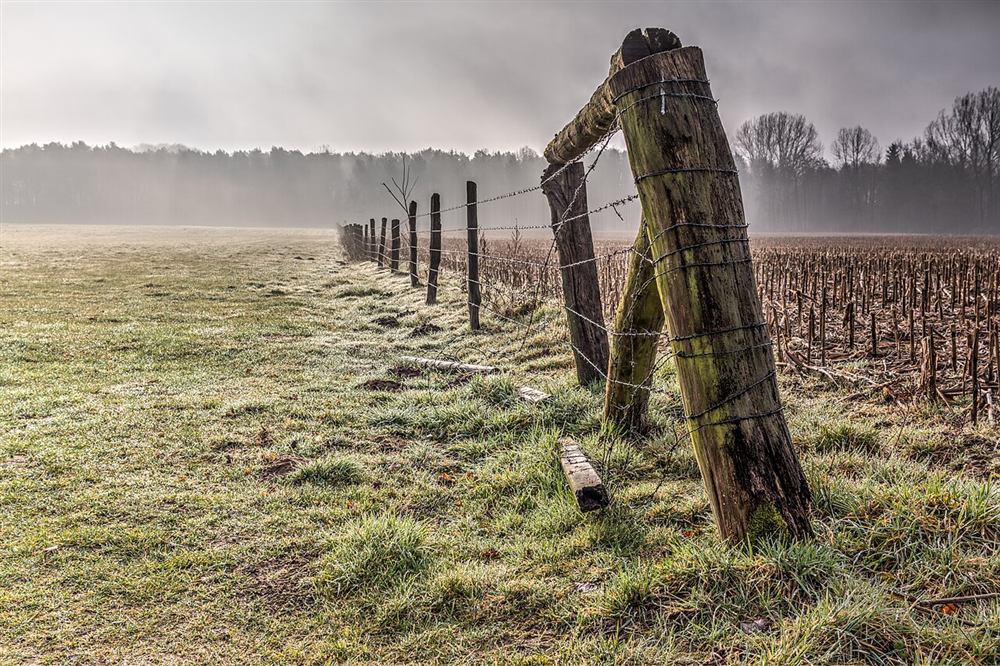
Photos of similar builds by other people, shared under open licenses. They show the idea in practice; the details differ from this guide.
Before you dig, find out where underground cables and pipes run, especially along boundaries where services are often laid. Use the local marking service where one exists.
Wedge temporary props under the rails or panels on both sides of the broken post, so the fence stays upright when you free it. A helper makes this much easier.
Remove the screws, nails or brackets holding the panels or rails to the post. If they are rusted, cut through them carefully with a hacksaw or reciprocating saw.
Dig around the old post and lever it out with the digging bar. If it is set in concrete, dig beside the lump, break it into pieces with the bar and lift them out. Alternatively, set the new post in a fresh hole just beside the old one if the fence layout allows.
Put a few inches of gravel in the bottom of the hole for drainage and stand the new post on it. Use a string line from the neighbouring posts to get it in line and at the right height. Check it is plumb on two faces and hold it with props.
Fill around the post with post concrete or concrete following the maker's instructions, sloping the top away from the post so water runs off. Or pack gravel in firm layers, which drains well and makes future replacement easier. Let concrete set fully before loading the post.
Fix the panels or rails back to the new post with screws or new brackets. Remove the props, check the line of the fence and treat any cut ends of the post with end-grain preservative.
General guidance only. Follow the instructions for your tools and materials and your local rules, and use a qualified professional for electrical, gas and structural work.
Replacing one post is far cheaper than a new fence and usually takes a single day. Once the new post is set and the fence is straight again, a little care around the bases will help every post last longer.
About this guide: written by the DIY Outdoor Builds editors from general, widely used building and gardening practice. Text and illustration © DIY Outdoor Builds. Photos are by the people credited under each one, used under their licenses. Found an error? Let us know.
Share your photos, measurements and what you changed. Your build gets its own page and helps the next person.