 Guide
Pergolas & Gazebos
A pergola frames a patio or seating area with posts and an open roof of rafters, giving light shade and a place for climbing plants. It is a satisfying project, but it is also a real structure that has to stand up to wind for decades. This guide focuses on doing that part right.
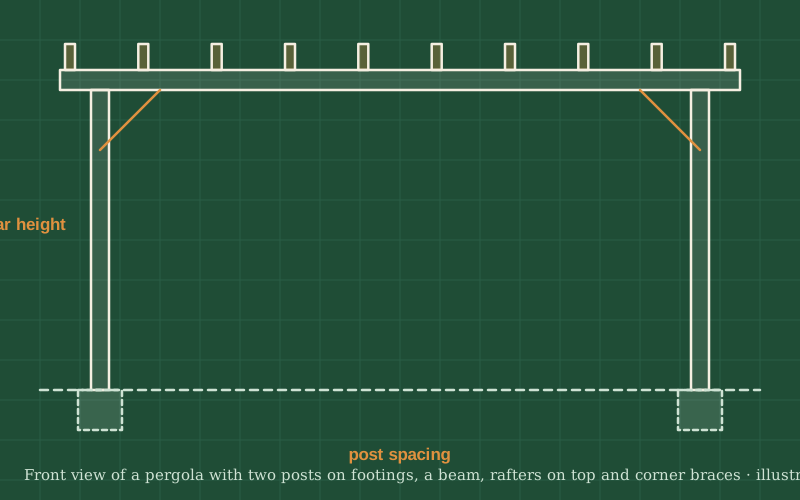
A freestanding pergola has four posts set on concrete footings, two beams along the tops of the posts, rafters across the beams and diagonal braces in the corners to stop it from racking. Because it does not lean on a house wall, it can stand anywhere in the garden.
Post and beam sizes, rafter spacing and how deep the footings must go depend on the span, the wood you use, your climate (frost depth, wind, snow) and local rules. We do not give one-size numbers for these: use your local building code or span tables, ask your lumber supplier, or have a professional check your plan, especially for larger pergolas or if you add a solid roof.
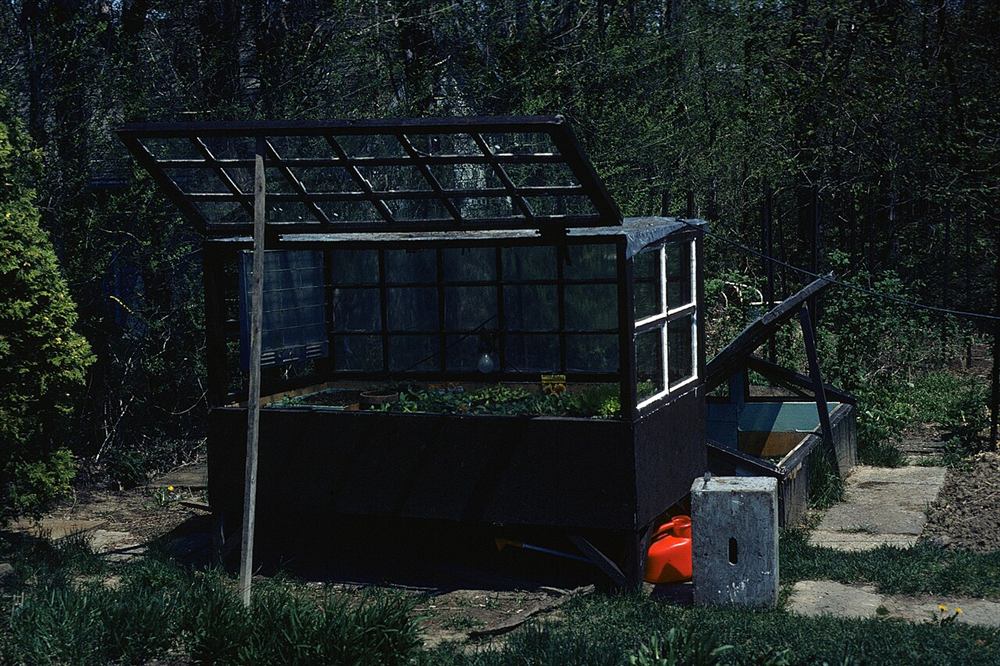
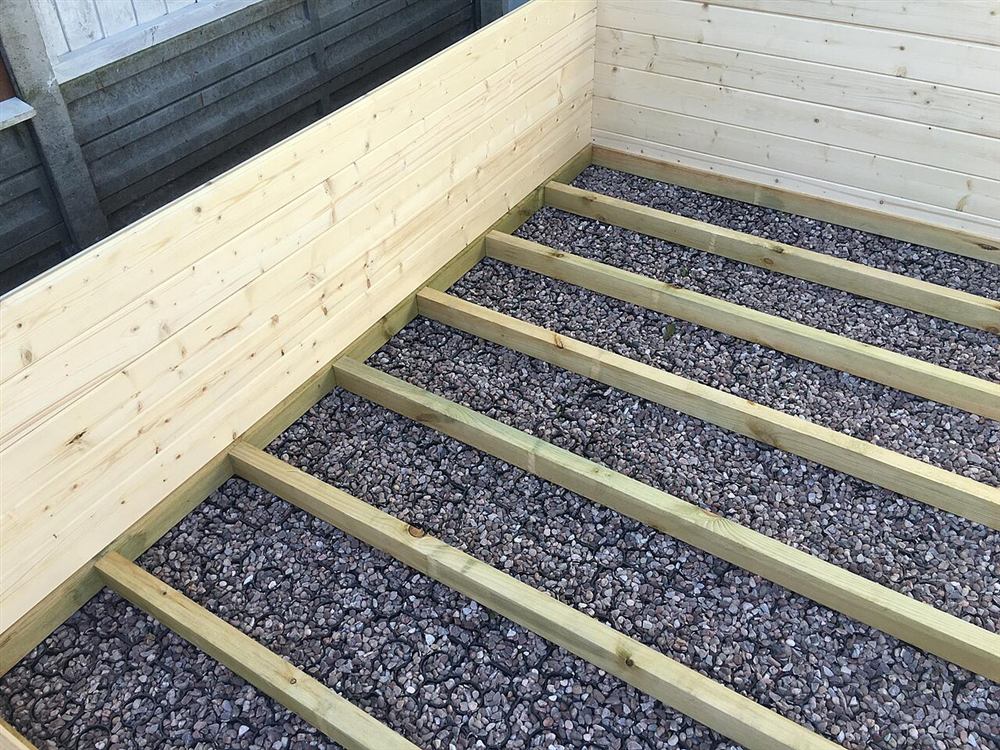
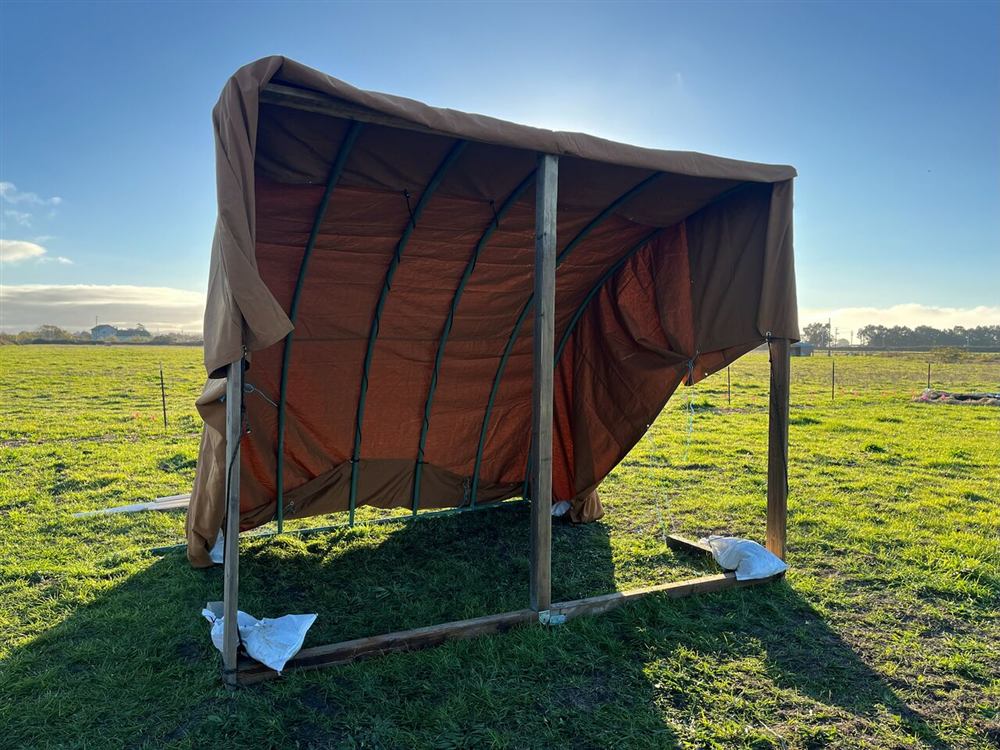
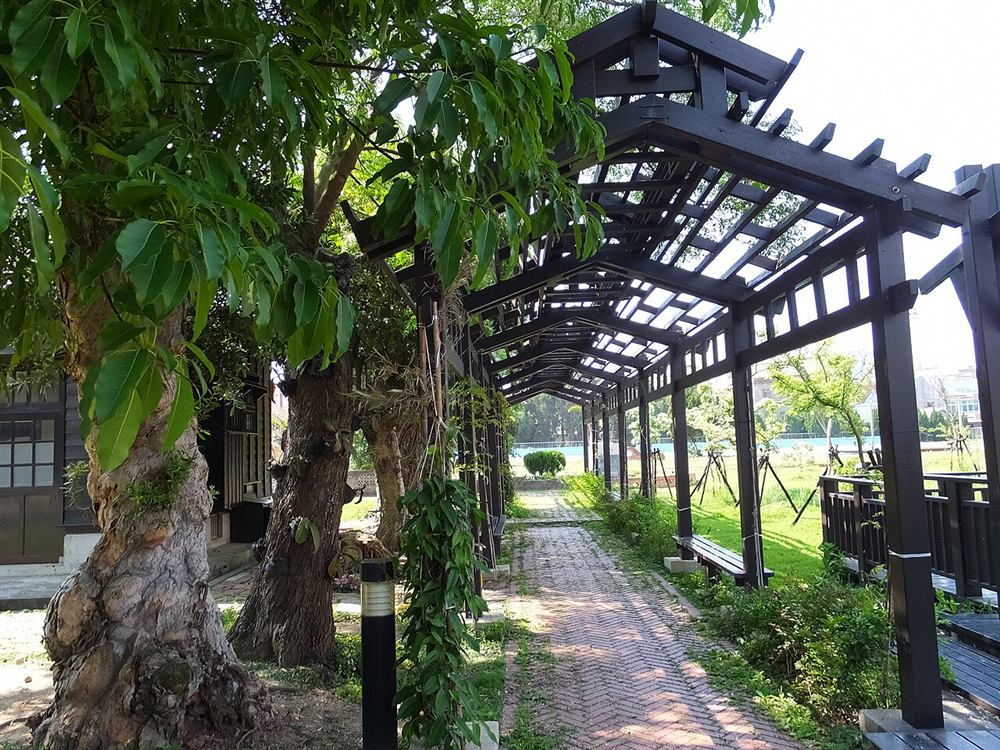
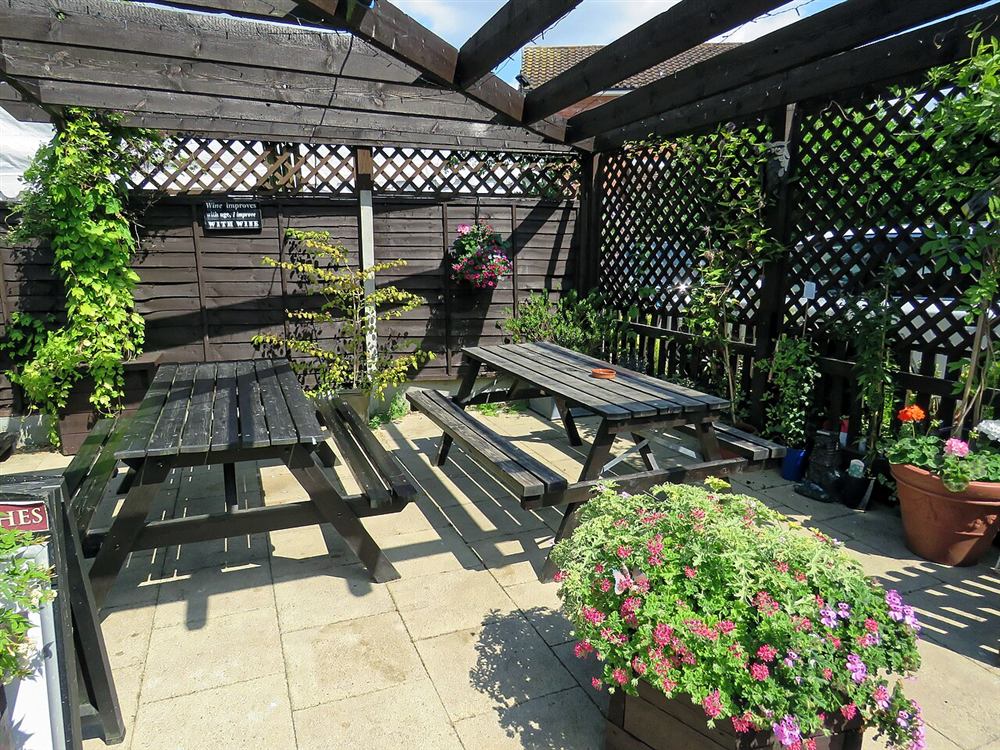
Photos of similar builds by other people, shared under open licenses. They show the idea in practice; the details differ from this guide.
Look up whether your pergola needs permission and how close to the boundary it may stand. Then have underground cables and pipes located before you dig; many countries have a free marking service. Do not skip this, as a spade through a power cable can kill.
Decide the footprint and height, then size the posts, beams and rafters for those spans using your local span tables or advice from your supplier. Write down the footing size and depth your local code requires, which is usually below the frost line in cold climates.
Mark the four post centres with stakes and string. Measure the diagonals: when they match, the layout is square. Mark the holes and dig them to the required depth and width.
Pour concrete into the holes and set post bases in it, aligned with the string and level with each other, or set the posts in the holes on a gravel base and brace them plumb while the concrete is poured. Let the concrete cure for the time its maker recommends before you load it.
Fix the posts to the bases, check each one with a post level on two faces and hold it plumb with temporary diagonal braces staked to the ground. Mark the beam height on every post using a long level or a laser so all beams end up level.
With a helper and two stepladders, lift each beam into place, clamp it at the marks and fix it with structural screws or through-bolts. Never work alone at height with heavy beams.
Space the rafters evenly across the beams and fix them with screws or rafter ties as your plan requires. Fit diagonal braces between each post and beam: they are what stop a freestanding pergola from swaying.
Remove the temporary braces, ease sharp edges and apply an exterior oil, stain or paint if the wood needs it. Check the fixings after the first windy season, and again each year.
General guidance only. Follow the instructions for your tools and materials and your local rules, and use a qualified professional for electrical, gas and structural work.
A well-built pergola changes how you use the garden: a shaded spot for meals, a frame for roses or grapes, and a clear edge to the patio. Taking time over footings, sizes and bracing is what makes it last, so do not rush those parts.
About this guide: written by the DIY Outdoor Builds editors from general, widely used building and gardening practice. Text and illustration © DIY Outdoor Builds. Photos are by the people credited under each one, used under their licenses. Found an error? Let us know.
Share your photos, measurements and what you changed. Your build gets its own page and helps the next person.