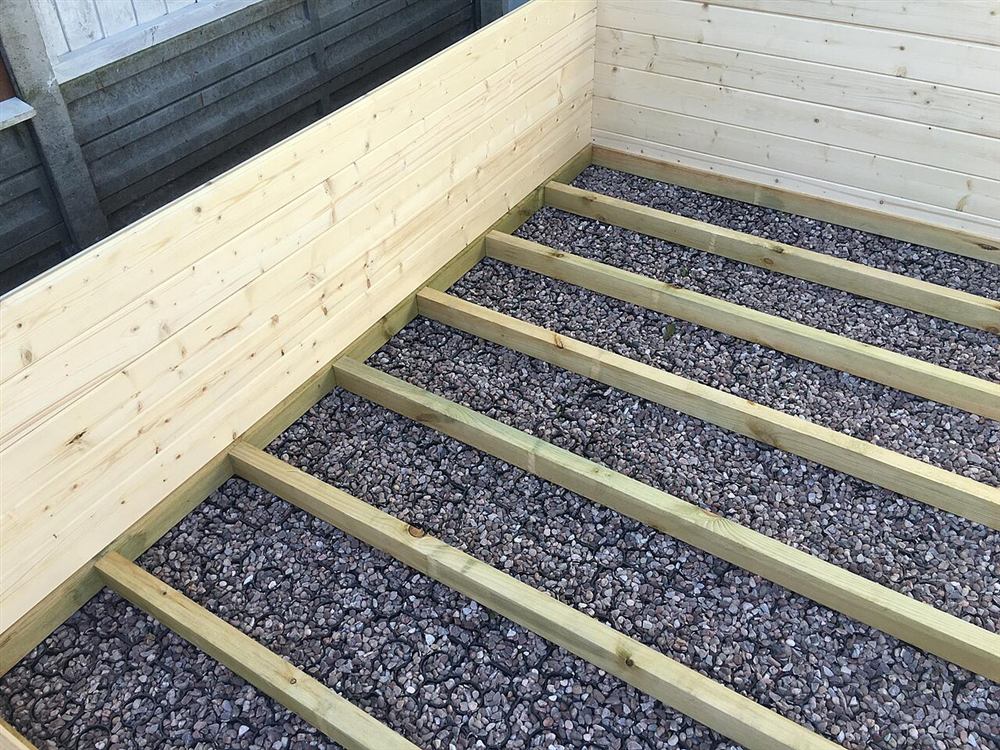
 Guide
Garden Sheds
Long-handled garden tools never fit anywhere. A narrow lean-to shed stands against a wall or fence and holds rakes, spades, a hose reel and a few bags on a shelf, without taking up half the garden. It is a good first shed project because everything is small enough to lift alone.
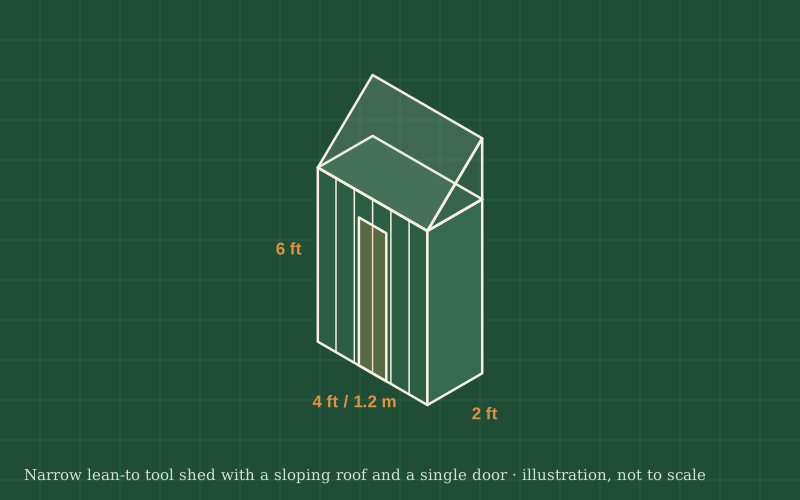
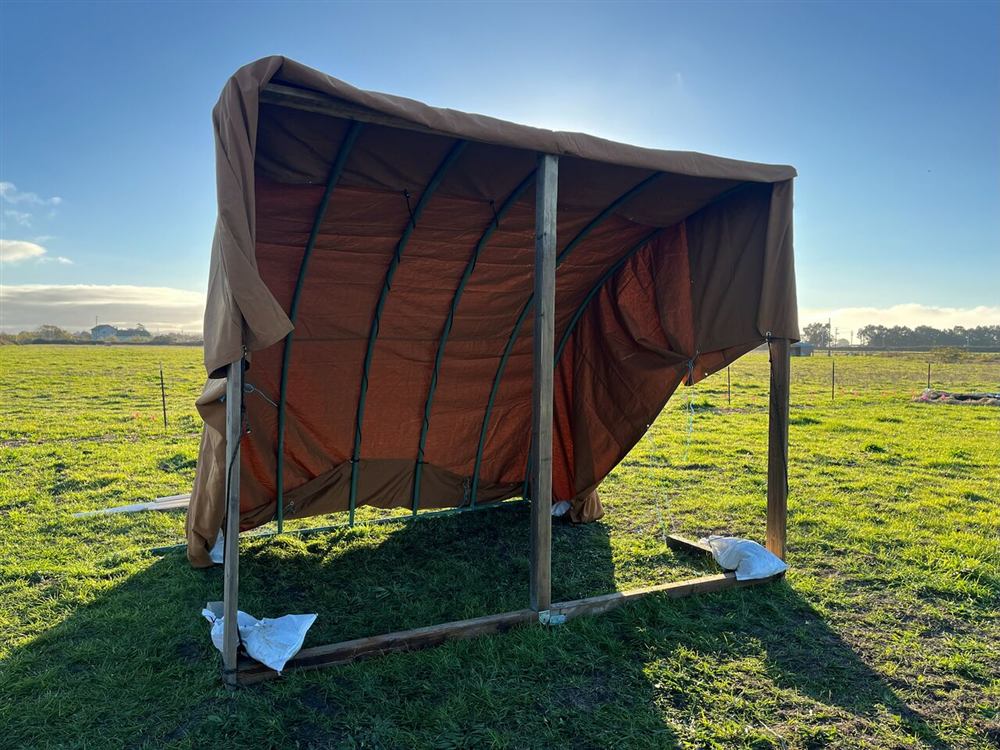
You will build a freestanding timber frame about 4 ft wide, 2 ft deep and 6 ft high (1.2 × 0.6 × 1.8 m), clad with boards, with a roof that slopes down toward the front so rain runs away from the wall. The floor sits on a frame raised off the ground on paving slabs or blocks, so it stays dry.
The shed stands next to the wall but is not fixed to the house, which avoids damaging the wall and keeps damp away from it. A couple of brackets into a fence post or masonry stop it tipping in the wind. Check your local rules: even small sheds sometimes need permission depending on size, height and how close they are to a boundary.
Clear the ground and set paving slabs or blocks where the corners and middle of the floor frame will sit. Bed them on a little sand and tap them down until they are level with each other. A level base now saves a lot of trouble with doors that will not close later.
Make a rectangular frame from the framing lumber with a cross piece every 16 in (40 cm) or so, screw the floor boards or plywood on top and set it on the base. Leave a small gap between the floor and the wall behind it so air can move.
Build the back and front wall frames on the ground, then the two sides. The back wall is taller than the front, so the side frames have a sloping top: mark the back and front heights and cut the top plate at the angle. Leave an opening in the front frame for the door, with a header above it.
Screw the wall frames to the floor and to each other at the corners, checking each one with the level so it is plumb. Measure the diagonals of the front opening to make sure it is square, or the door will not fit.
Fix two or three rafters from the back wall to the front, overhanging the front and sides by a few inches so rain drips clear. Screw the roof deck to the rafters and cover it with roofing felt or your chosen roofing, following the maker's instructions for overlaps and fixings.
Nail or screw the cladding boards to the frame, starting at the bottom so each board overlaps the one below and sheds water. Keep the bottom board a little above the base so it does not wick up water.
Lay the door boards side by side, screw two horizontal ledges across them and a diagonal brace between the ledges, running up from the bottom on the hinge side. Hang the door on strap hinges and fit a latch or hasp.
Fix a shelf and hooks inside for small tools and the hose, then fix the shed to a fence post or wall with brackets so wind cannot tip it. Treat or paint any untreated wood.
General guidance only. Follow the instructions for your tools and materials and your local rules, and use a qualified professional for electrical, gas and structural work.
With every tool on its own hook, a lean-to shed makes the garden tidier and the tools last longer because they stay dry. Check the roofing each autumn and touch up paint or preservative every few years, and it will serve for a very long time.
About this guide: written by the DIY Outdoor Builds editors from general, widely used building and gardening practice. Text and illustration © DIY Outdoor Builds. Found an error? Let us know.
Share your photos, measurements and what you changed. Your build gets its own page and helps the next person.