 Guide
Garden Sheds
Most shed regrets come from decisions made in a hurry: too small, in the wrong corner, on a base that sinks, or without checking the rules. An evening of planning avoids all of them, whether you build the shed yourself or buy a kit.
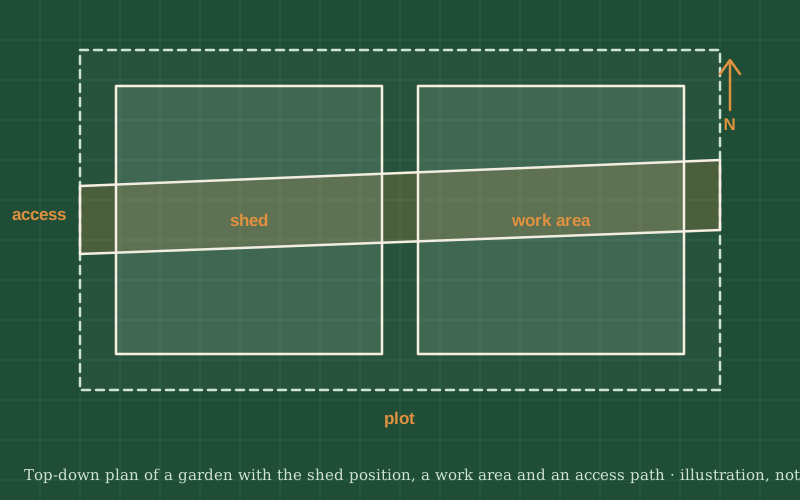
This guide walks you through the decisions in the order that matters: what the shed is for, where it goes, how big it should be, what it will stand on and which rules apply. At the end you will have a simple plan on paper with the size, position, base type and door side, ready to price a kit or a build.
It does not give structural designs or legal advice. Rules for outbuildings differ a lot between countries and even between municipalities, so the most important step is to look up your own local rules before you spend money.
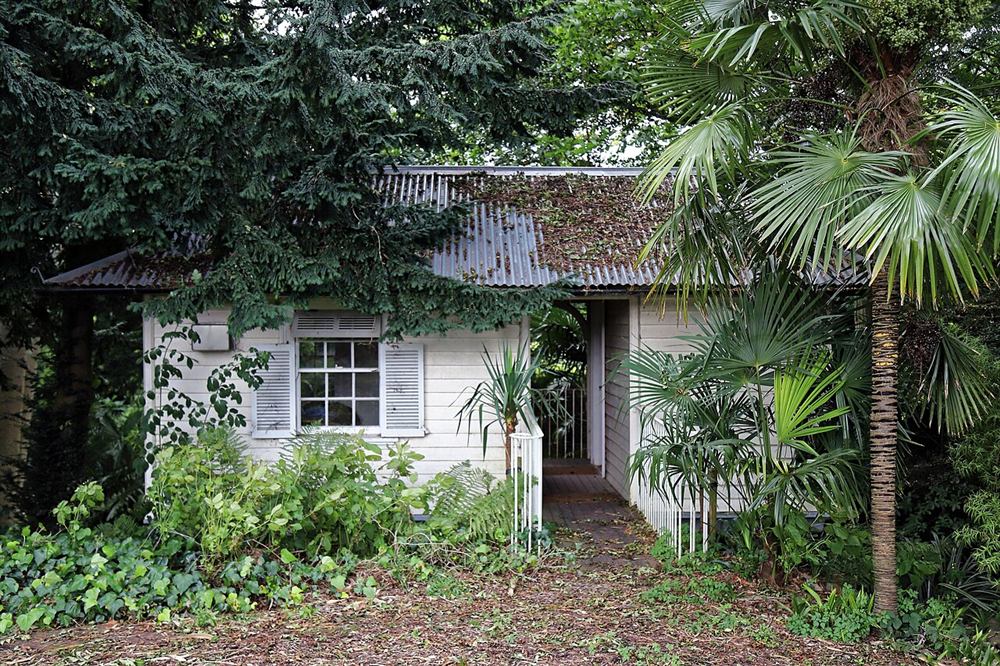
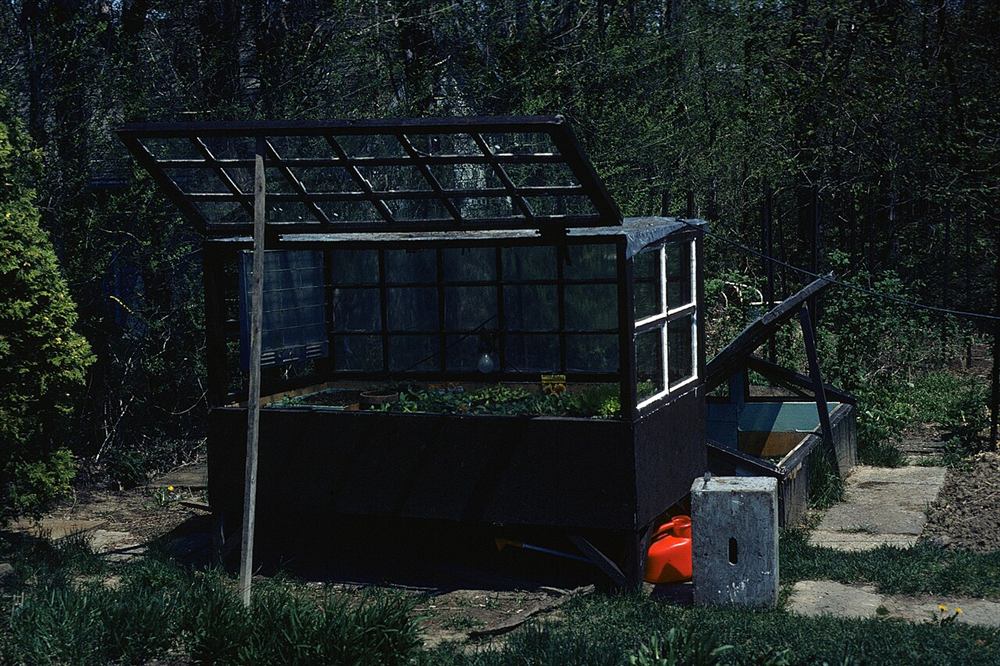
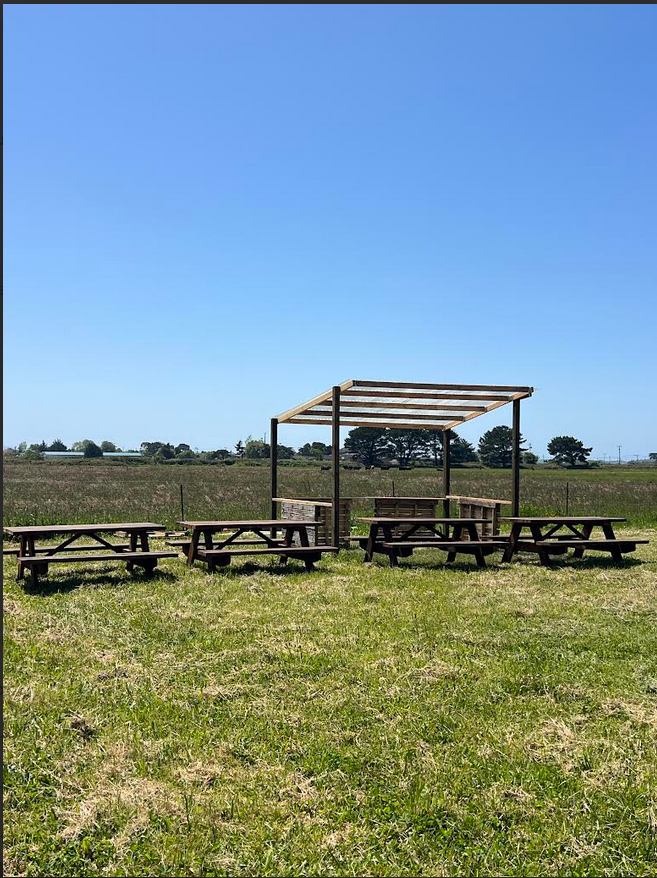
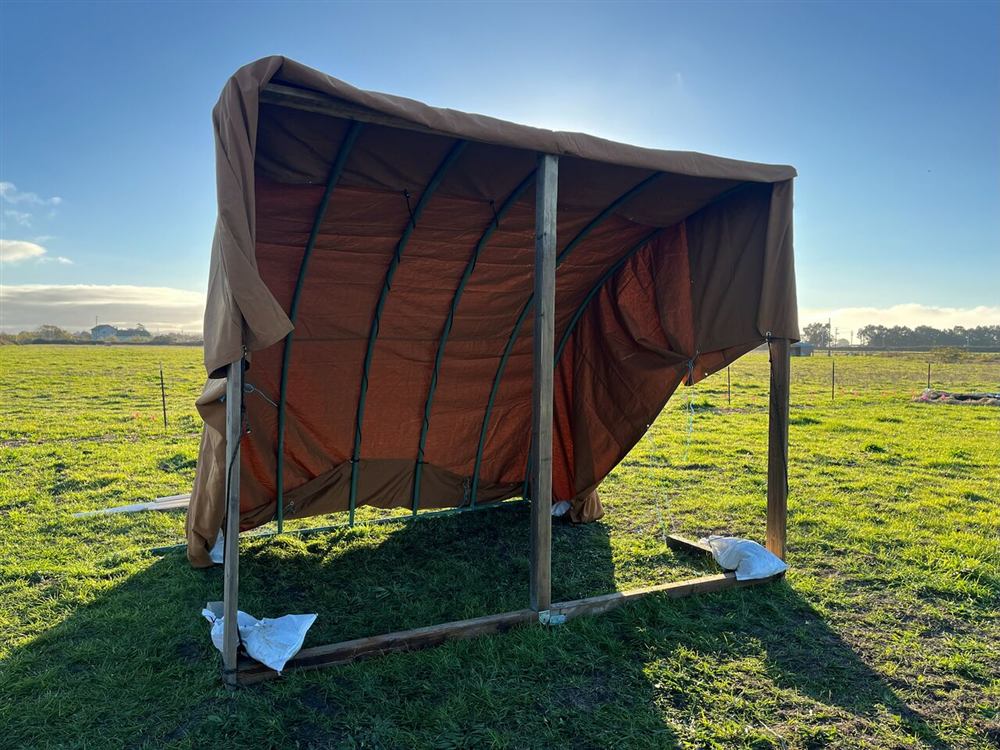
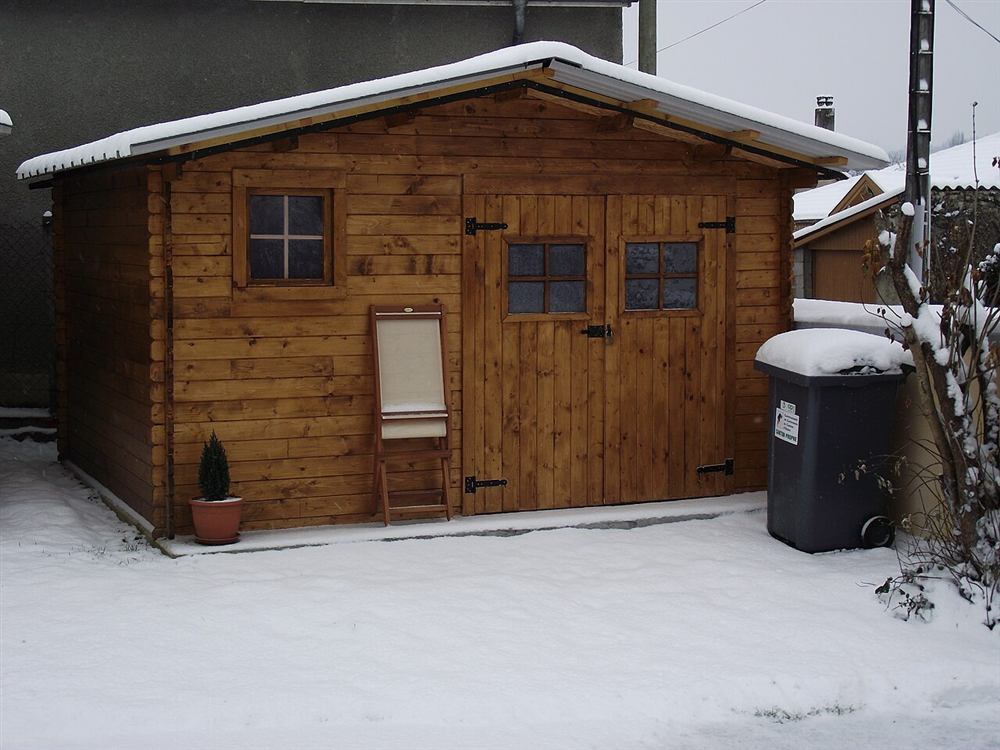
Photos of similar builds by other people, shared under open licenses. They show the idea in practice; the details differ from this guide.
Write down everything the shed must hold: mower, bikes, tools, garden furniture in winter, a workbench. Measure the big items. Then add about a quarter more space, because sheds always fill up, and you need room to move.
Look for level, well-drained ground that does not collect puddles after rain, with space to walk all the way around for maintenance. Think about the route from the shed to the garden and the gate, and keep it clear of tree roots and overhanging branches.
Find your local rules for outbuildings. They often limit the floor area, the height and how close to the boundary you may build, and may require permission or a notice to neighbours above certain sizes. Check also for underground pipes and cables, easements and any rules in your deed or housing association.
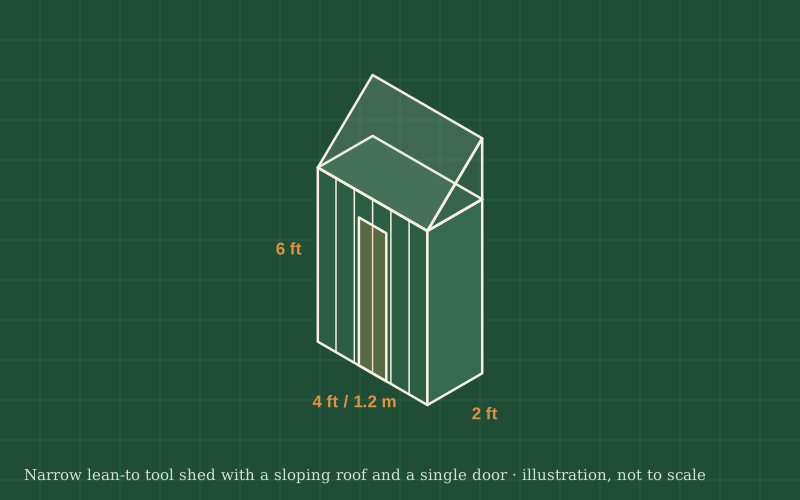
Peg out the shed's outline with string, including the overhang of the roof. Open an imaginary door, walk around it and look at it from the house. This is the moment to discover that a 10 × 8 ft (3 × 2.4 m) shed is bigger than it looked online.
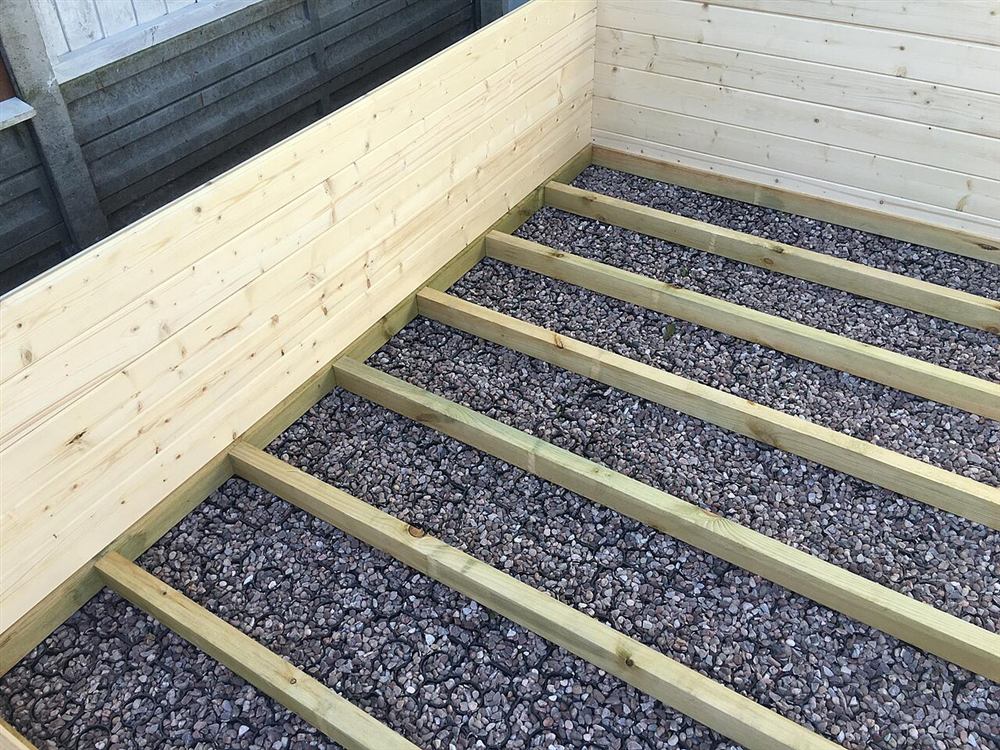
Small sheds can stand on a timber frame on paving slabs or concrete blocks. Larger or heavier sheds usually need a level slab of paving, a compacted gravel pad with a timber frame, or a concrete slab. Whatever you choose, it must be level, slightly larger than the shed and raise the floor above wet ground.
Put the door where you will approach from, ideally sheltered from the prevailing wind and rain. Plan a window for light if you will work inside. Sketch the inside: wide items near the door, long tools on one wall, shelves above a bench.
Kits are quick and predictable; building from scratch lets you choose the exact size, better lumber and thicker cladding. Compare like with like: wall thickness, floor and roof materials, and what is included. Either way, your plan now tells you exactly what to ask for.
General guidance only. Follow the instructions for your tools and materials and your local rules, and use a qualified professional for electrical, gas and structural work.
With the size, spot, base and rules settled on paper, the shed itself becomes the easy part. Keep the plan: it is also what you show a supplier for a quote, a neighbour who asks, or the authority if permission is needed.
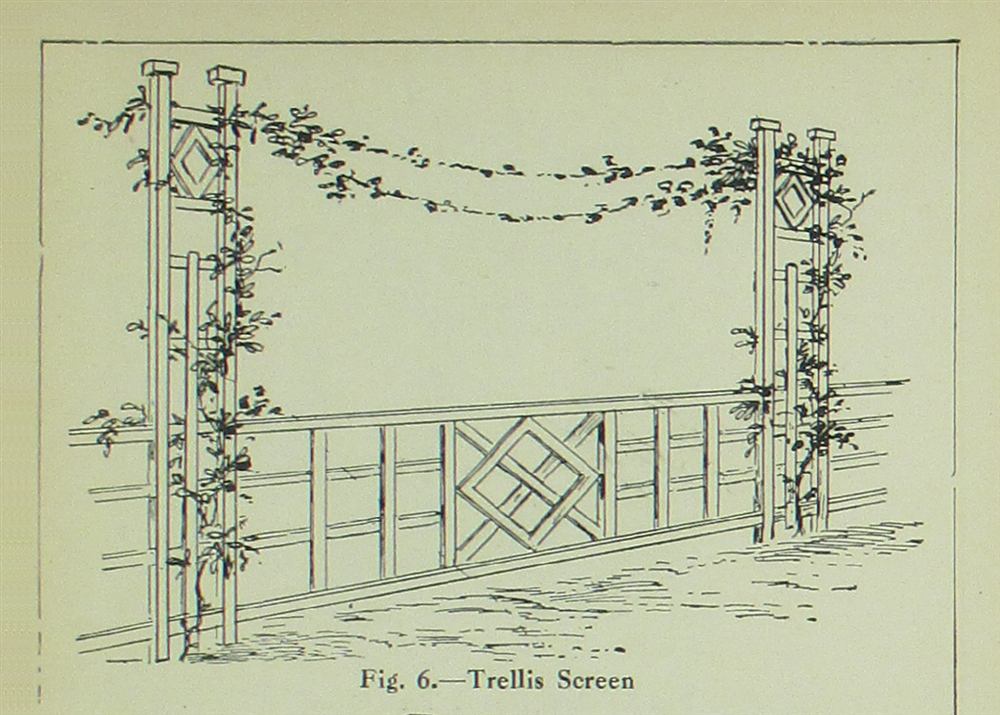
About this guide: written by the DIY Outdoor Builds editors from general, widely used building and gardening practice. Text and illustration © DIY Outdoor Builds. Photos are by the people credited under each one, used under their licenses. Found an error? Let us know.
Share your photos, measurements and what you changed. Your build gets its own page and helps the next person.