 Guide
Pergolas & Gazebos
A trellis screen blocks a direct view into your patio without the closed-in feeling of a solid fence. Within a season or two, climbing plants turn it into a green wall. This guide builds one sturdy panel between two posts; add more panels to make a longer screen.
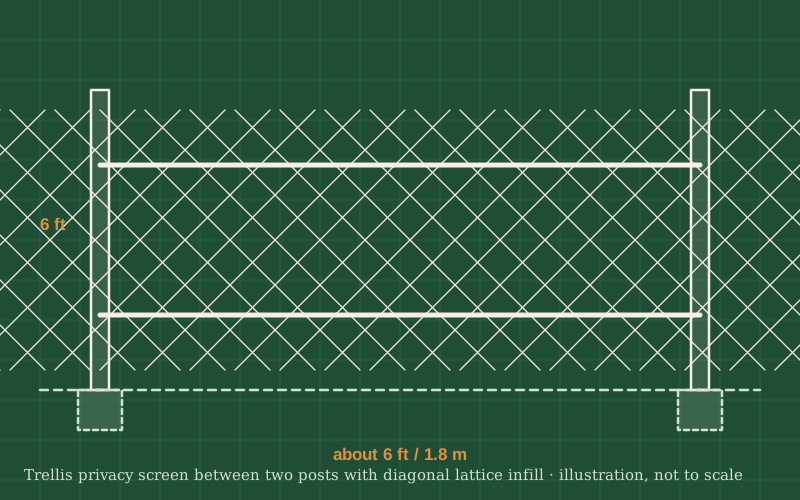
Two posts are set in the ground or on post anchors, and a frame of rails holds a lattice panel between them. The frame stiffens the lattice and gives it a neat edge, so it looks finished even before plants grow up it.
A screen catches wind like a fence, so the posts need a firm footing. Keep the height modest (around 6 ft or 1.8 m) and check local rules, because many places limit the height of fences and screens, especially near a boundary or a road.
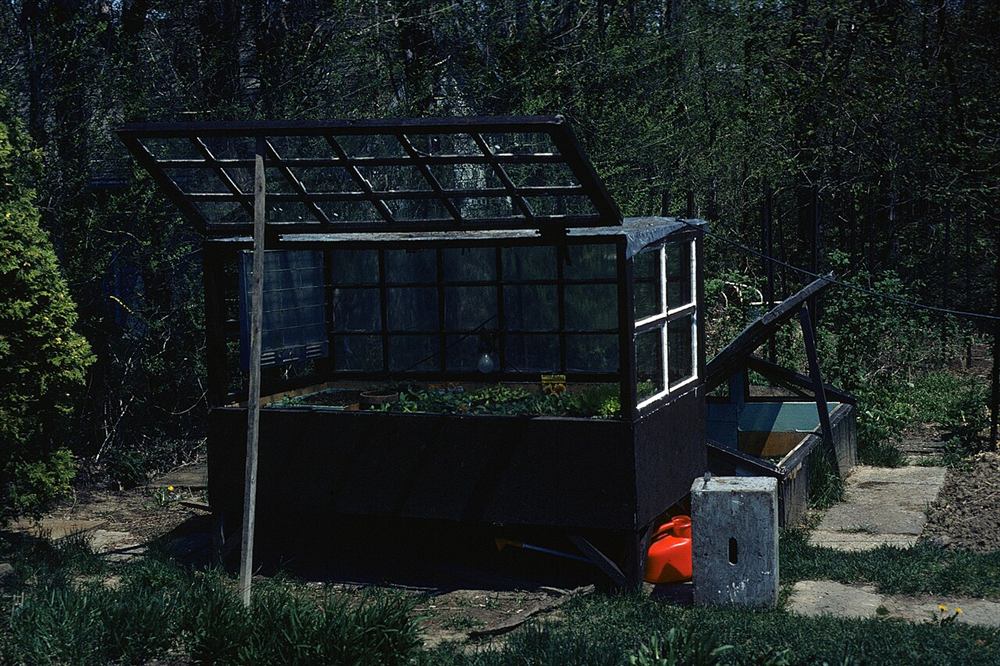
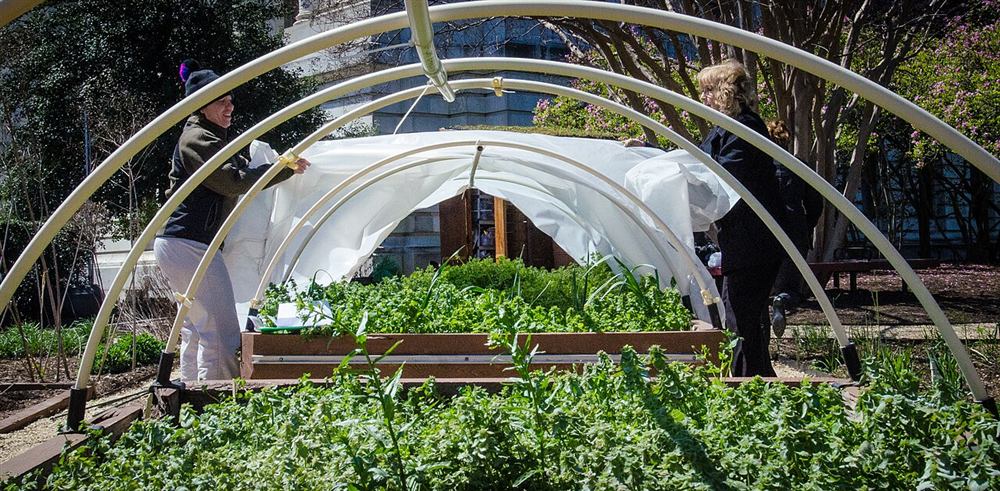
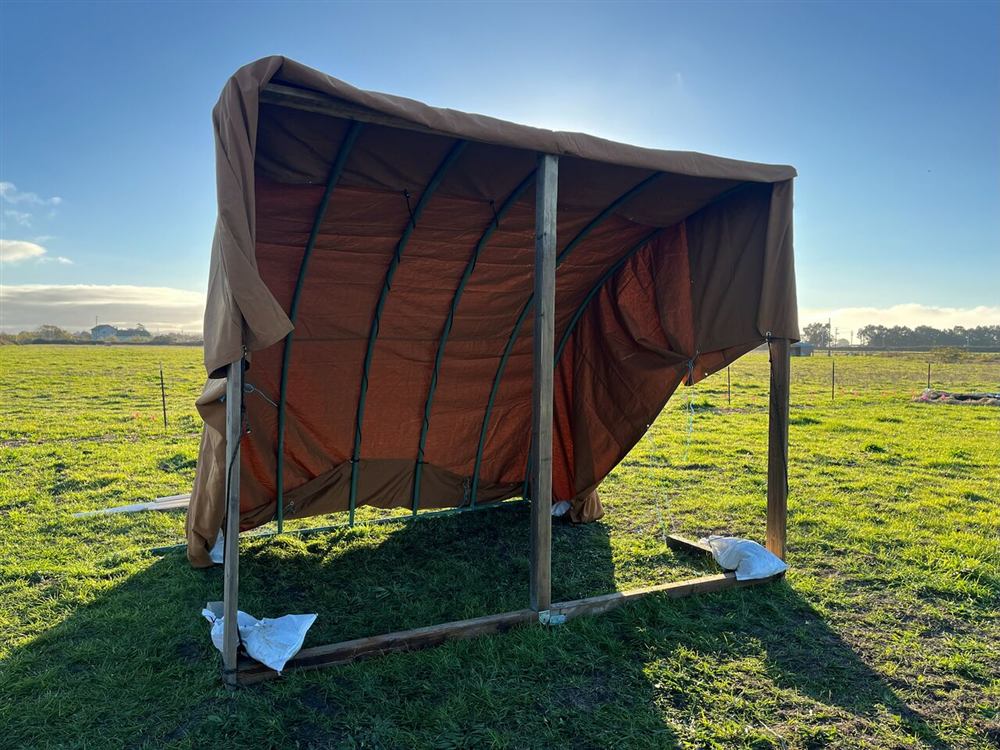
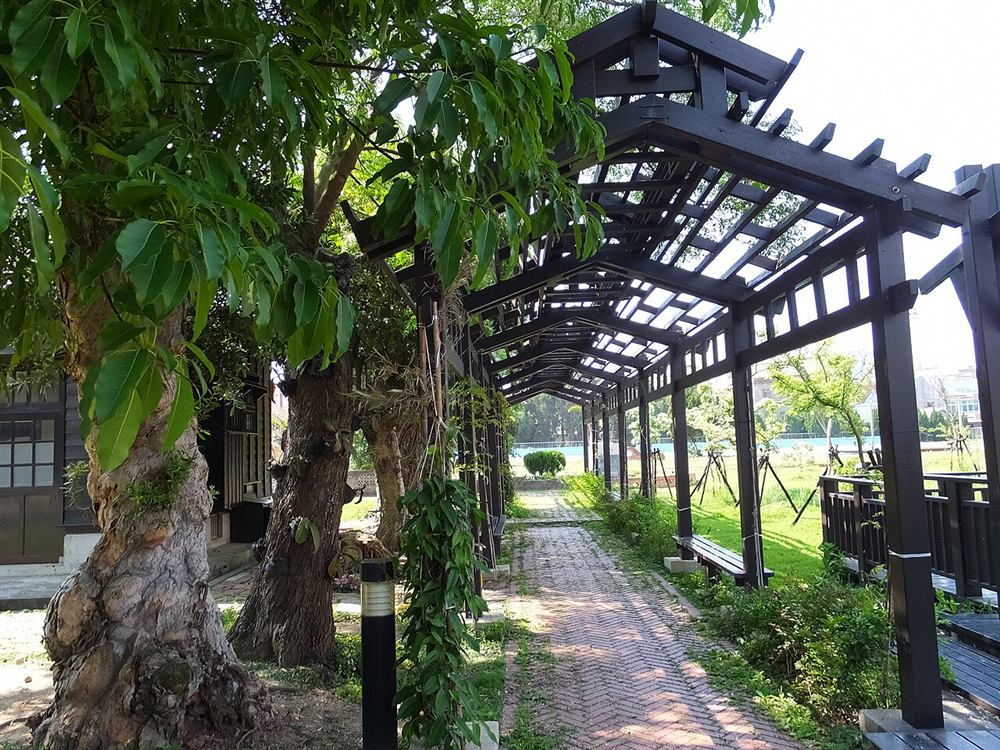
Photos of similar builds by other people, shared under open licenses. They show the idea in practice; the details differ from this guide.
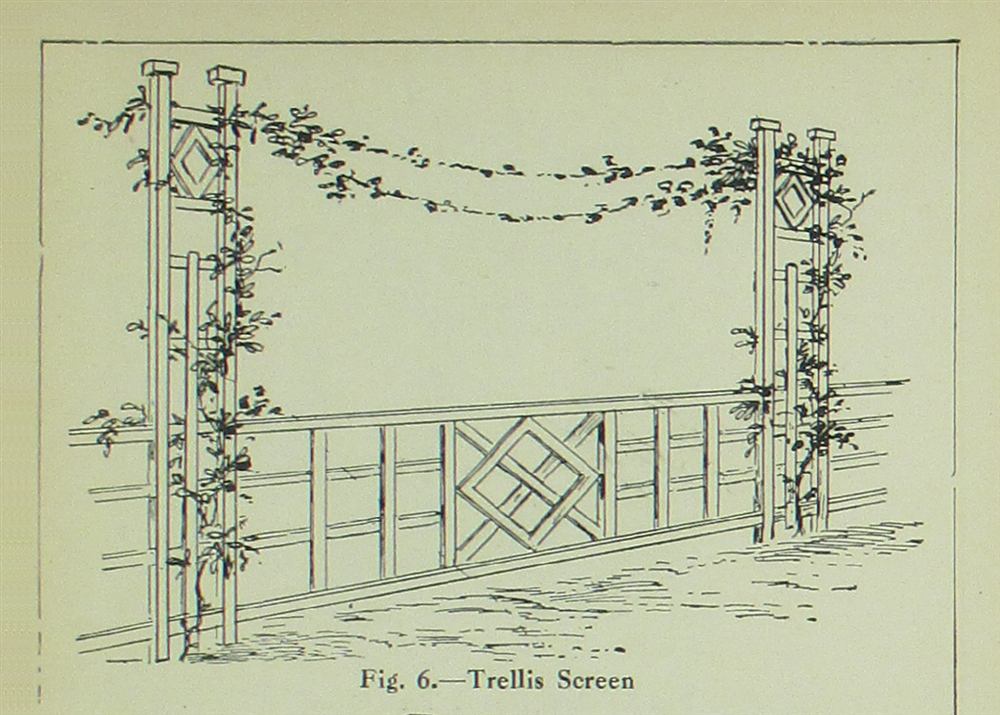
Decide where the screen goes and mark the two post centres so the lattice panel fits between them with its frame. Run a string between the marks so the posts end up in a straight line.
Before digging, check where underground cables and pipes run. Set the posts in holes on a few inches of gravel and fill with concrete, or bolt them to post anchors on a firm base. Hold each post plumb on two faces with temporary braces until the concrete has set.
Screw the bottom rail between the posts a few inches above the ground so it stays dry, and the top rail at the height of the panel. Use post brackets or screw at an angle through the rail into the posts, and check that both rails are level.
Screw battens to the inside of the posts and rails on one side to form a rebate, place the lattice panel against them, then add a second set of battens on the other side to sandwich it. Screw through the battens, not through the thin lattice strips, so they do not split.
Cut the post tops square, or add post caps so rain does not soak into the end grain. Treat or paint any untreated wood before the plants cover it, because it is hard to reach later.
Dig a planting hole about a foot (30 cm) out from the screen, where rain can reach the roots, and lean the plant toward it. Tie the first shoots loosely to the lattice and keep the plants well watered in their first summer.
General guidance only. Follow the instructions for your tools and materials and your local rules, and use a qualified professional for electrical, gas and structural work.
A trellis screen is one of the quickest ways to make a patio feel private and green. Tie in new growth every few weeks during the first season, and you will soon have a living wall that gets better every year.
About this guide: written by the DIY Outdoor Builds editors from general, widely used building and gardening practice. Text and illustration © DIY Outdoor Builds. Photos are by the people credited under each one, used under their licenses. Found an error? Let us know.
Share your photos, measurements and what you changed. Your build gets its own page and helps the next person.