 Guide
Garden Layouts
A vegetable garden that is planned on paper first is easier to water, weed and harvest, and it produces more. Most problems, such as tall crops shading short ones or beds too wide to reach, are fixed with a pencil before any digging starts.
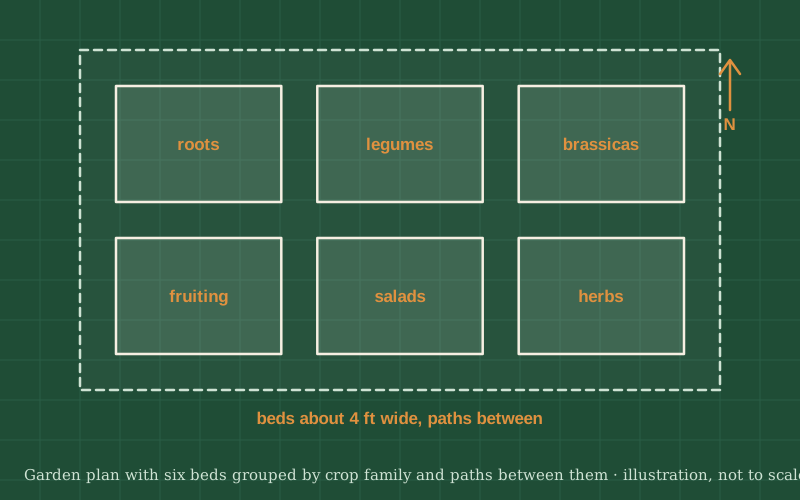
You will observe your site, measure it, draw it to scale and fit in beds and paths that suit how you work. Then you will group your crops by family so you can move them to a different bed each year, which helps keep soil-borne pests and diseases from building up.
The example plan has six beds of about 4 ft (1.2 m) wide with paths between, but the method works for a single bed on a balcony as well as a large plot.
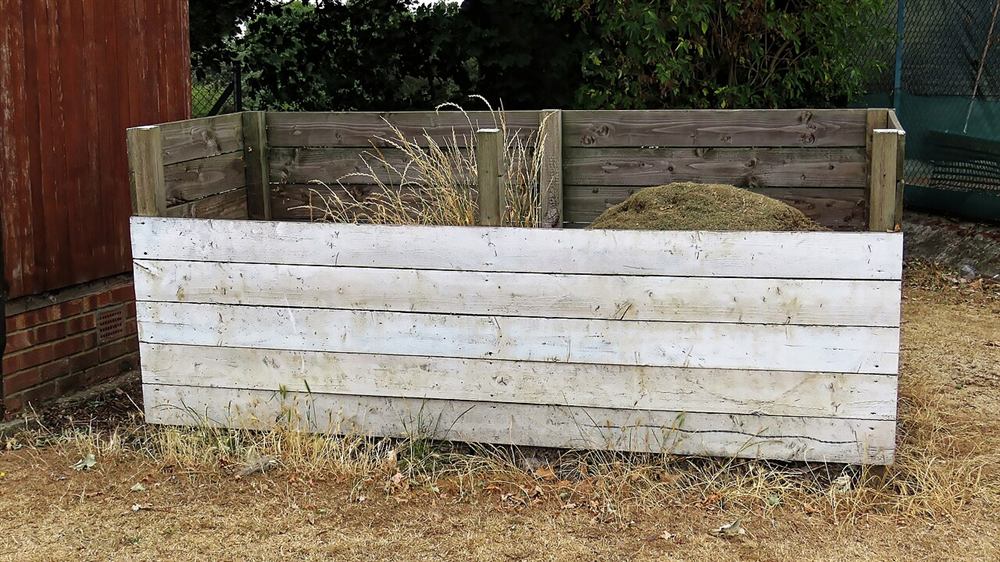
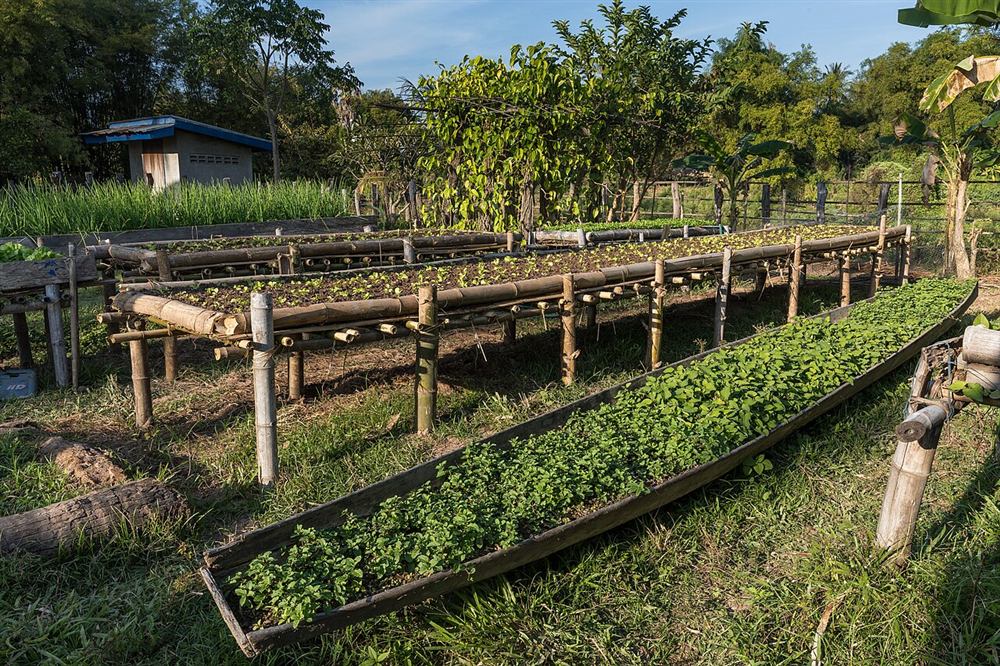
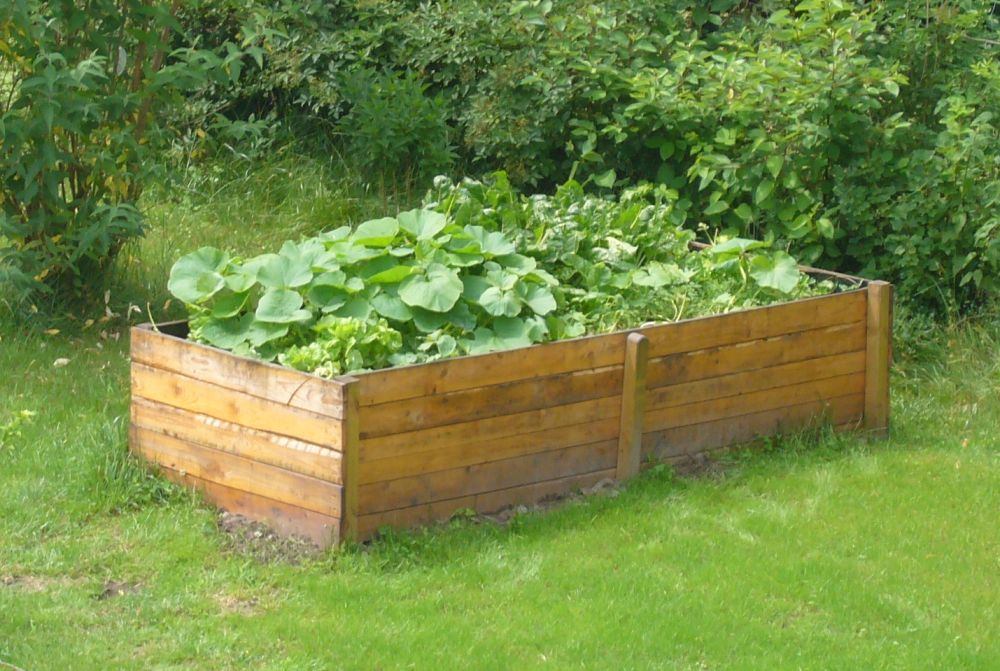
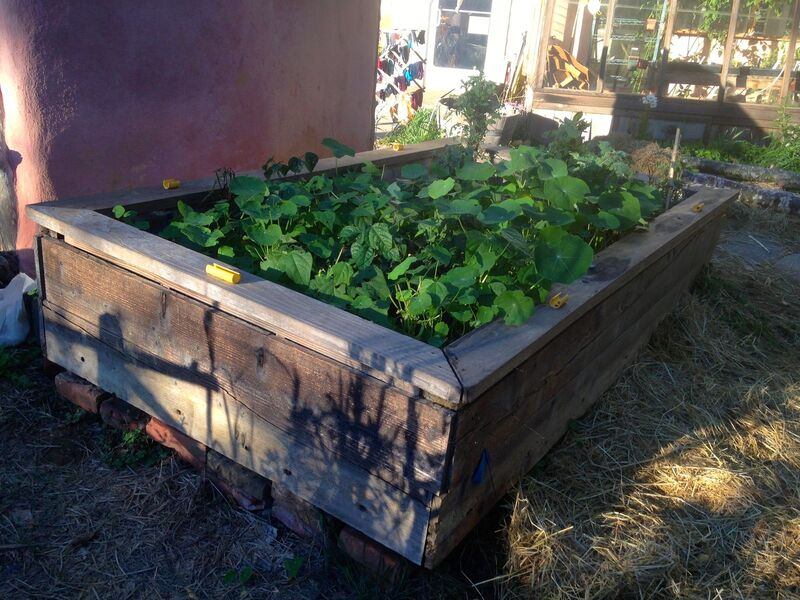
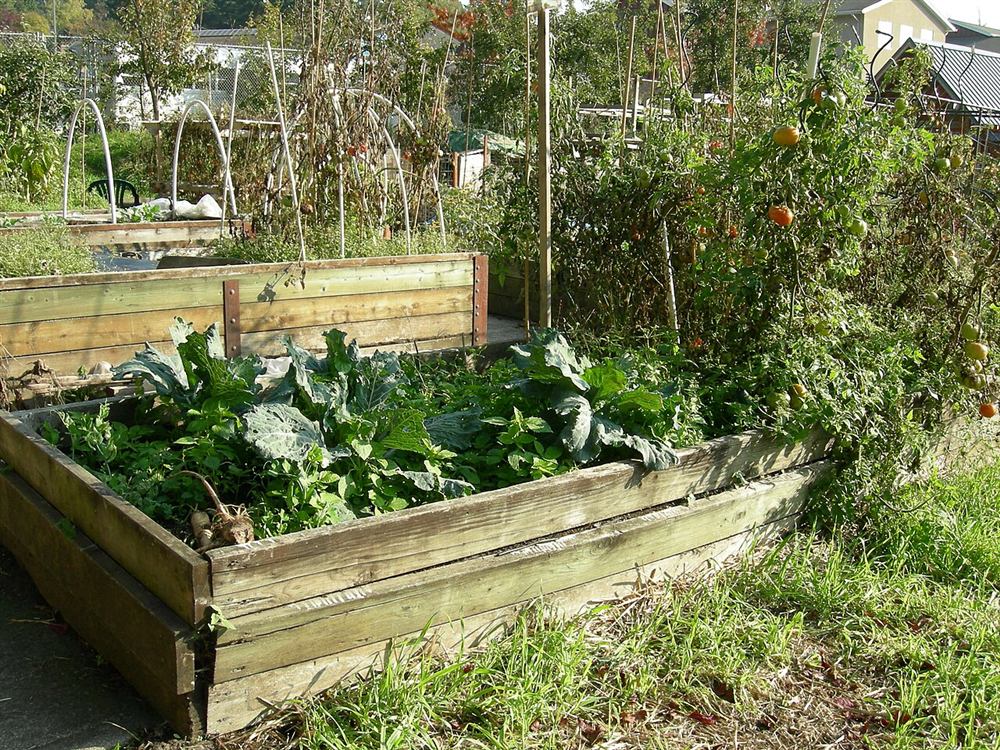
Photos of similar builds by other people, shared under open licenses. They show the idea in practice; the details differ from this guide.
Most vegetables need at least six hours of direct sun a day, and fruiting crops such as tomatoes and squash want more. Look at the site in the morning, at midday and in the evening, and mark the shadows of buildings, fences and trees on a rough sketch.
Measure the area and draw it on graph paper, for example one square per foot or per 30 cm. Mark north, water taps, compost, gates and anything you cannot move.
Draw beds no wider than about 4 ft (1.2 m) so you can reach the middle from both sides without stepping on the soil. Beds running roughly north to south get even sun on both sides. Leave the shortest walk from the kitchen for herbs and salads you pick often.
Give paths a width of at least 18 in (45 cm), and make the main path wide enough for a wheelbarrow, about 3 ft (90 cm). Paths you can walk on in wet weather, such as wood chip or gravel, keep the garden usable all season.
Sort your list into families: roots such as carrots and beetroot; legumes such as peas and beans; brassicas such as cabbage and kale; fruiting crops such as tomatoes, peppers and squash; salads; and perennial herbs. Give each family its own bed or part of a bed.
Place tall crops like climbing beans, sweetcorn and staked tomatoes on the side away from the midday sun (the north side in the northern hemisphere), so they do not shade shorter plants.
Number the annual beds and move each crop family one bed along every year, so the same family does not grow in the same soil year after year. Keep perennial herbs and fruit in a fixed bed outside the rotation.
General guidance only. Follow the instructions for your tools and materials and your local rules, and use a qualified professional for electrical, gas and structural work.
With a scale plan, a rotation and paths that make sense, the garden runs itself much more smoothly. Pin the plan inside the shed door, write on it through the season, and use it as the starting point for next year's improvements.
About this guide: written by the DIY Outdoor Builds editors from general, widely used building and gardening practice. Text and illustration © DIY Outdoor Builds. Photos are by the people credited under each one, used under their licenses. Found an error? Let us know.
Share your photos, measurements and what you changed. Your build gets its own page and helps the next person.