 Guide
Greenhouses
A low hoop house turns an ordinary raised bed into a small greenhouse for a few weeks at each end of the season. Flexible hoops hold clear plastic over the plants, warming the soil and keeping off frost, wind and heavy rain. It goes up in an afternoon and comes down when summer arrives.
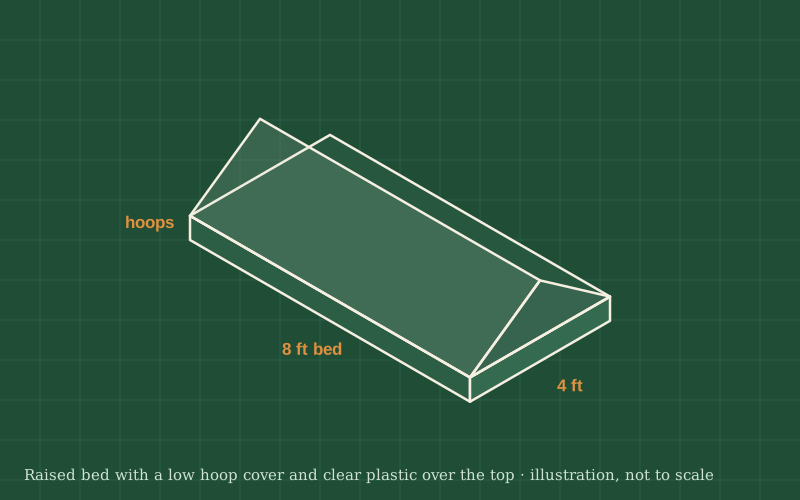
You will fix short pipe sleeves to the inside of the bed, bend flexible hoops into them every 2 ft (60 cm) or so, tie a ridge pole along the top to stop the hoops from wobbling and stretch greenhouse film over everything. Clips hold the film to the hoops, and the long sides can be rolled up for venting.
The design here is for a 4 × 8 ft bed, but it scales to any length: just add more hoops. Keep the height low, about 3 ft (90 cm), so wind does not catch it.
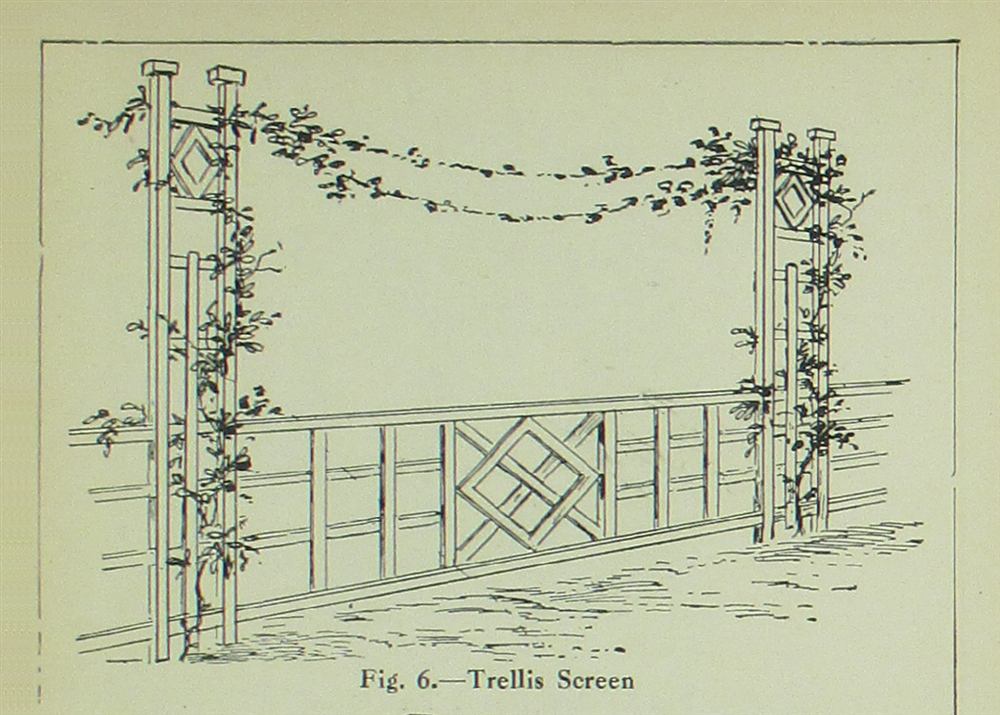
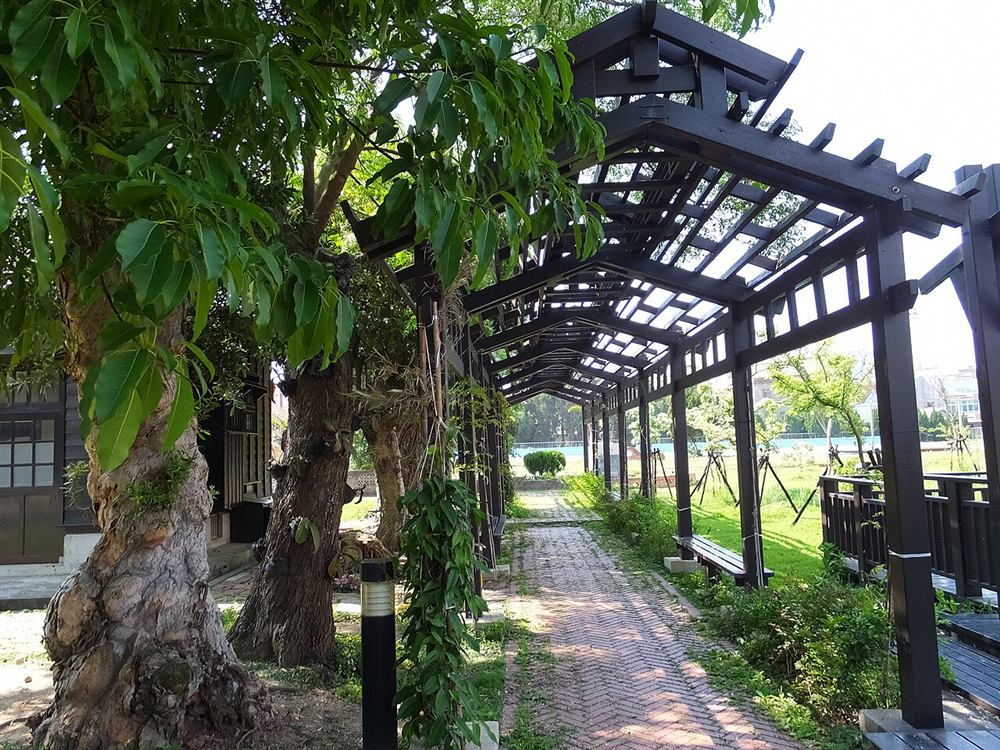
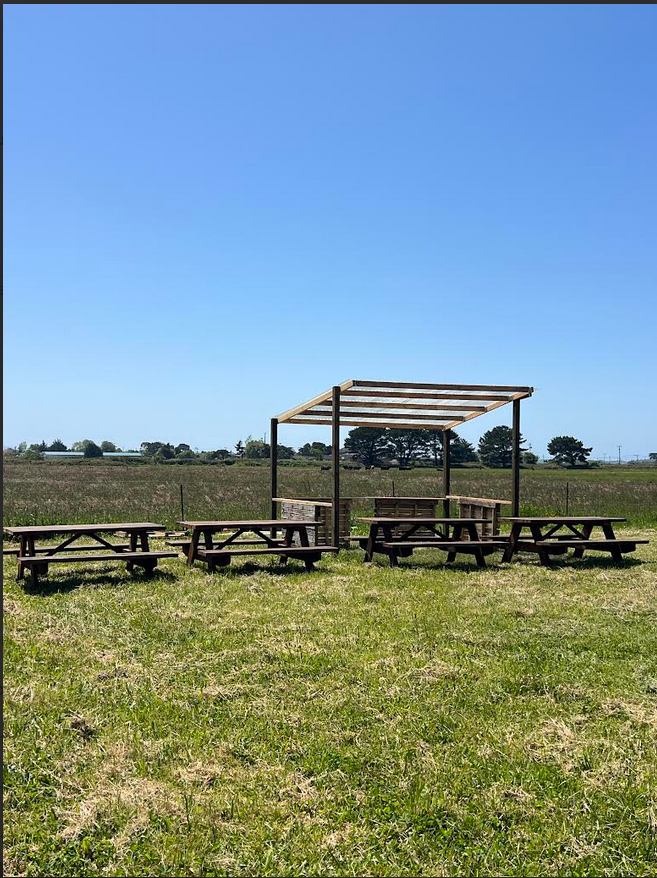
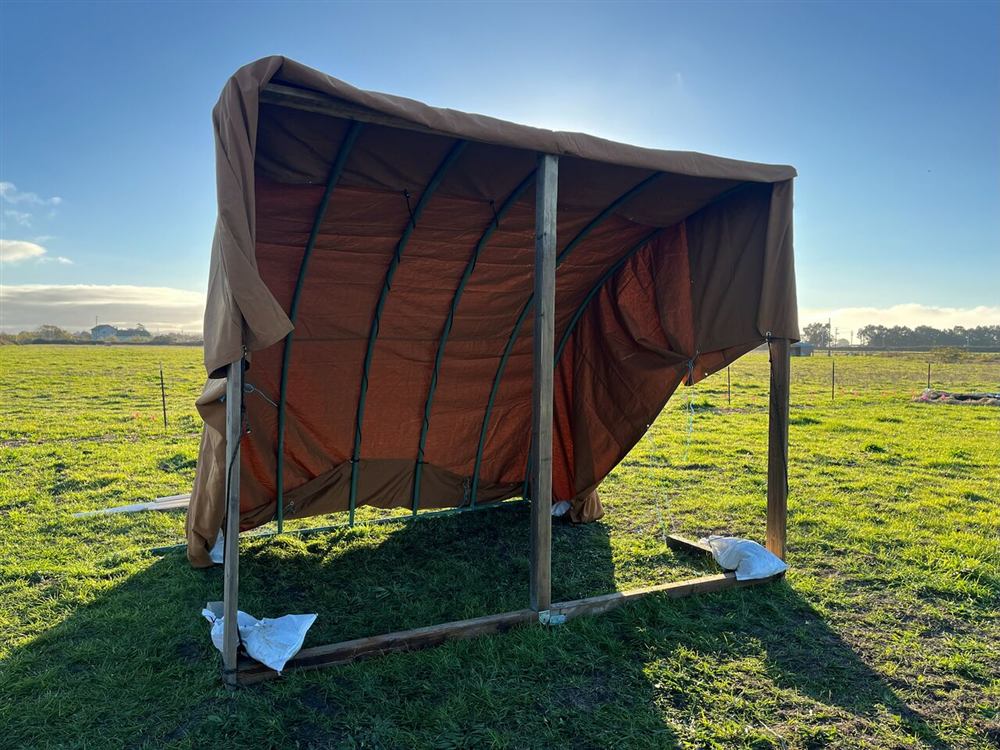
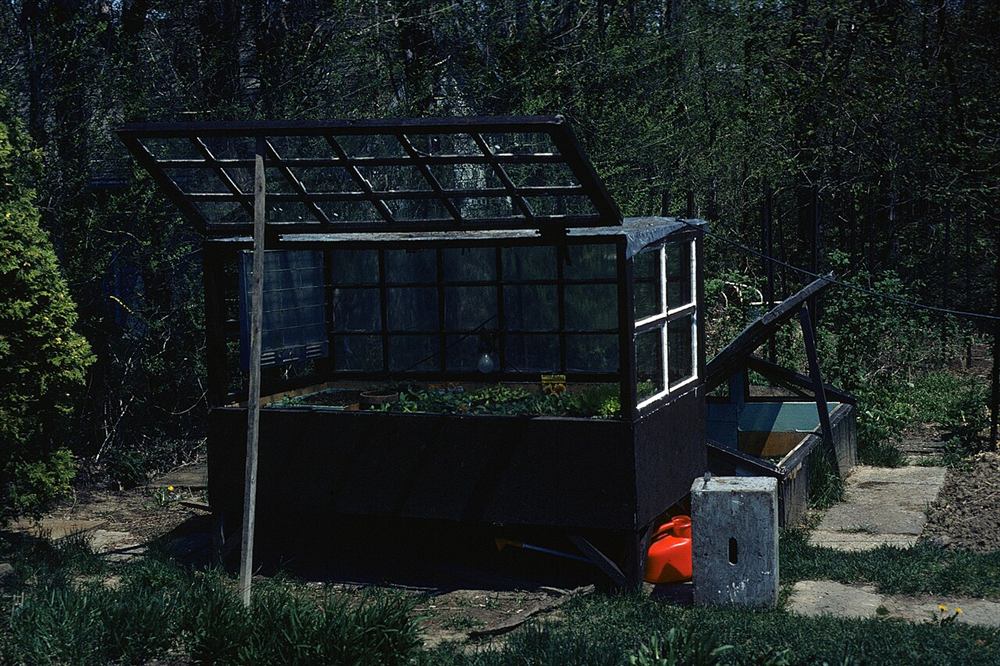
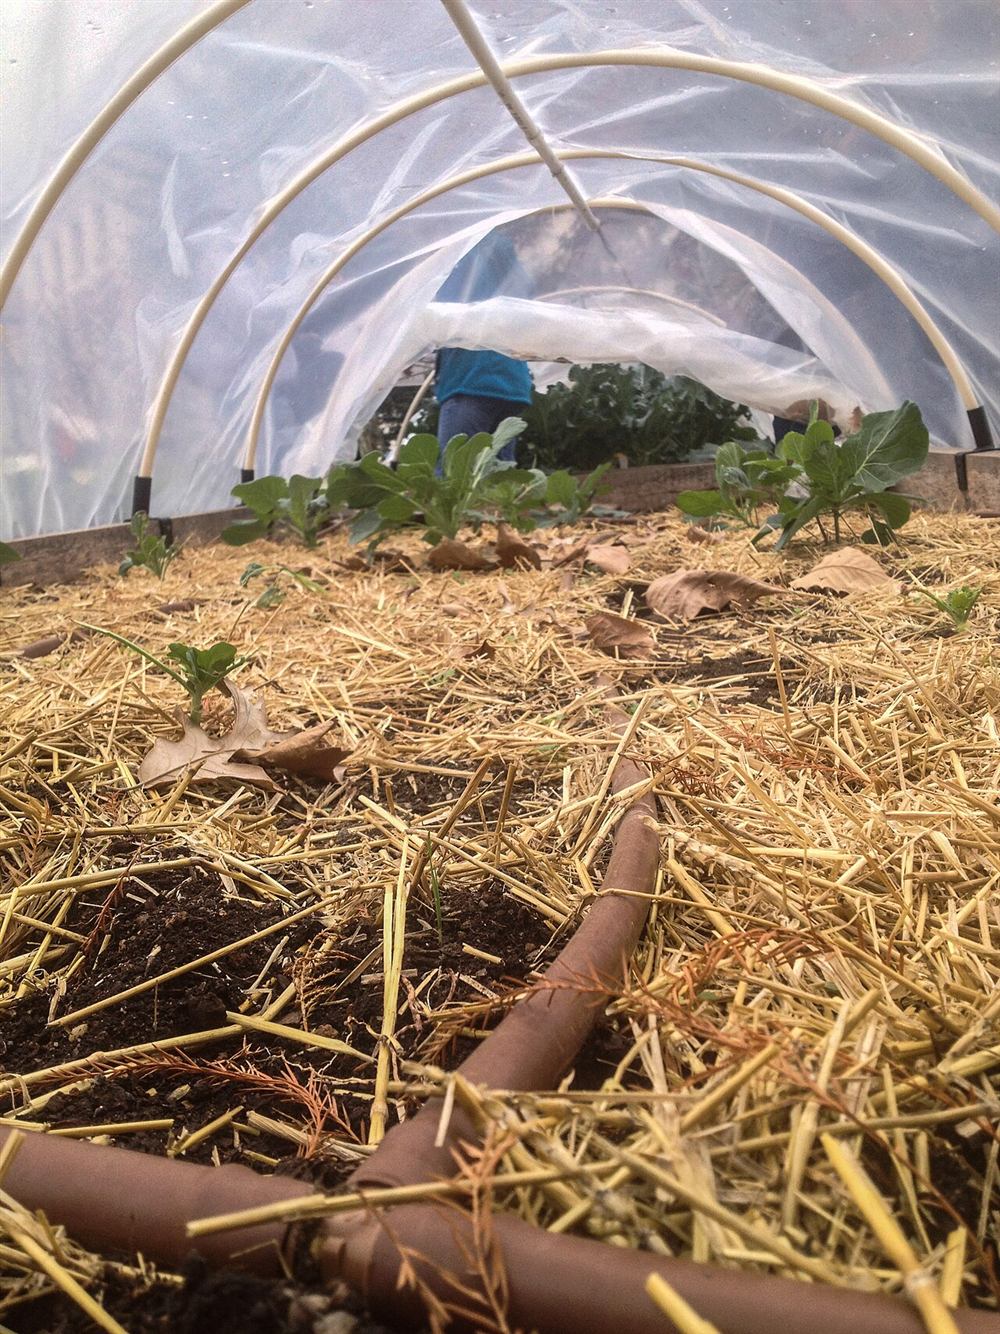
Photos of similar builds by other people, shared under open licenses. They show the idea in practice; the details differ from this guide.
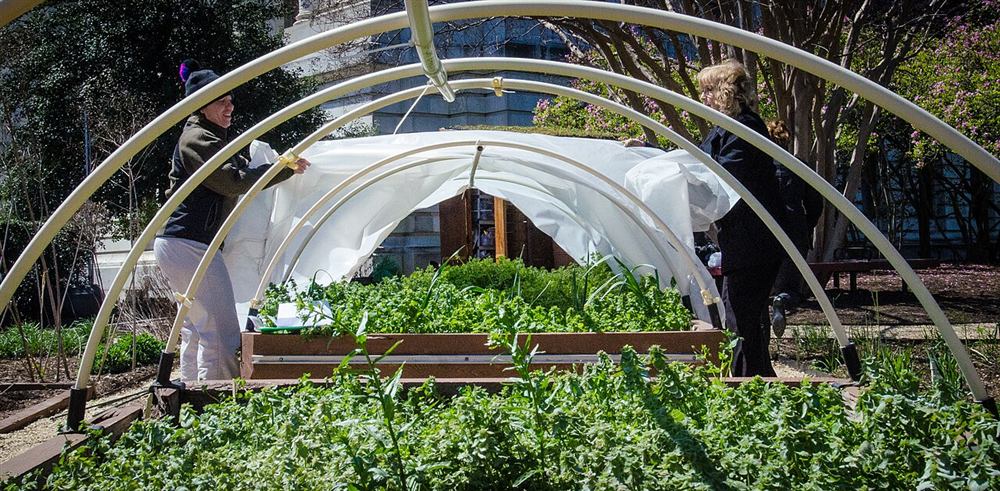
Screw the short rigid pipe sleeves upright to the inside of both long sides of the bed, opposite each other, every 2 ft (60 cm). Use two straps per sleeve so they cannot twist. The bottom of each sleeve can sit on or just in the soil.
Push one end of a hoop into a sleeve on one side, bend it over the bed and push the other end into the opposite sleeve. Trim the hoops so they all reach the same height; a ruler held across the top of the bed makes this easy.
Lay the ridge batten along the tops of the hoops and fix it to each one with a cable tie, or two crossed ties. The ridge stops the hoops from leaning in the wind and keeps them evenly spaced.
Pick a calm day. Drape the film over the hoops so it hangs evenly on both sides and overlaps both ends. Clip it to the end hoops first, then to the middle ones, pulling it gently tight as you go so it does not flap.
Gather the film at each end like the end of a wrapped sweet, and tie or weigh it down. You can open one end on warm days for ventilation.
Roll each long edge of the film around a batten or pipe and let it rest on the ground beside the bed. To vent, roll the batten up and clip it to the hoops; to close, let it down again.
General guidance only. Follow the instructions for your tools and materials and your local rules, and use a qualified professional for electrical, gas and structural work.
A mini hoop house is the cheapest way to win a few extra weeks at both ends of the growing season. Start with early salads and radishes in spring, then use it again in autumn for hardy greens like spinach, kale and lamb's lettuce.
About this guide: written by the DIY Outdoor Builds editors from general, widely used building and gardening practice. Text and illustration © DIY Outdoor Builds. Photos are by the people credited under each one, used under their licenses. Found an error? Let us know.
Share your photos, measurements and what you changed. Your build gets its own page and helps the next person.