 Guide
Garden Sheds
Outdoor Structures · Real build
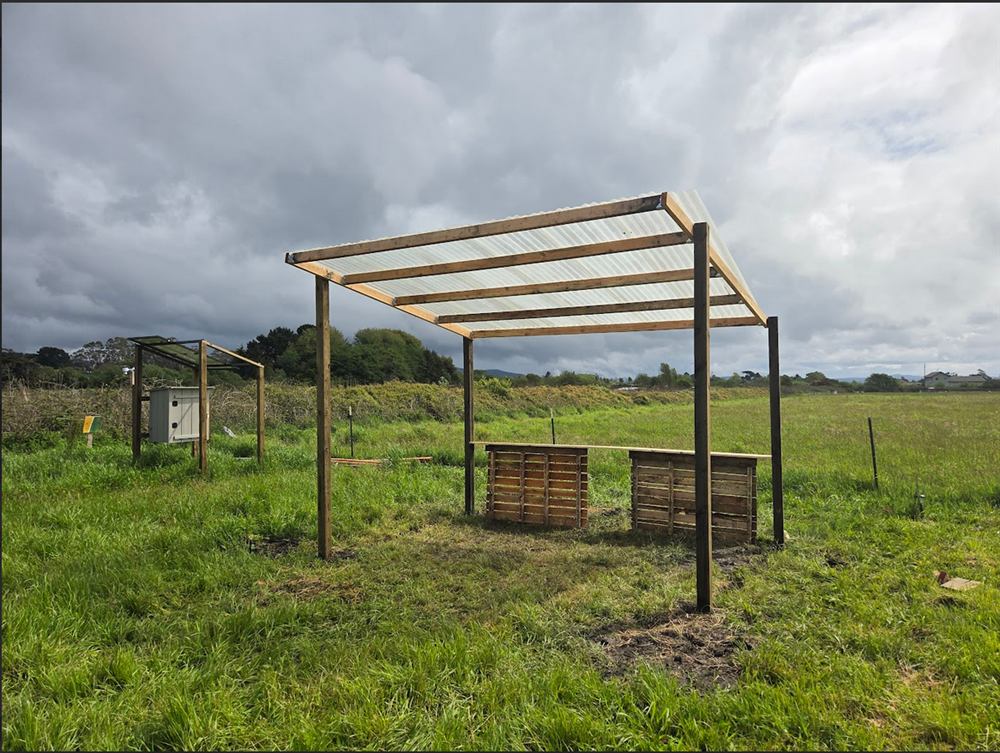
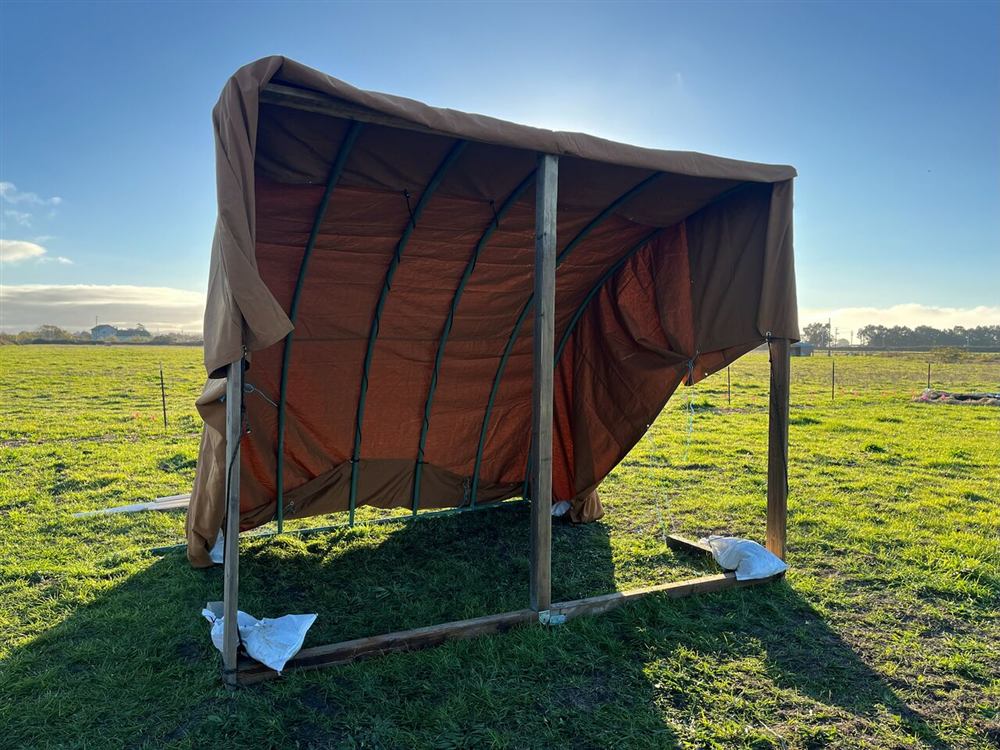
A dug-out style shelter with a roof that slopes from front to back, three walls and an open front. The lower walls are reclaimed pallet boards; the upper walls are canvas panels that clip on and off, so the shelter can be opened up for air or closed against wind and rain.
Built and documented by OathAbiding913, Daniel Richards, Isabelle Carroll and Ruben Janssen, engineering students at Cal Poly Humboldt. Originally published on Appropedia: “CASA Student Farm rain structure” under CC BY-SA 4.0.
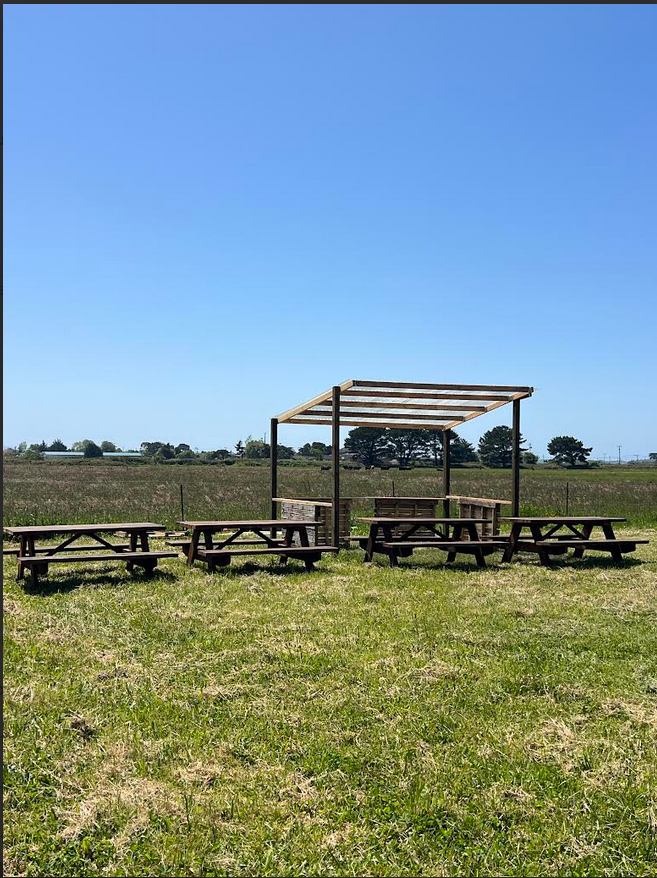
A student farm in a rainy, windy part of northern California needed a covered place to work, store supplies and hold small classes. A previous shelter there had struggled with the wind, and the team designed this one, nicknamed the Water-Den, with that in mind.
It holds 10 to 15 people, has hooks to keep gear off the ground and shelving along the walls. The canvas upper walls can be unclipped on the rare sunny days or removed completely before storms, so the wind cannot use them as sails.
Measure out a 12 × 8 ft rectangle and mark the corners. Clear the area and dig a hole 2 ft deep at each corner, lining the holes up with each other.
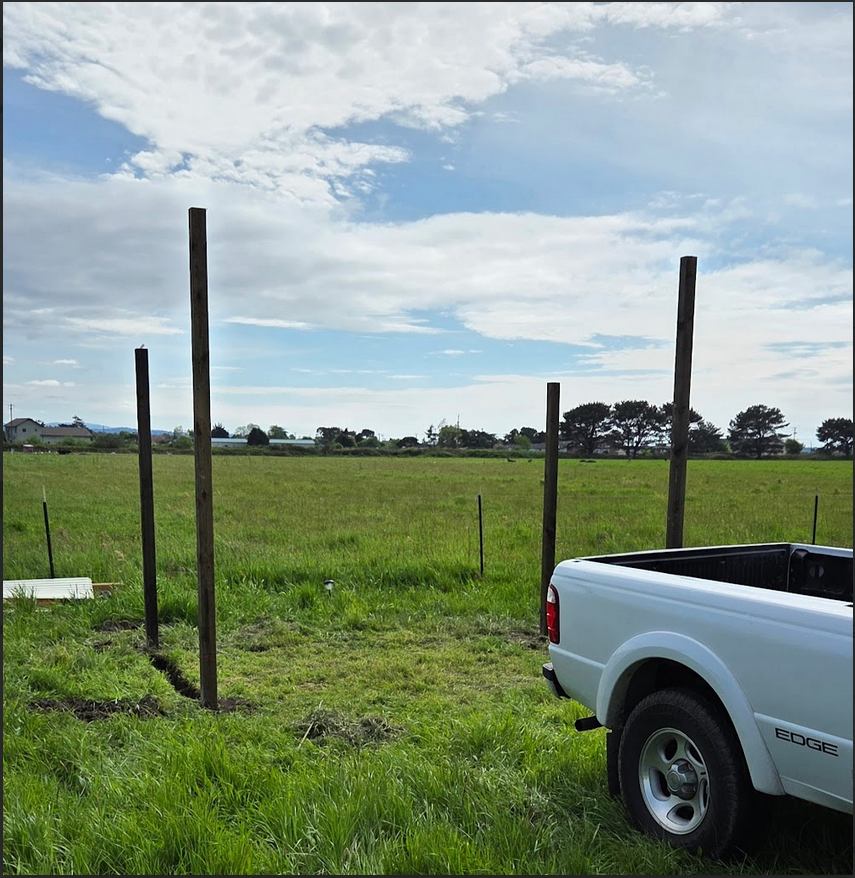
Stand the two 4×4×10 posts in the back holes and set them in concrete, with teammates holding them level. Repeat with the 4×4×12 posts at the front.
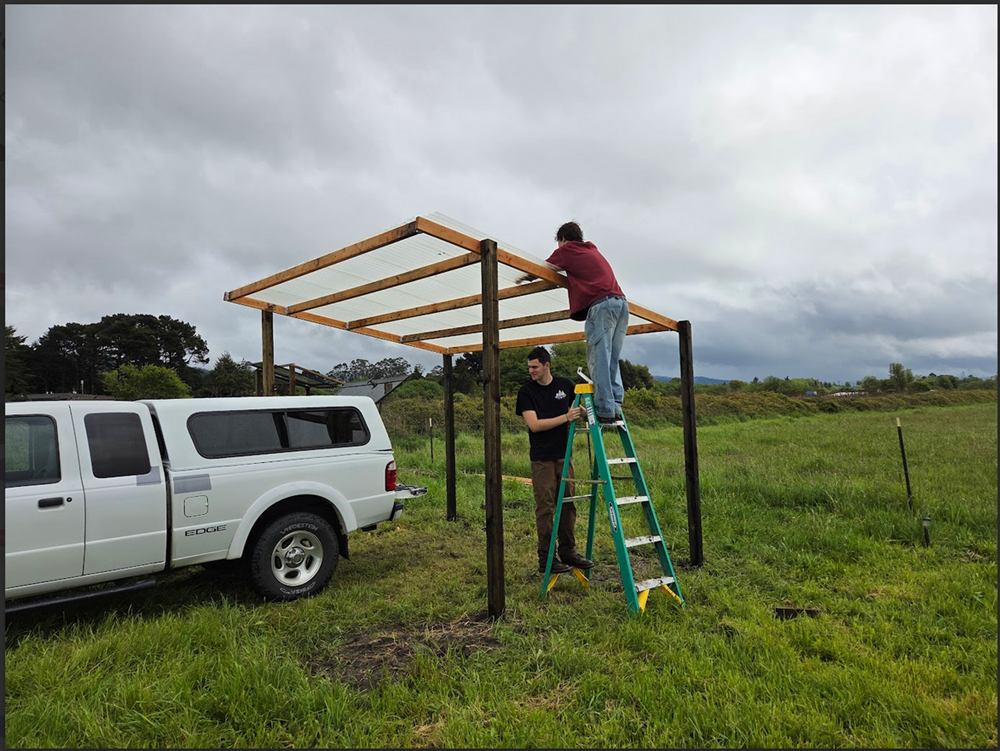
Measure the roof slope and trim the posts to height. Attach the stringers, then the rafters with supports, and screw the fiberglass roof into place.
Dig shallow trenches along the two short sides and the back. Pull the loose nails from the pallet boards, stand them in the trenches and nail a rail along the top, fixing it with joist hangers. Leave the front open.
Screw three hooks into each short side for hanging tools, and eye bolts into the frame for the canvas.
Cut the three canvas pieces with 3 extra inches all round, fold the edges twice to make a 1½ in hem and sew it. Put six grommets along each long side.
Fit a carabiner in each grommet and clip it to the eye bolts. The panels can be unclipped for air or removed before strong wind.
Credits and license: Built and documented by OathAbiding913, Daniel Richards, Isabelle Carroll and Ruben Janssen, engineering students at Cal Poly Humboldt. Originally published on Appropedia: “CASA Student Farm rain structure” under CC BY-SA 4.0. This page is our summary of their documentation and is shared under the same license (CC BY-SA 4.0); photos are credited individually. Measurements and costs are the builders' own and refer to their site and year. DIY Outdoor Builds did not build this project.
Building work can be dangerous and may need a permit. Check local rules and use a qualified professional for electrical, gas and structural work.
Share your own version with your photos, measurements and what you changed.
 Real build
Other Builds
 Real build
Patios & Paths
 Real build
Raised Garden Beds
 Real build
Pergolas & Gazebos