 Guide
Garden Layouts
GuideStep-by-step plan written by our editors, with materials, tools and every step in order.
Square foot gardening packs a surprising amount of food into a small raised bed. Instead of long rows with wide paths between them, you divide the bed into a grid of 1 ft (30 cm) squares and plant each square with one crop at its own spacing. It is easy to plan, easy to weed and ideal for beginners and small gardens.
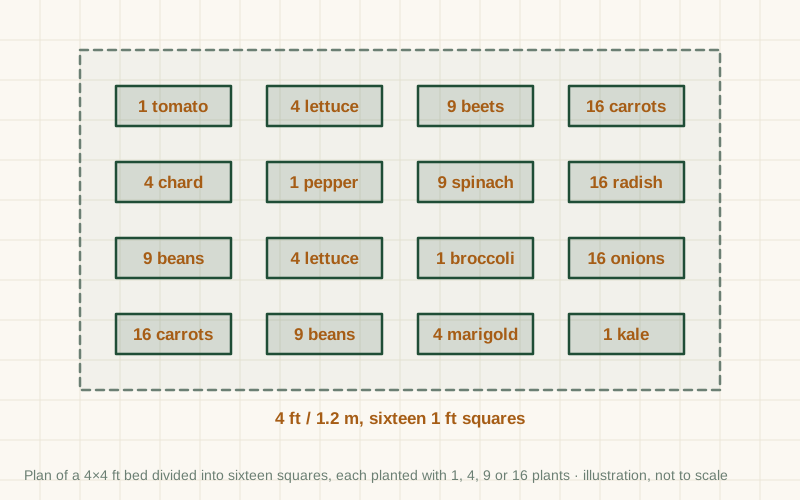
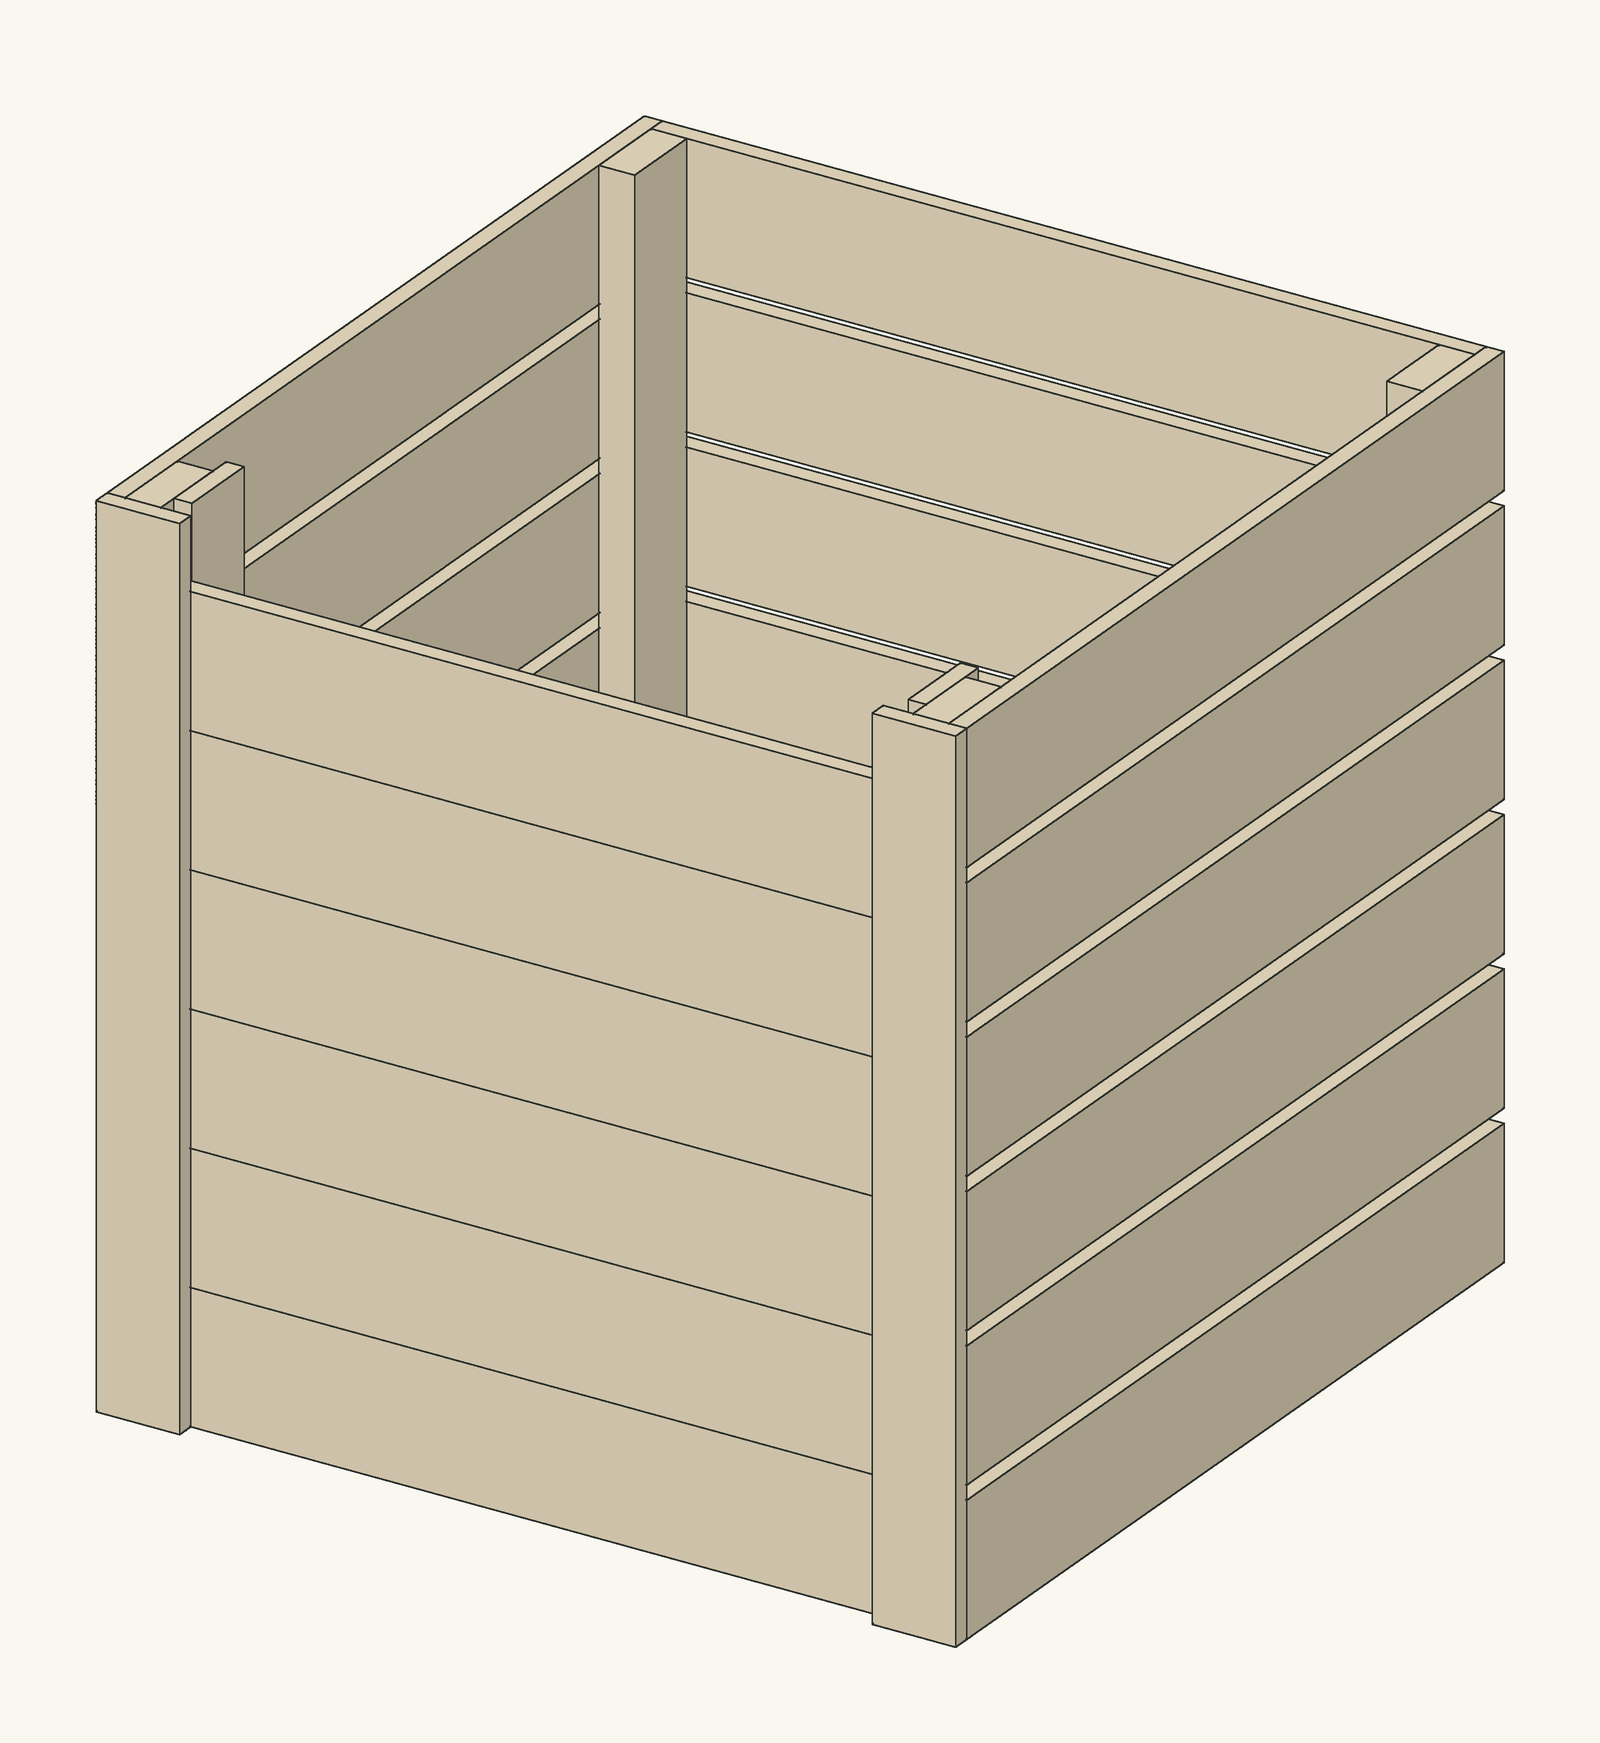
You will start with a raised bed about 4 × 4 ft (1.2 × 1.2 m), small enough to reach the middle from every side, fill it with loose, rich soil, and mark a grid of sixteen 1 ft (30 cm) squares on top. Each square then holds one, four, nine or sixteen plants, depending on how big the crop grows.
The number per square comes straight from the seed packet: plants that need about 12 in (30 cm) between them get one square each, 6 in (15 cm) means four per square, 4 in (10 cm) means nine, and about 3 in (7.5 cm) means sixteen. A few large or climbing crops, such as squash or melons, need more than one square or a trellis at the north side of the bed.
Build it
Lumber sizes are North American nominal sizes: a 2×4 is actually 1½ × 3½ in (38 × 89 mm). Metric figures in brackets are converted or, for lumber, the nearest common European size (such as 45 × 95 mm), which works the same way.
Put the bed in full sun, at least six hours a day, close to a tap. Fill it to just below the rim with a loose mix of topsoil and plenty of compost, rake it level and water it so it settles before you plant.
Lay wooden strips across the bed at 1 ft (30 cm) intervals in both directions and fix them to the frame, or stretch string between small nails. Sixteen squares are now easy to see, and the grid stays in place all season.
Draw the sixteen squares and write a crop in each one. Put tall crops such as tomatoes and climbing beans on the north side so they do not shade the others, and spread each crop over squares that will be harvested at different times.
In each square, poke holes in an even pattern: one in the centre, four in a two-by-two pattern, nine in three rows of three, or sixteen in four rows of four. Sow two or three seeds per hole or set one young plant, and label the square.
When seedlings appear, snip off the extras so only one plant grows in each spot. Water gently at the base of the plants, little and often in dry weather; a small bed with rich soil dries out faster than open ground.
When a square is harvested, add a trowel of compost and sow something new, such as a fast salad after early radishes. Change which crop goes in each square from year to year to keep pests and diseases from building up.
General guidance only. Follow the instructions for your tools and materials and your local rules, and use a qualified professional for electrical, gas and structural work.
More detail
Background for planning and adapting the build: sizes, variations, materials and fixes.
These are typical counts for a 1 ft (30 cm) square. Seed varieties differ, so check the spacing on your packet: divide 12 in (30 cm) by the spacing and square the result. Climbing crops need a trellis on the north side so they do not shade the rest of the bed.
| Plants per square | Packet spacing | Typical crops |
|---|---|---|
| 1 | about 12 in (30 cm) | Tomato (staked), pepper, broccoli, cabbage, kale |
| 4 | about 6 in (15 cm) | Leaf lettuce, Swiss chard, marigold, garlic |
| 9 | about 4 in (10 cm) | Beets, spinach, bush beans |
| 16 | about 3 in (7.5 cm) | Carrots, radishes, spring onions |
| Larger | more than 12 in (30 cm) | Squash, melons and pumpkins take two or more squares, or grow up a trellis |
Counts vary between sources and varieties; the seed packet wins.
A single 4 × 4 ft bed planted square by square can keep a small household in salads and herbs for much of the season. Add a second bed next year if the first one works, and keep notes of what grew well in each square.
About this guide: published by Oskar N. and drafted with AI assistance from general, widely used building and gardening practice; see our editorial policy. Text and illustration © DIY Outdoor Builds. Found an error? Let us know.
Share your photos, measurements and what you changed. Your build gets its own page and helps the next person.
What others made, with their own photos and notes.
 Member project
Raised Garden Beds
 Member project
Raised Garden Beds
 Our design
Raised Garden Beds
 Our design
Compost Bins
From diyoutdoorbuilds.com/guides/square-foot-garden-layout · DIY Outdoor Builds