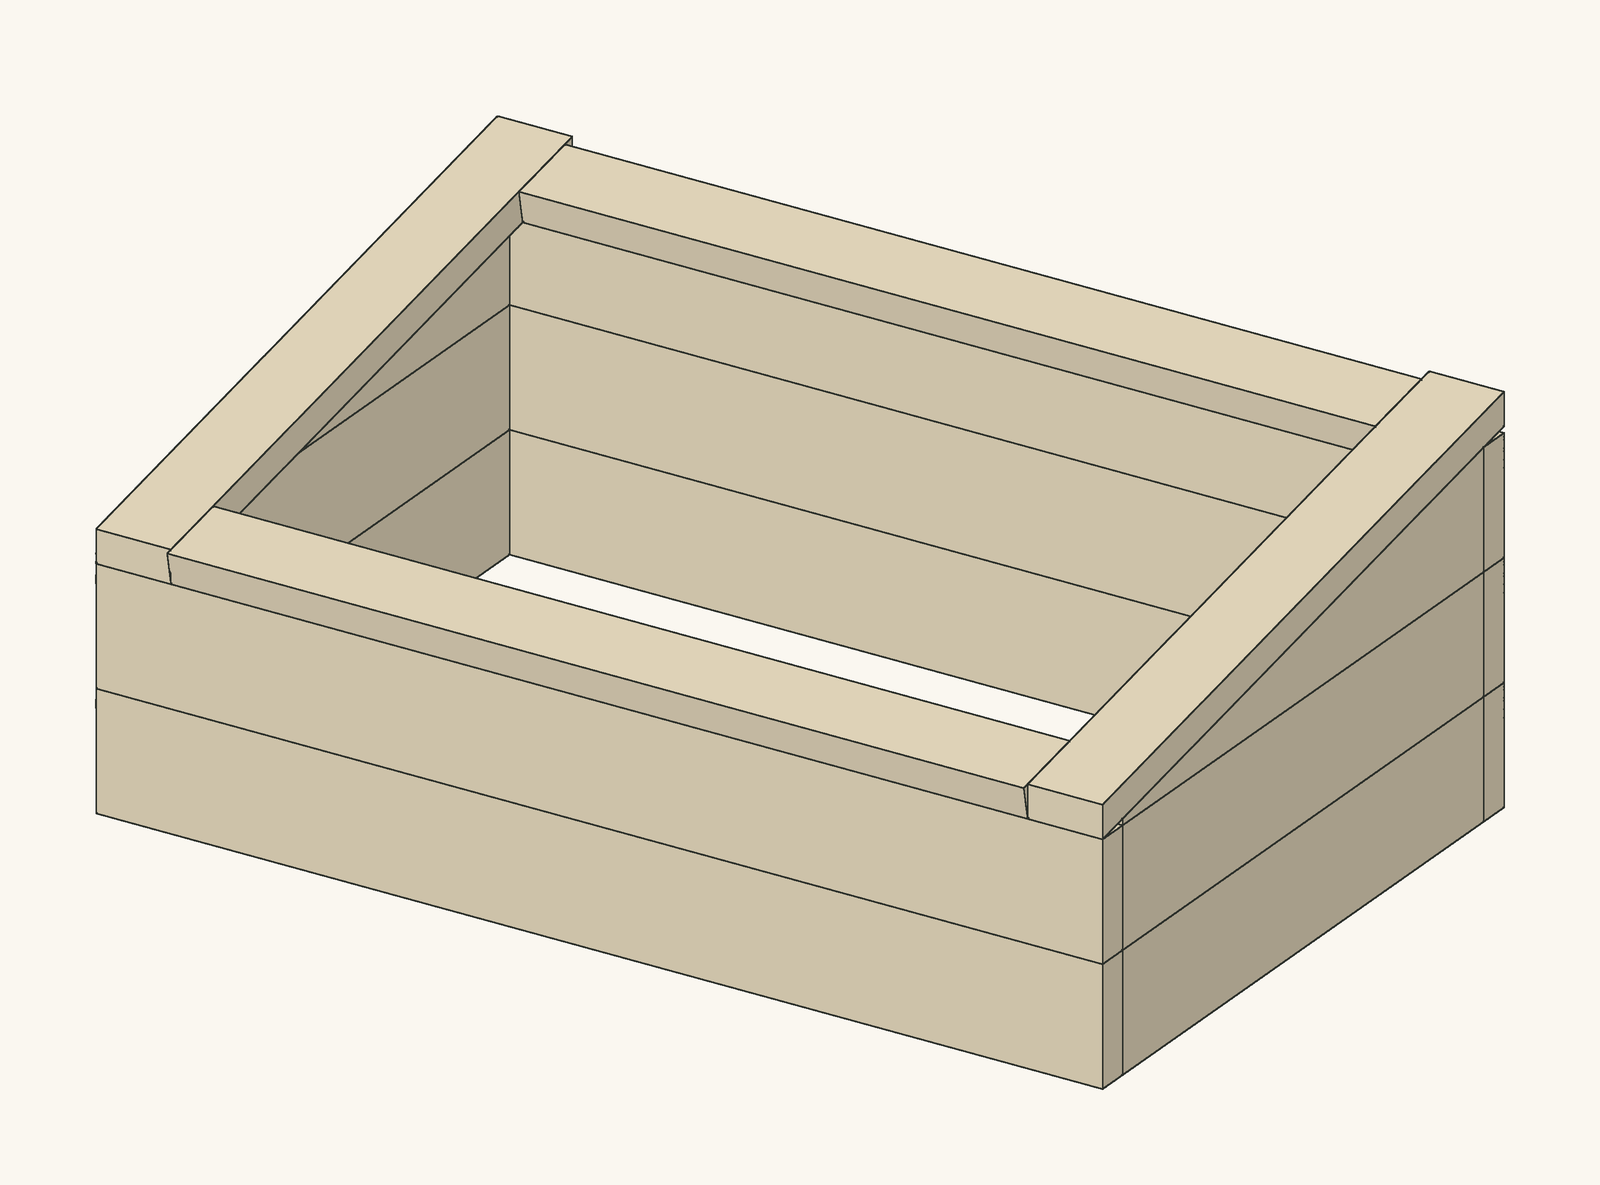
 Our design
Greenhouses
Real buildBuilt and documented by Team The Four Tall Redwoods; our summary of their open-licensed write-up (CC BY-SA 3.0).
A small greenhouse that rolls. A painted timber frame on four wheels holds two shelves of seedlings under a corrugated plastic roof and woven greenhouse film, so it can live indoors and be wheeled into the sun when the weather allows.
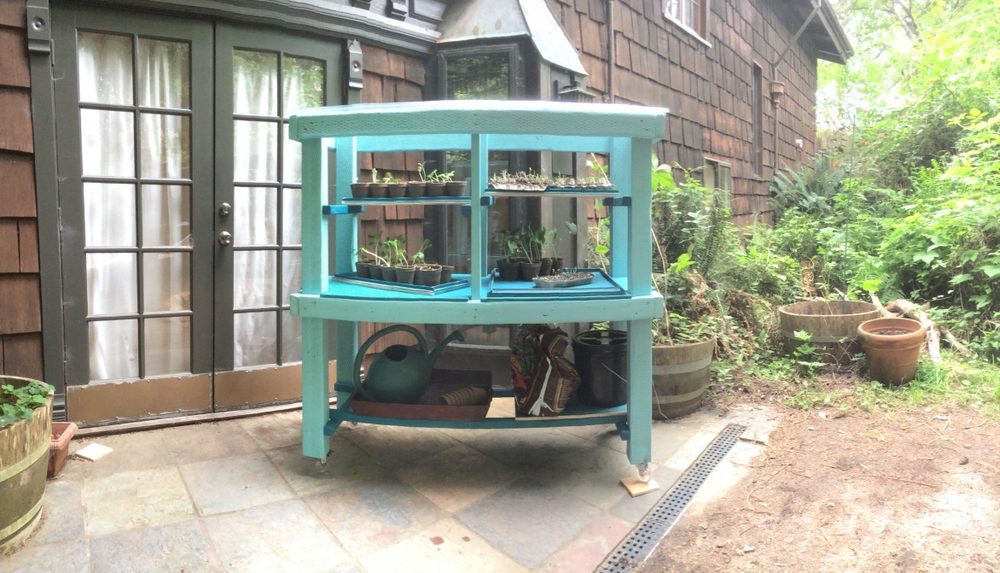
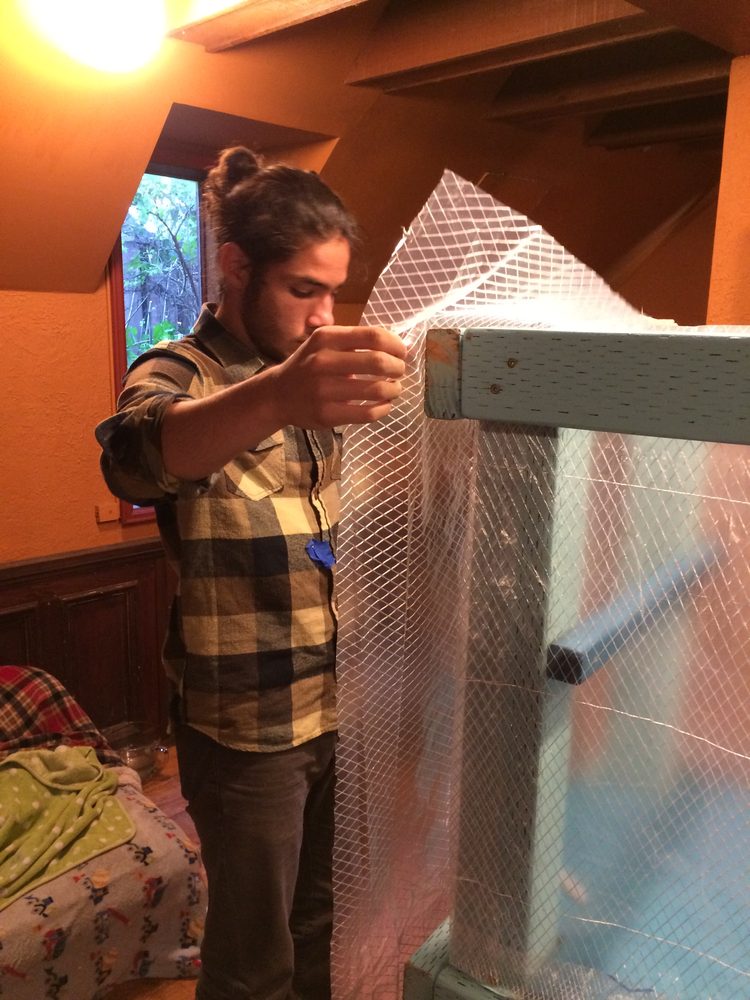
A biology teacher at Zane Middle School in Eureka, California, wanted a greenhouse the seventh graders could use to follow plants from seed to seedling. It had to live in the classroom, so a fixed greenhouse in the yard was not an option. A team of four first-year engineering students at Cal Poly Humboldt, who called themselves the Four Tall Redwoods, took it on as their design project in an introductory engineering course.
They ranked safety first, then portability, durability and cost. Twelve- and thirteen-year-olds would be moving it and reaching into it, so it had to be light enough to push, stable enough not to tip and free of sharp edges and splinters. The class grows its experiments in plastic cups, and the cart had to hold about 150 of them at once, each needing around 67 cubic inches plus room to grow.
The answer was a box about the size of a small bookcase: big enough for the whole class's cups, small enough to fit in the classroom and roll out the door. They kept the cost down with reclaimed lumber and donated plastic, and spent $188 on the rest.
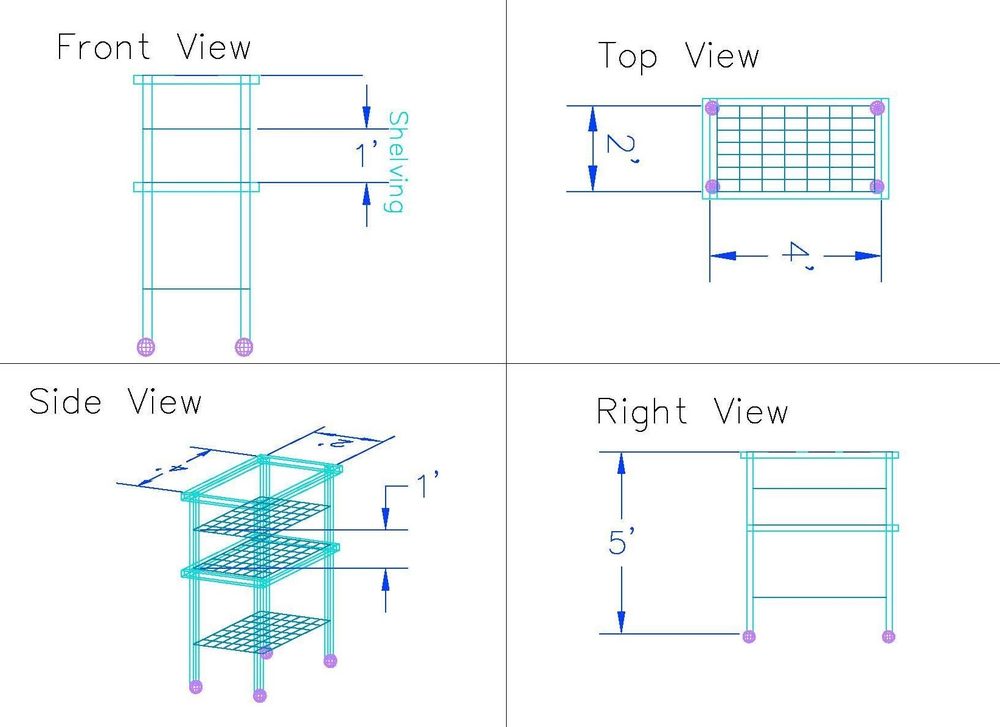
Decide the length, width and height from what has to fit inside and where it must go. Remember that the wheels add to the total height. For a classroom and about 150 cups, the team settled on 4 × 2 × 5 ft.
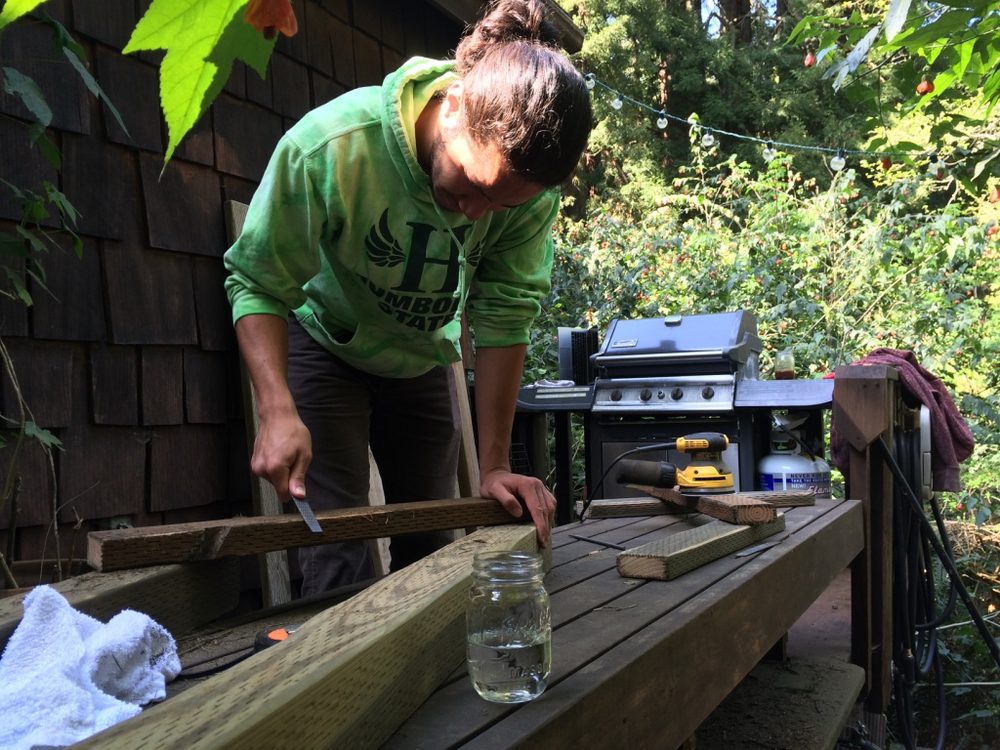
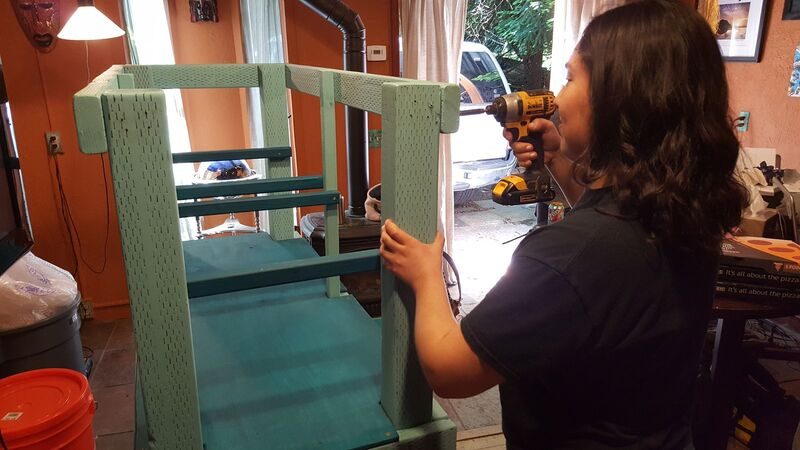
Sand off sharp edges and corners on all the posts so nobody gets splinters or cuts.
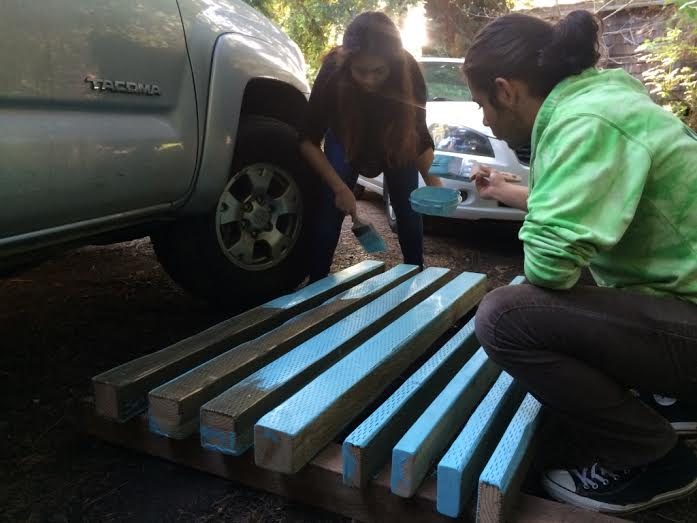
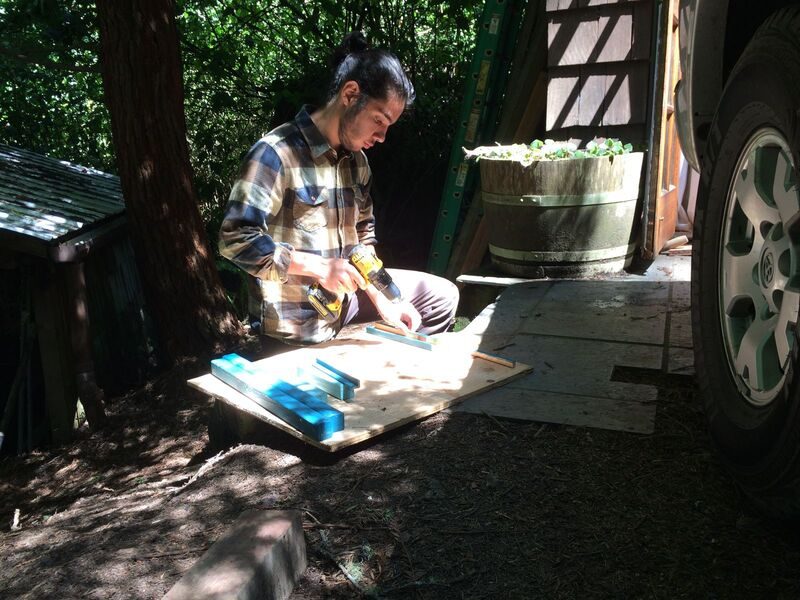
This step is optional, but paint protects the wood and makes it easier to wipe clean. The team painted theirs aquamarine.
Screw the posts and rails together into the box frame.
Fit the growing shelves 1 ft apart, with the storage shelf below them.
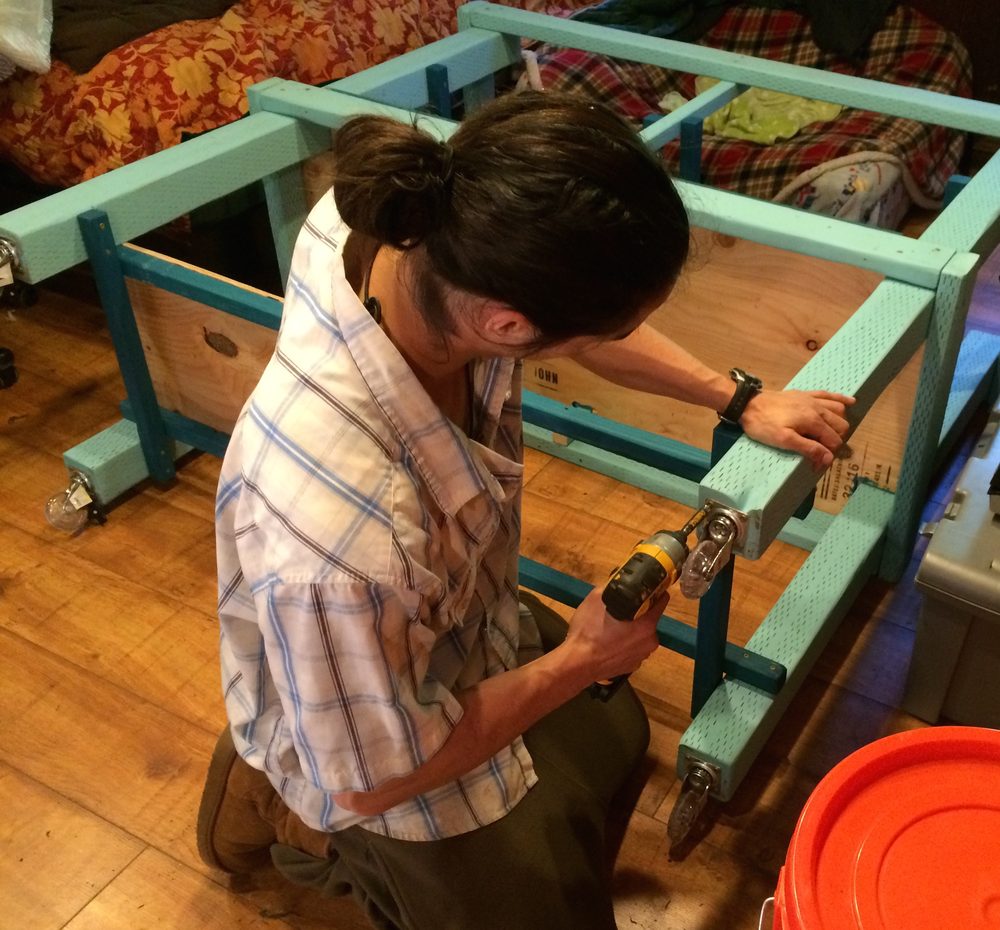
Turn the frame over and fit a wheel under each corner.
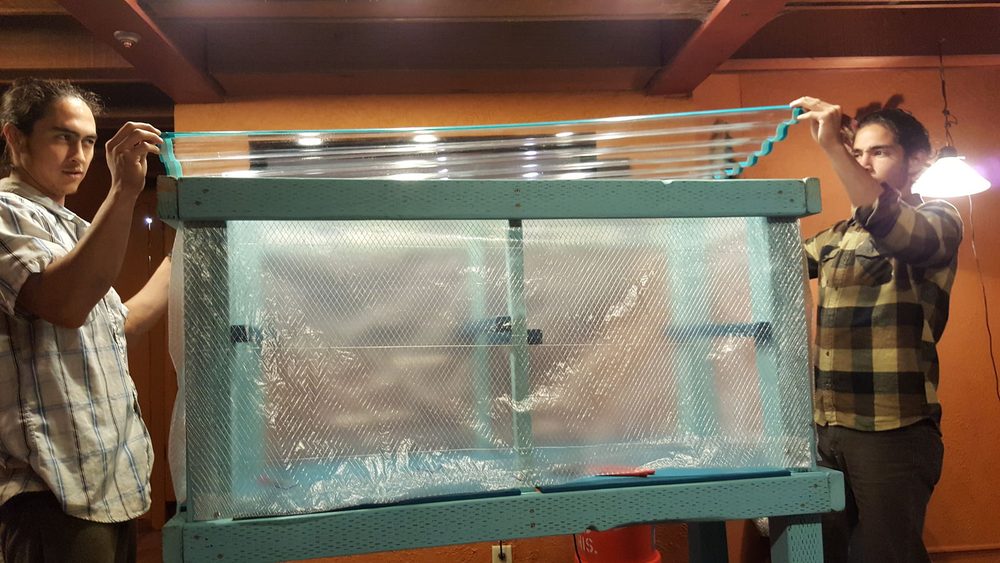
Screw the corrugated plastic roof onto the top of the frame.
Wrap the sides in reinforced woven greenhouse plastic and fix it to the frame. The team heat-sealed the plastic as they fitted it.
Screw the handles to the frame where they are comfortable to push from.
The builders' own drawings with their measurements. Open one to see it full size.
Credits and license: Built and documented by Team The Four Tall Redwoods: Carlos Cruz III, Julie Hernandez, Elizabeth Lujan and John Jensen, engineering students at Cal Poly Humboldt. Originally published on Appropedia: “Zane Middle School starter box mobile greenhouse” under CC BY-SA 3.0. This page is our summary of their documentation and is shared under the same license (CC BY-SA 3.0); photos are credited individually. Measurements and costs are the builders' own and refer to their site and year. DIY Outdoor Builds did not build this project.
Photo credits: The Starter Box almost finished: a painted timber frame on wheels with plastic walls: Photo: Eal376, CC BY-SA 3.0, via Appropedia (resized); Sanding the sharp edges off the posts: Photo: Eal376, CC BY-SA 3.0, via Appropedia (resized); Painting the posts: Photo: Eal376, CC BY-SA 3.0, via Appropedia (resized); Screwing the framework together: Photo: Kathy Nativi, CC BY-SA 3.0, via Appropedia (resized); Fitting the shelves into the frame: Photo: Kathy Nativi, CC BY-SA 3.0, via Appropedia (resized); Adding the wheels: Photo: Eal376, CC BY-SA 3.0, via Appropedia (resized); Fitting the corrugated plastic roof: Photo: Kathy Nativi, CC BY-SA 3.0, via Appropedia (resized); Attaching the woven greenhouse plastic to the walls: Photo: Eal376, CC BY-SA 3.0, via Appropedia (resized); The builders' CAD drawing: front, top, side and right views, 4 ft long, 2 ft deep and 5 ft high, with shelves 1 ft apart: Photo: Julieh, CC BY-SA 3.0, via Appropedia (resized).
Building work can be dangerous and may need a permit. Check local rules and use a qualified professional for electrical, gas and structural work.
Share your own version with your photos, measurements and what you changed.
Our designGreenhouses
 Our design
Outdoor Structures
 Real build
Outdoor Structures
 Real build
Pergolas & Gazebos
 Build a Gravel Shed Base Inside a Timber FrameGarden Sheds · Intermediate · A weekend
 Build a Trellis Privacy Screen for a Patio or GardenPergolas & Gazebos · Intermediate · A weekend
 Build a Walk-In PVC Hoop GreenhouseGreenhouses · Intermediate · A weekend
 Freestanding Wooden Pergola: How to Plan and Build OnePergolas & Gazebos · Advanced · Several weekends
From diyoutdoorbuilds.com/builds/diy-mobile-greenhouse-cart-on-wheels · DIY Outdoor Builds