 Our design
Outdoor Structures
Our designDesigned by DIY Outdoor Builds and checked board by board in a 3D model built from real lumber sizes. We have not built this one yet, so measure as you go.
A cold frame is a bottomless box with a clear lid that faces the sun: a small greenhouse at ground level for starting seedlings weeks early, hardening off plants and growing salads into winter. This one is 47 × 30 in (1.19 × 0.76 m), slopes from 16½ in at the back to 11 in at the front, and has a hinged lid for a polycarbonate sheet or an old window.
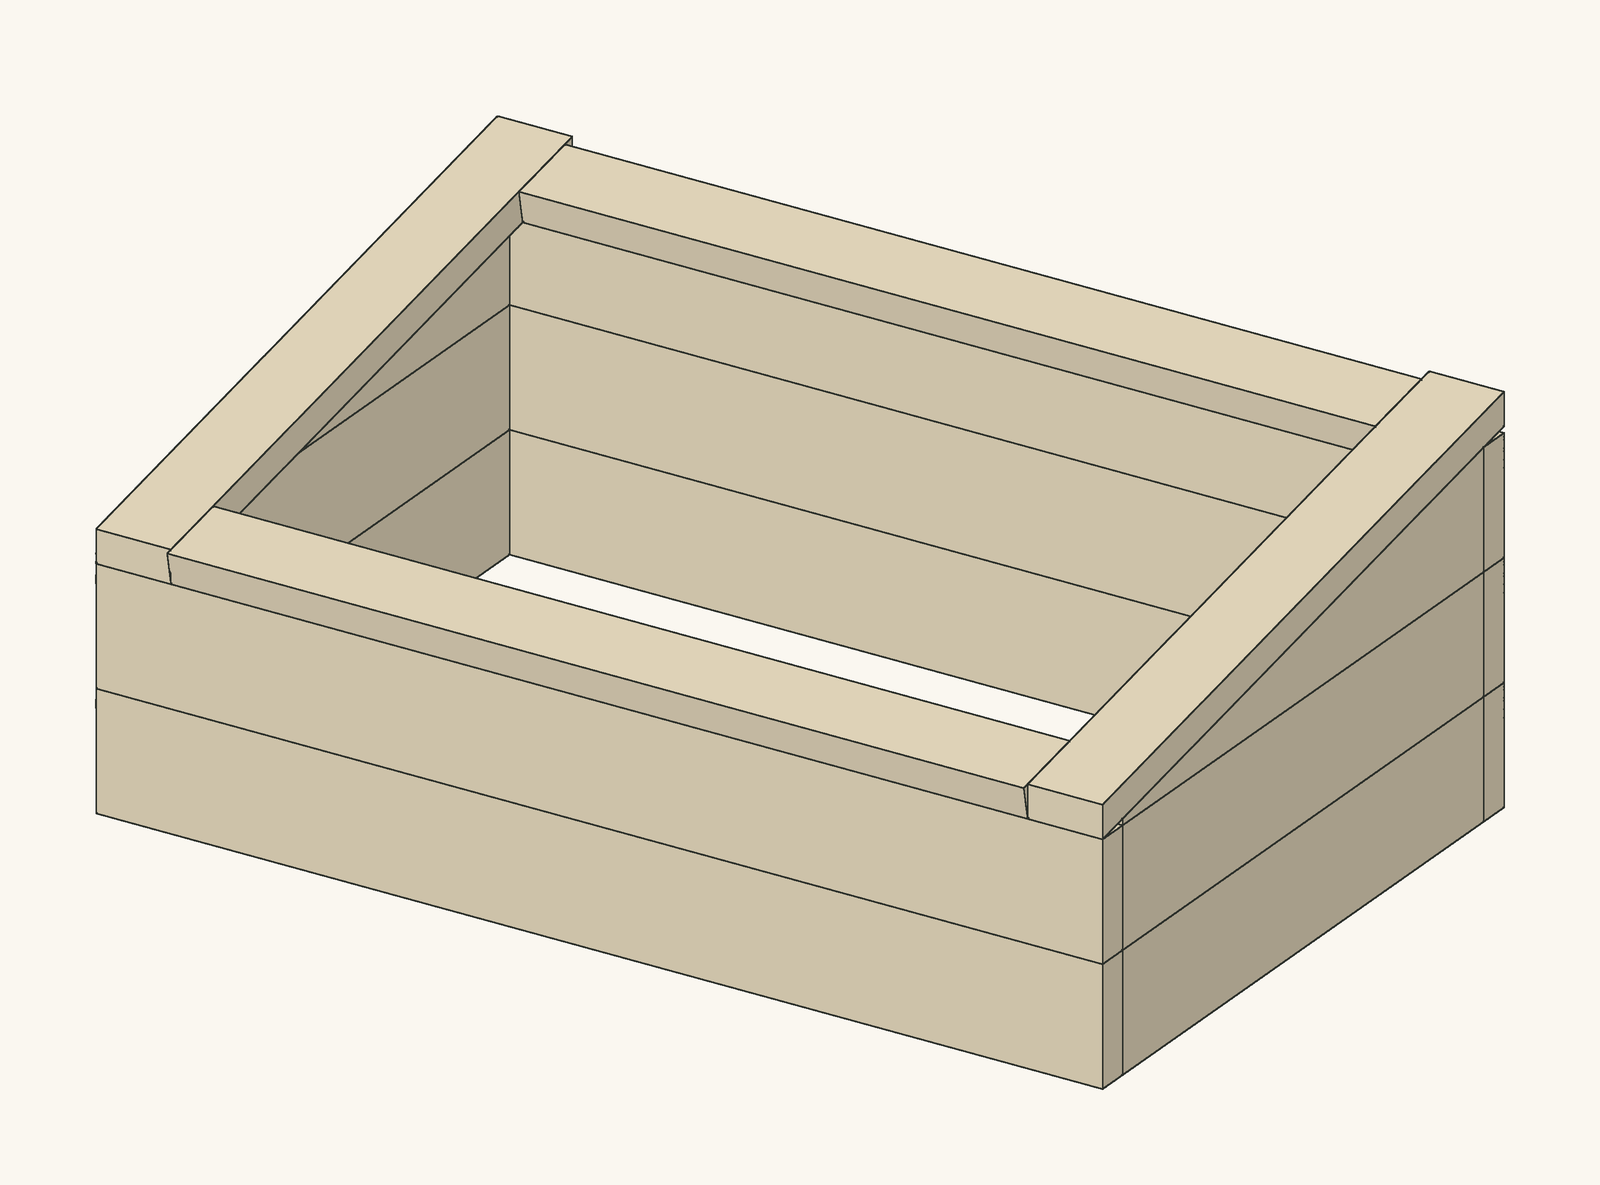
A cold frame traps the sun's warmth and keeps off wind and frost, so the soil inside warms up weeks before the open garden. It is the cheapest way to get a head start in spring: sow lettuce, spinach and radishes in it in late winter, harden off seedlings from the windowsill before they go out, and in autumn keep salads going long after the first frost.
The box is built from 2×6 boards stacked on edge: two at the front, three at the back, and two on each side plus a tapered top board, so the top slopes about 11° towards the front. That slope lets rain run off and tilts the lid towards the low winter sun. The tapered side boards are cut on a slope so the lid lies flat on all four walls, which keeps the heat in. The box has no bottom; it stands on the soil, or on a raised bed.
The lid is a frame of four 2×4s laid flat: two stiles running down the slope and two rails between them. Screw a sheet of twin-wall polycarbonate, 47 × 30½ in (1.19 × 0.78 m), on top of it, or use an old window of about that size instead and leave out the lid frame. Two hinges at the back let you prop the lid open on sunny days; even in early spring, a closed cold frame can get too hot for seedlings by midday.
We designed it as a 3D model using real lumber sizes and a script checked that no two boards overlap, that every board touches and can be fixed to another, and that each board in the model is exactly the size in the cut list. The cut list, the cutting diagram and the step drawings on this page all come from that same model, so they cannot disagree. We have not built this exact design ourselves yet, so measure your real boards as you go: lumber varies slightly in width and thickness.
| Item | Qty | Notes |
|---|---|---|
| 2×6 boards, 8 ft (2.4 m), pressure-treated, cedar or larch | 5 | See the cutting diagram |
| 2×4 boards, 8 ft (2.4 m) | 2 | Lid frame |
| Twin-wall polycarbonate sheet, 4–6 mm | 47 × 30½ in (1.19 × 0.78 m) | Or an old window of about that size |
| Exterior screws 3 in (76 mm) | About 60 | Box and lid frame |
| Roofing screws with sealing washers | About 12 | For the polycarbonate |
| Exterior hinges, 3 in (75 mm) | 2 |
| Part | Qty | Length | Section | Notes |
|---|---|---|---|---|
| A · Front wall board | 2 | 47 in (1194 mm) | 2×6 (1½ × 5½ in / 38 × 140 mm) | Pressure-treated or cedar |
| B · Back wall board | 3 | 47 in (1194 mm) | 2×6 (1½ × 5½ in / 38 × 140 mm) | Pressure-treated or cedar |
| C · Side wall board | 4 | 27 in (686 mm) | 2×6 (1½ × 5½ in / 38 × 140 mm) | Pressure-treated or cedar |
| D · Tapered side board | 2 | 27 in (686 mm) | 2×6 (1½ × 5½ in / 38 × 140 mm) | Pressure-treated or cedar. Cut lengthwise on a slope, ¼ in high at the front and 5½ in at the back |
| E · Lid stile | 2 | 30⅝ in (776 mm) | 2×4 (1½ × 3½ in / 38 × 89 mm) | Pressure-treated or cedar. Both ends cut plumb, 10.9° from square, parallel; length is the long edge |
| F · Lid rail | 2 | 40 in (1016 mm) | 2×4 (1½ × 3½ in / 38 × 89 mm) | Pressure-treated or cedar. Square; lies flat on the slope |
The cut list comes straight from the 3D model, which is checked so that no two boards overlap, every board is joined to another and every board is exactly the length listed. Measure the real gaps before cutting the parts that fit between others.
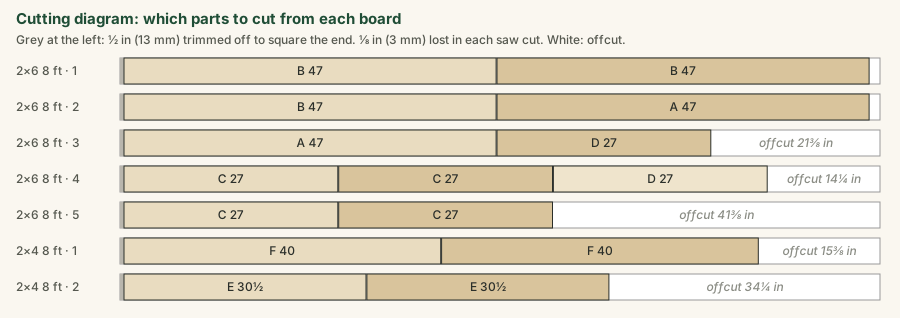
Cut five 47 in wall boards (A and B), six 27 in side boards (C and D), two lid stiles (E) and two 40 in lid rails (F) following the cutting diagram. The two tapered side boards (D) are 27 in pieces ripped lengthwise: mark a line from the full 5½ in width at one end to about ¼ in (6 mm) at the other and cut along it with a circular saw. The lid stiles are about 30½ in (776 mm) along their long edge, with both ends cut plumb at about 11° from square, parallel; mark them by holding the board against the finished box.
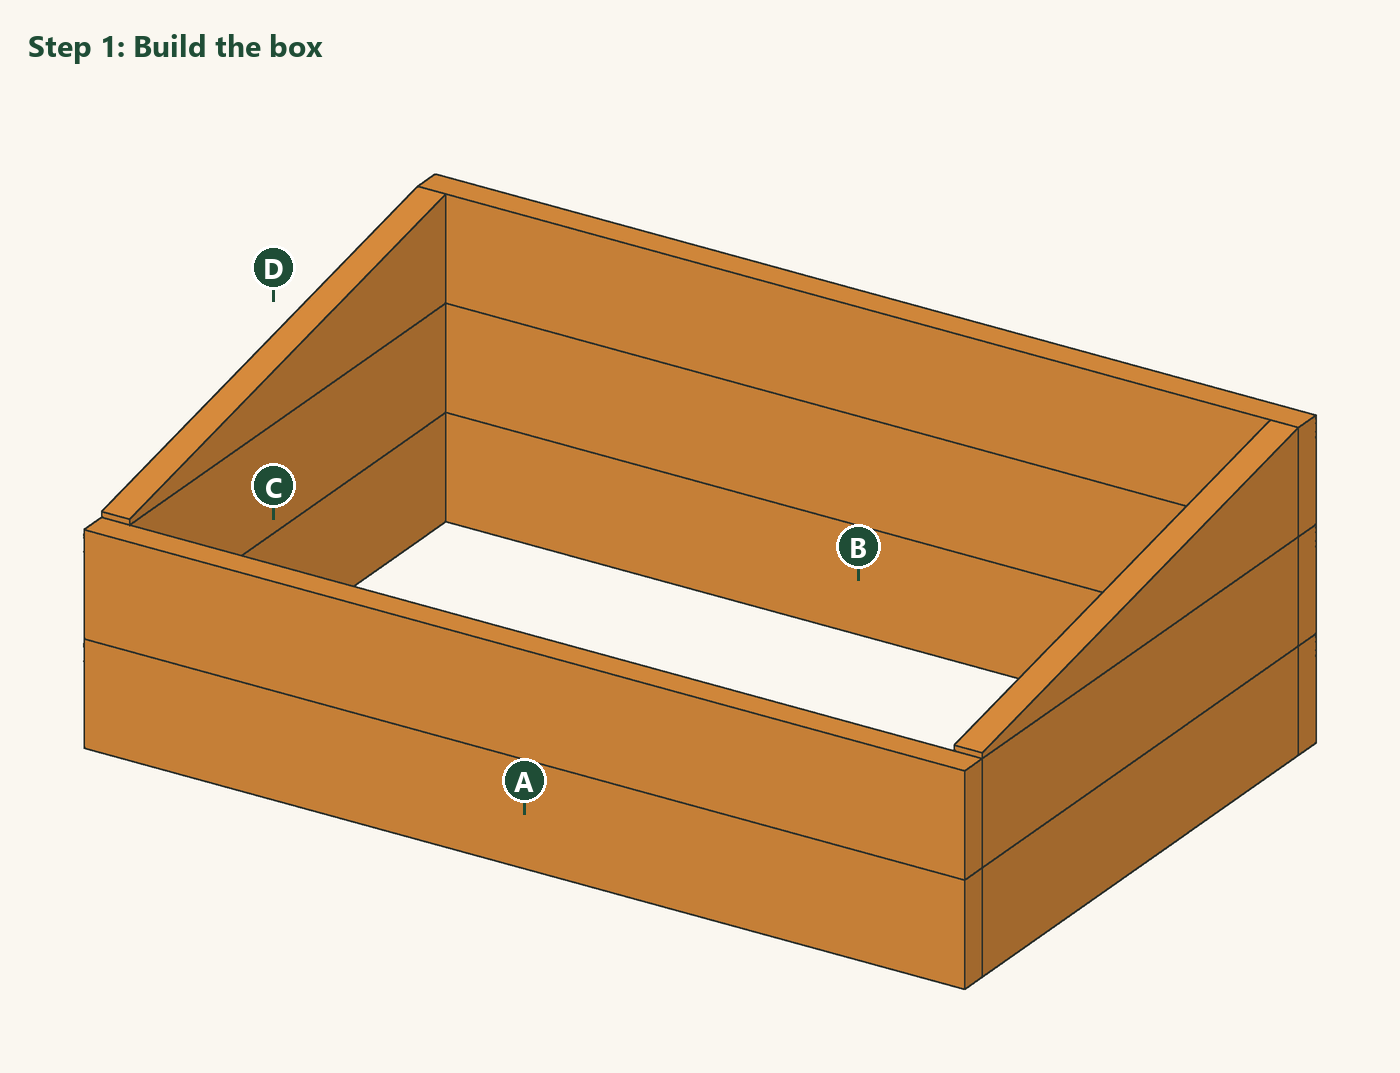
Stack two front boards (A) and three back boards (B) on edge. Screw two side boards (C) between them at each end, with the front and back boards overlapping the ends of the side boards, then add a tapered board (D) on top of each side, wide end at the back. Pre-drill and drive three screws through the front and back boards into the end of each side board. Lay a straightedge from front to back over the sides; it should touch the front edge, both side tops and the inner top edge of the back.
Lay the two stiles (E) flat with the two rails (F) between them, one at each end, and screw through the stiles into the ends of the rails. Check the frame is square by measuring its diagonals. Set it on the box to check that it lies flat all round.
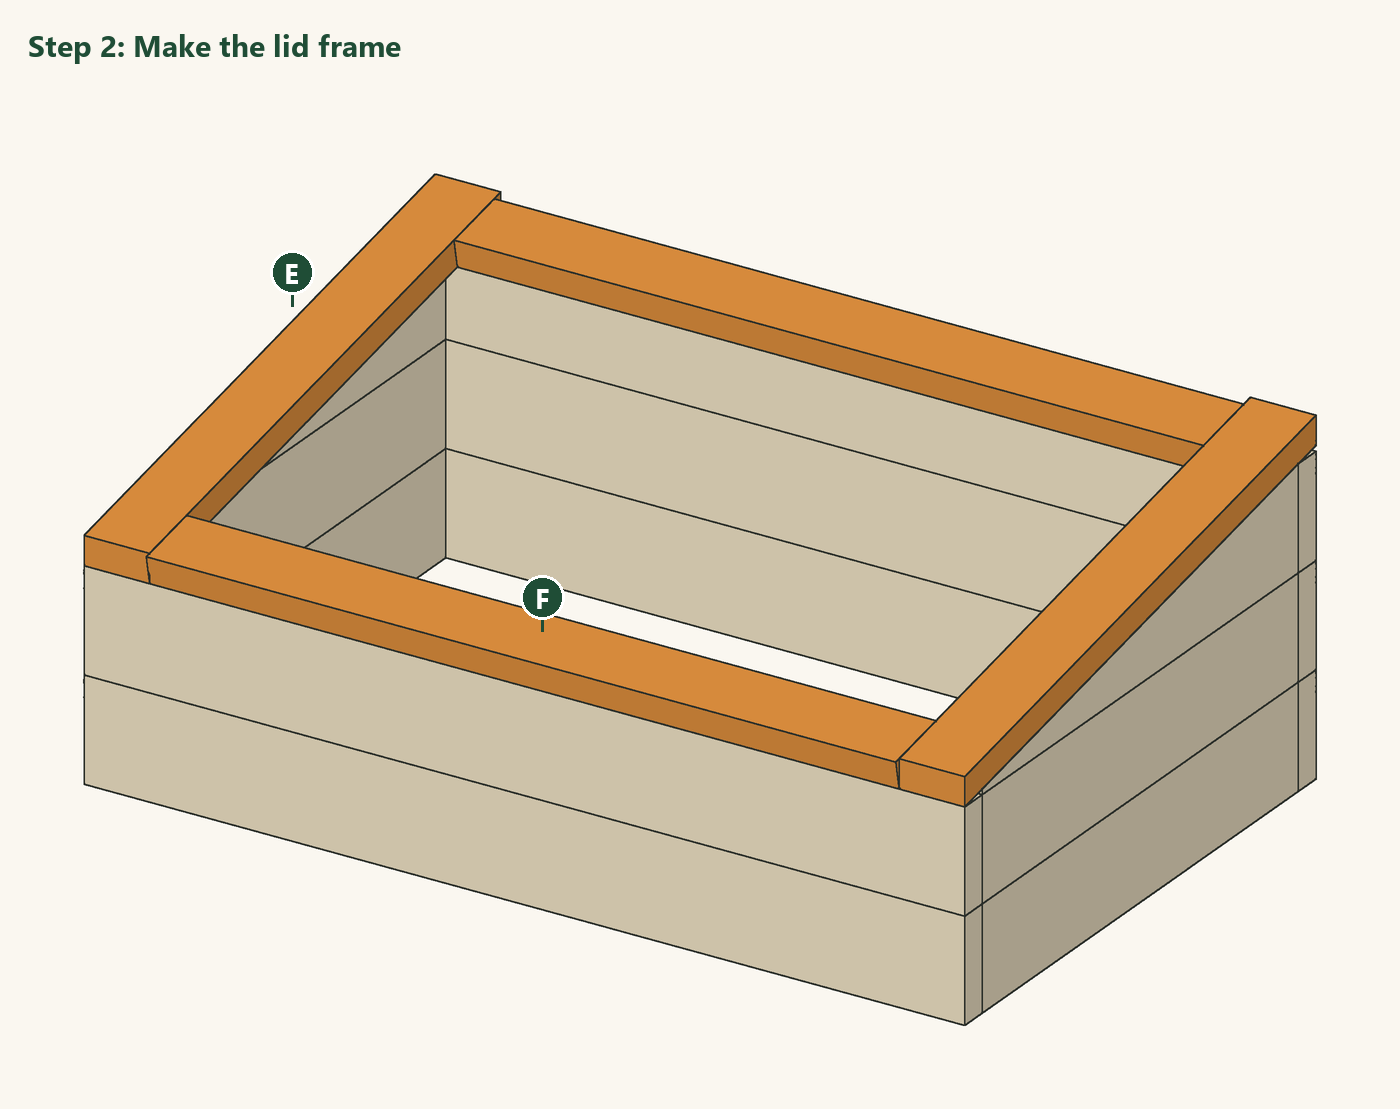
Cut the polycarbonate to the size of the lid frame, with the hollow channels running down the slope so condensation can drain out. Tape the open top edge closed. Pre-drill slightly oversize holes and screw the sheet to the frame with roofing screws and sealing washers, every 12 in (30 cm) or so, without overtightening.
Screw two hinges between the back rail of the lid and the top of the back wall. Set the cold frame on loosened, level soil in full sun, with the low side facing south in the northern hemisphere. Fill it with good soil or compost, or set it over an existing bed. Prop the lid open on sunny days and close it in the late afternoon to trap the warmth for the night.
The 3D model and drawings of this design, free to download for your own build. Open STEP in Fusion 360, FreeCAD or most CAD programs; STL and OBJ in SketchUp (with an importer), Blender or a 3D viewer; DXF in any 2D CAD program. Units are inches.
About this design: designed and modelled by DIY Outdoor Builds; the text was drafted with AI assistance and checked against the model (see our editorial policy). Design, drawings and 3D files © DIY Outdoor Builds: free to download and build for your own use, please do not republish the files. We have not built this exact design yet.
Building work can be dangerous and may need a permit. Check local rules and use a qualified professional for electrical, gas and structural work.
Share your own version with your photos, measurements and what you changed.
Our designOutdoor Structures
 Real build
Greenhouses
 Real build
Outdoor Structures
 Real build
Pergolas & Gazebos
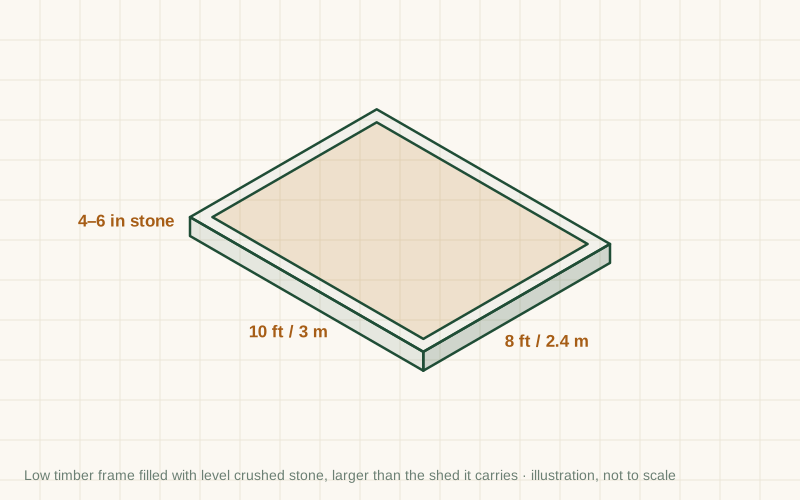 Build a Gravel Shed Base Inside a Timber FrameGarden Sheds · Intermediate · A weekend
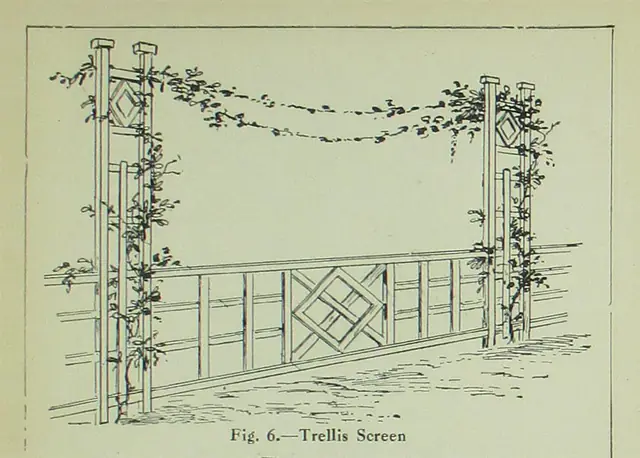 Build a Trellis Privacy Screen for a Patio or GardenPergolas & Gazebos · Intermediate · A weekend
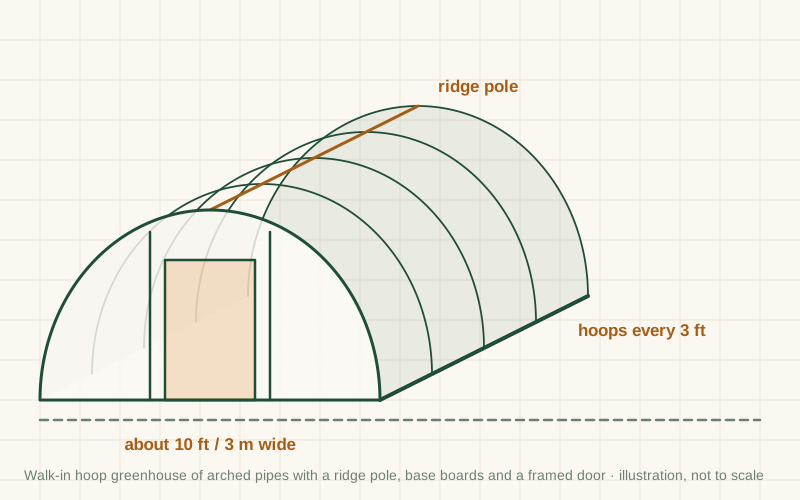 Build a Walk-In PVC Hoop GreenhouseGreenhouses · Intermediate · A weekend
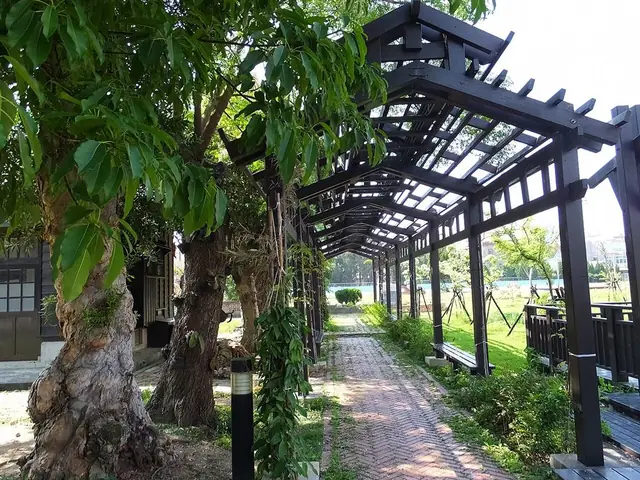 Freestanding Wooden Pergola: How to Plan and Build OnePergolas & Gazebos · Advanced · Several weekends
From diyoutdoorbuilds.com/builds/wooden-cold-frame-2x6 · DIY Outdoor Builds