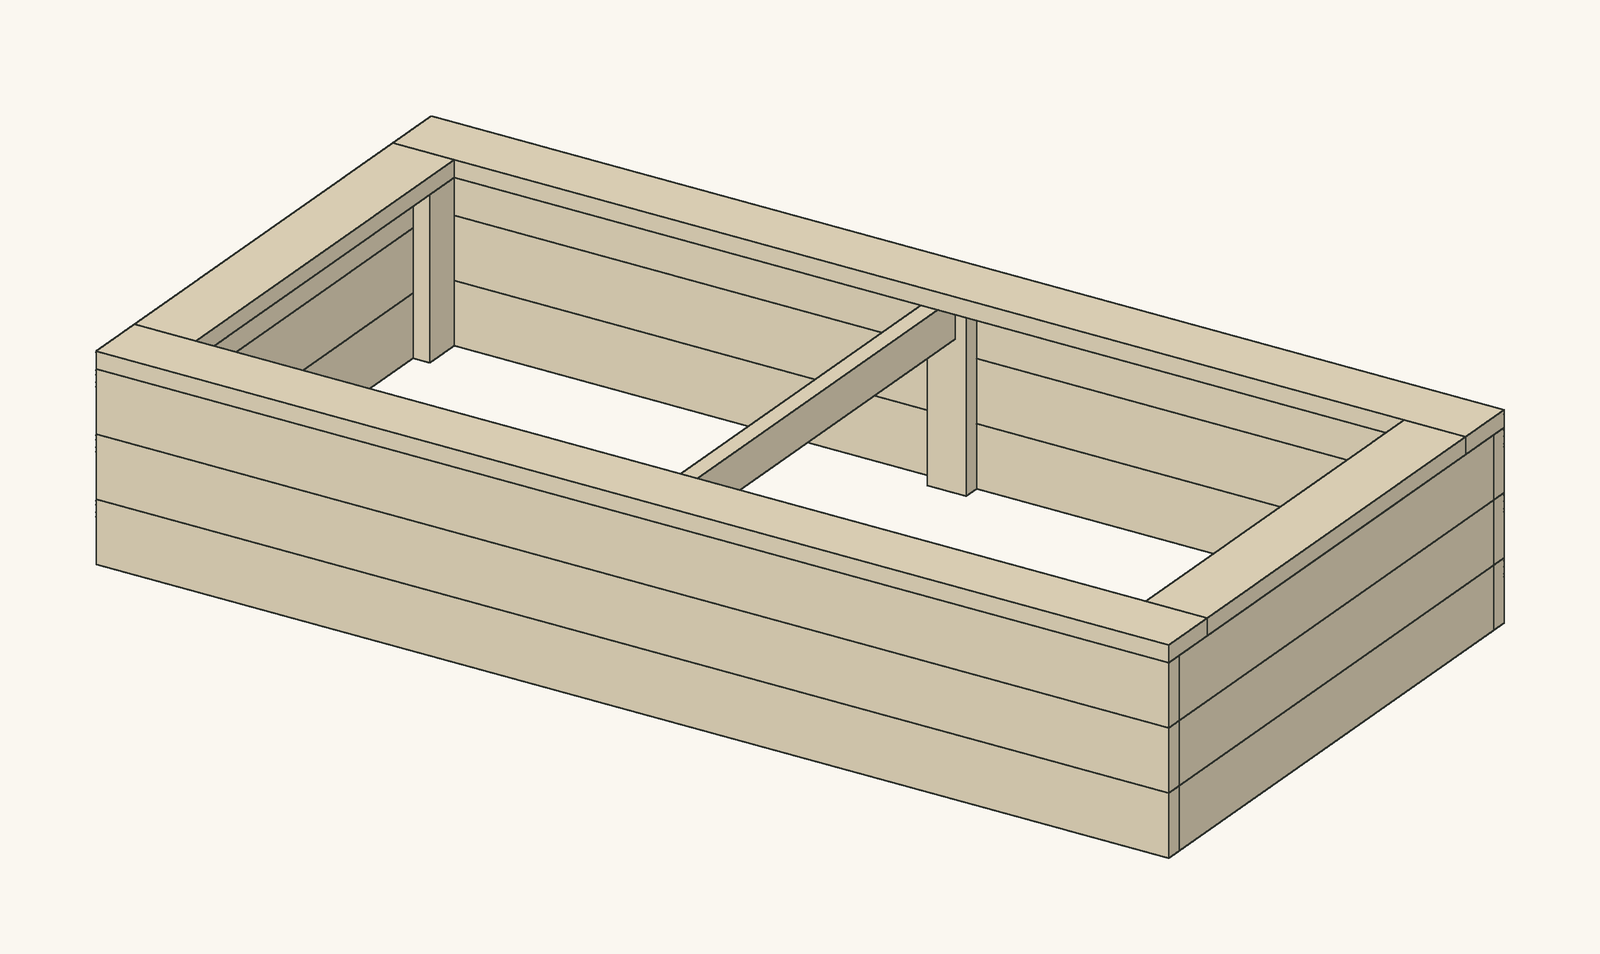
 Our design
Raised Garden Beds
Real buildBuilt and documented by Kelsey Burrell (Appropedia user Kburrell) and fellow engineering students at Cal Poly Humboldt; our summary of their open-licensed write-up (CC BY-SA 3.0).
A sturdy wooden compost bin with two compartments, one for fresh scraps and one for maturing compost. Hardware cloth under the open bottom keeps rats out, fold-down front doors make turning easy, and a hinged corrugated roof keeps the rain off.
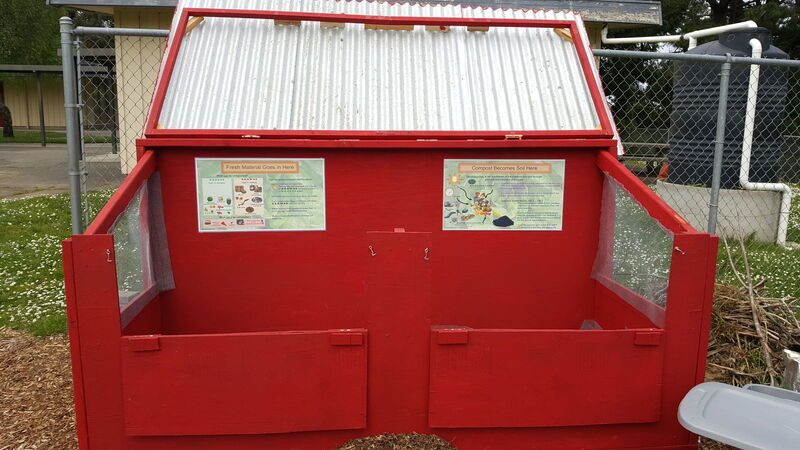
Zane Middle School in Eureka, California, had tried composting in its garden before, but the earlier bins attracted rats, needed too much looking after and did not survive the students, so they were removed. In spring 2017 a team of engineering students at Cal Poly Humboldt took on the job of designing a new one in an introductory design course.
The school wanted a bin that could take garden waste, woody debris and the odd load of food waste from the cafeteria, that children could use safely and that would teach them something about decomposition. The team ranked safety highest, then educational value, keeping rats out, simplicity and durability, with a budget of $425.
Before building anything, they marked the footprint out in the garden with cardboard, then made cardboard mock-ups of the doors to find a height and size that more than one child could work through at a time. They tested the rat-proofing in a simple way: fruit left in a bucket covered with ¼ in hardware cloth stayed put for two days outdoors, while fruit left uncovered beside it disappeared.
The team started with dimensioned sketches and talked them through with the school before deciding on the final size and features.
Measure the footprint in the garden and mark it out, for example with cardboard boxes, so everyone can see how big it will be before you buy materials.
Make cardboard doors to try out heights and sizes. The pile should be easy to reach, ideally for more than one person at a time.
Build the two-bin frame and hang the front doors on metal hinges, with hook latches to keep them closed.
Paint all the wood with weather-resistant paint to keep it from warping. The team chose a tulip red to match the school.
Build a wooden frame for the roof and screw the corrugated metal to it with gasketed screws, so no water gets in through the screw holes.
Staple wire mesh across the bottom and inside of the bins to keep rodents out while still letting air through.
Fix the roof to the frame with heavy-duty hinges strong enough to carry its weight, so it can be lifted open.
Grind down the sharp edges of the corrugated metal and coat them with Plasti Dip. Finally, fix the posters inside the bins.
Credits and license: Built and documented by Kelsey Burrell (Appropedia user Kburrell) and fellow engineering students at Cal Poly Humboldt. Originally published on Appropedia: “Zane Middle School compost” under CC BY-SA 3.0. This page is our summary of their documentation and is shared under the same license (CC BY-SA 3.0); photos are credited individually. Measurements and costs are the builders' own and refer to their site and year. DIY Outdoor Builds did not build this project.
Photo credits: The finished two-bin composter with its fold-down doors open and the educational posters inside: Photo: Kelsey Burrell (uploaded by Kathy Nativi), CC BY-SA 3.0, via Appropedia (resized).
Building work can be dangerous and may need a permit. Check local rules and use a qualified professional for electrical, gas and structural work.
Share your own version with your photos, measurements and what you changed.
Our designRaised Garden Beds
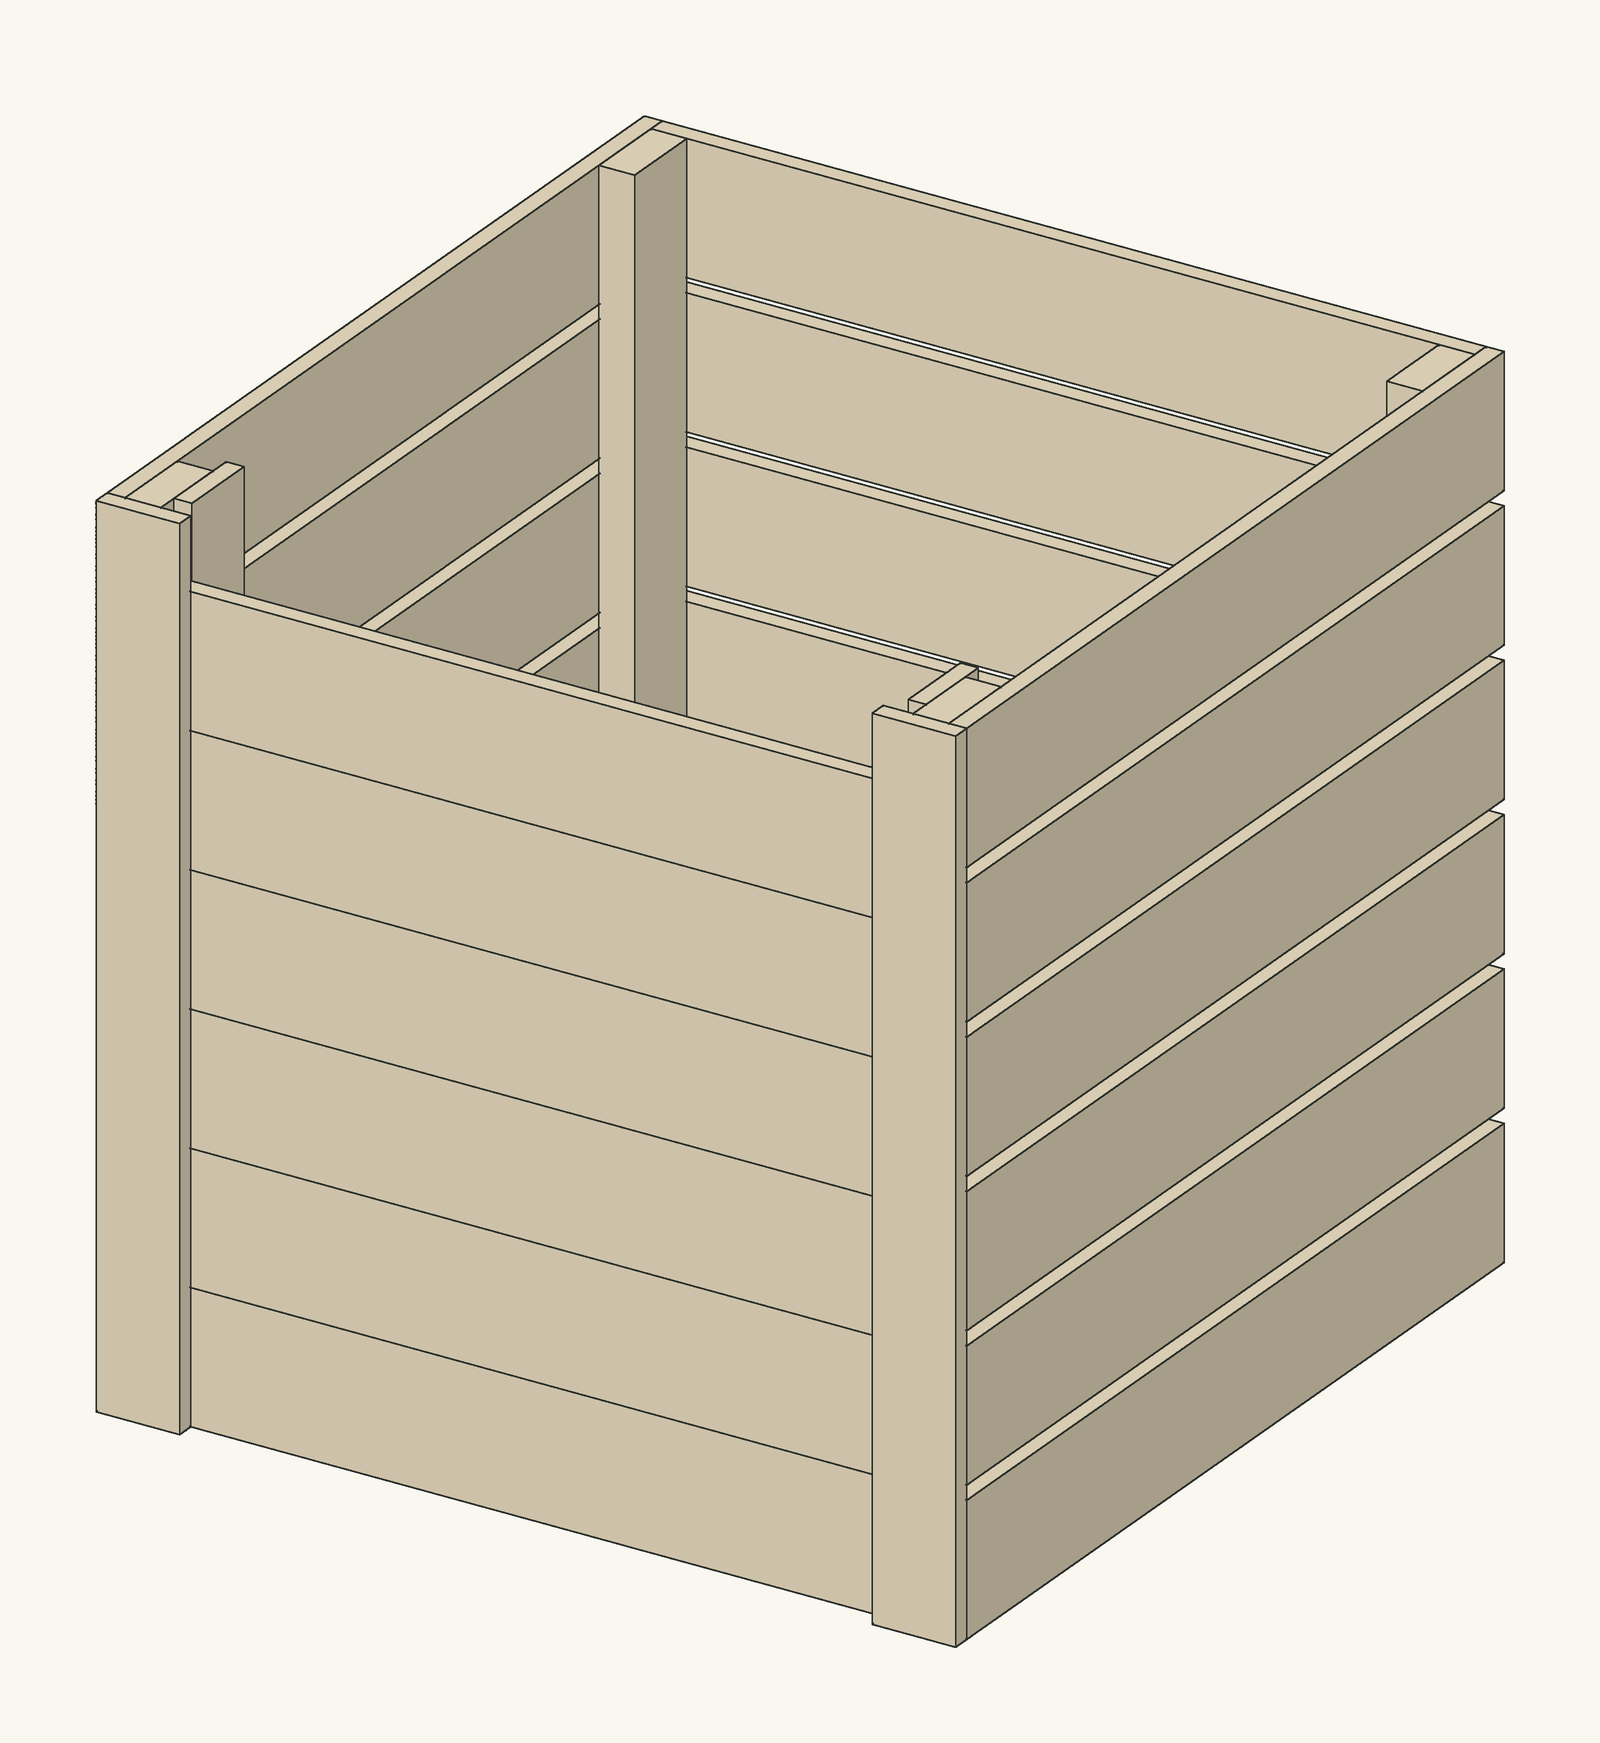 Our design
Compost Bins
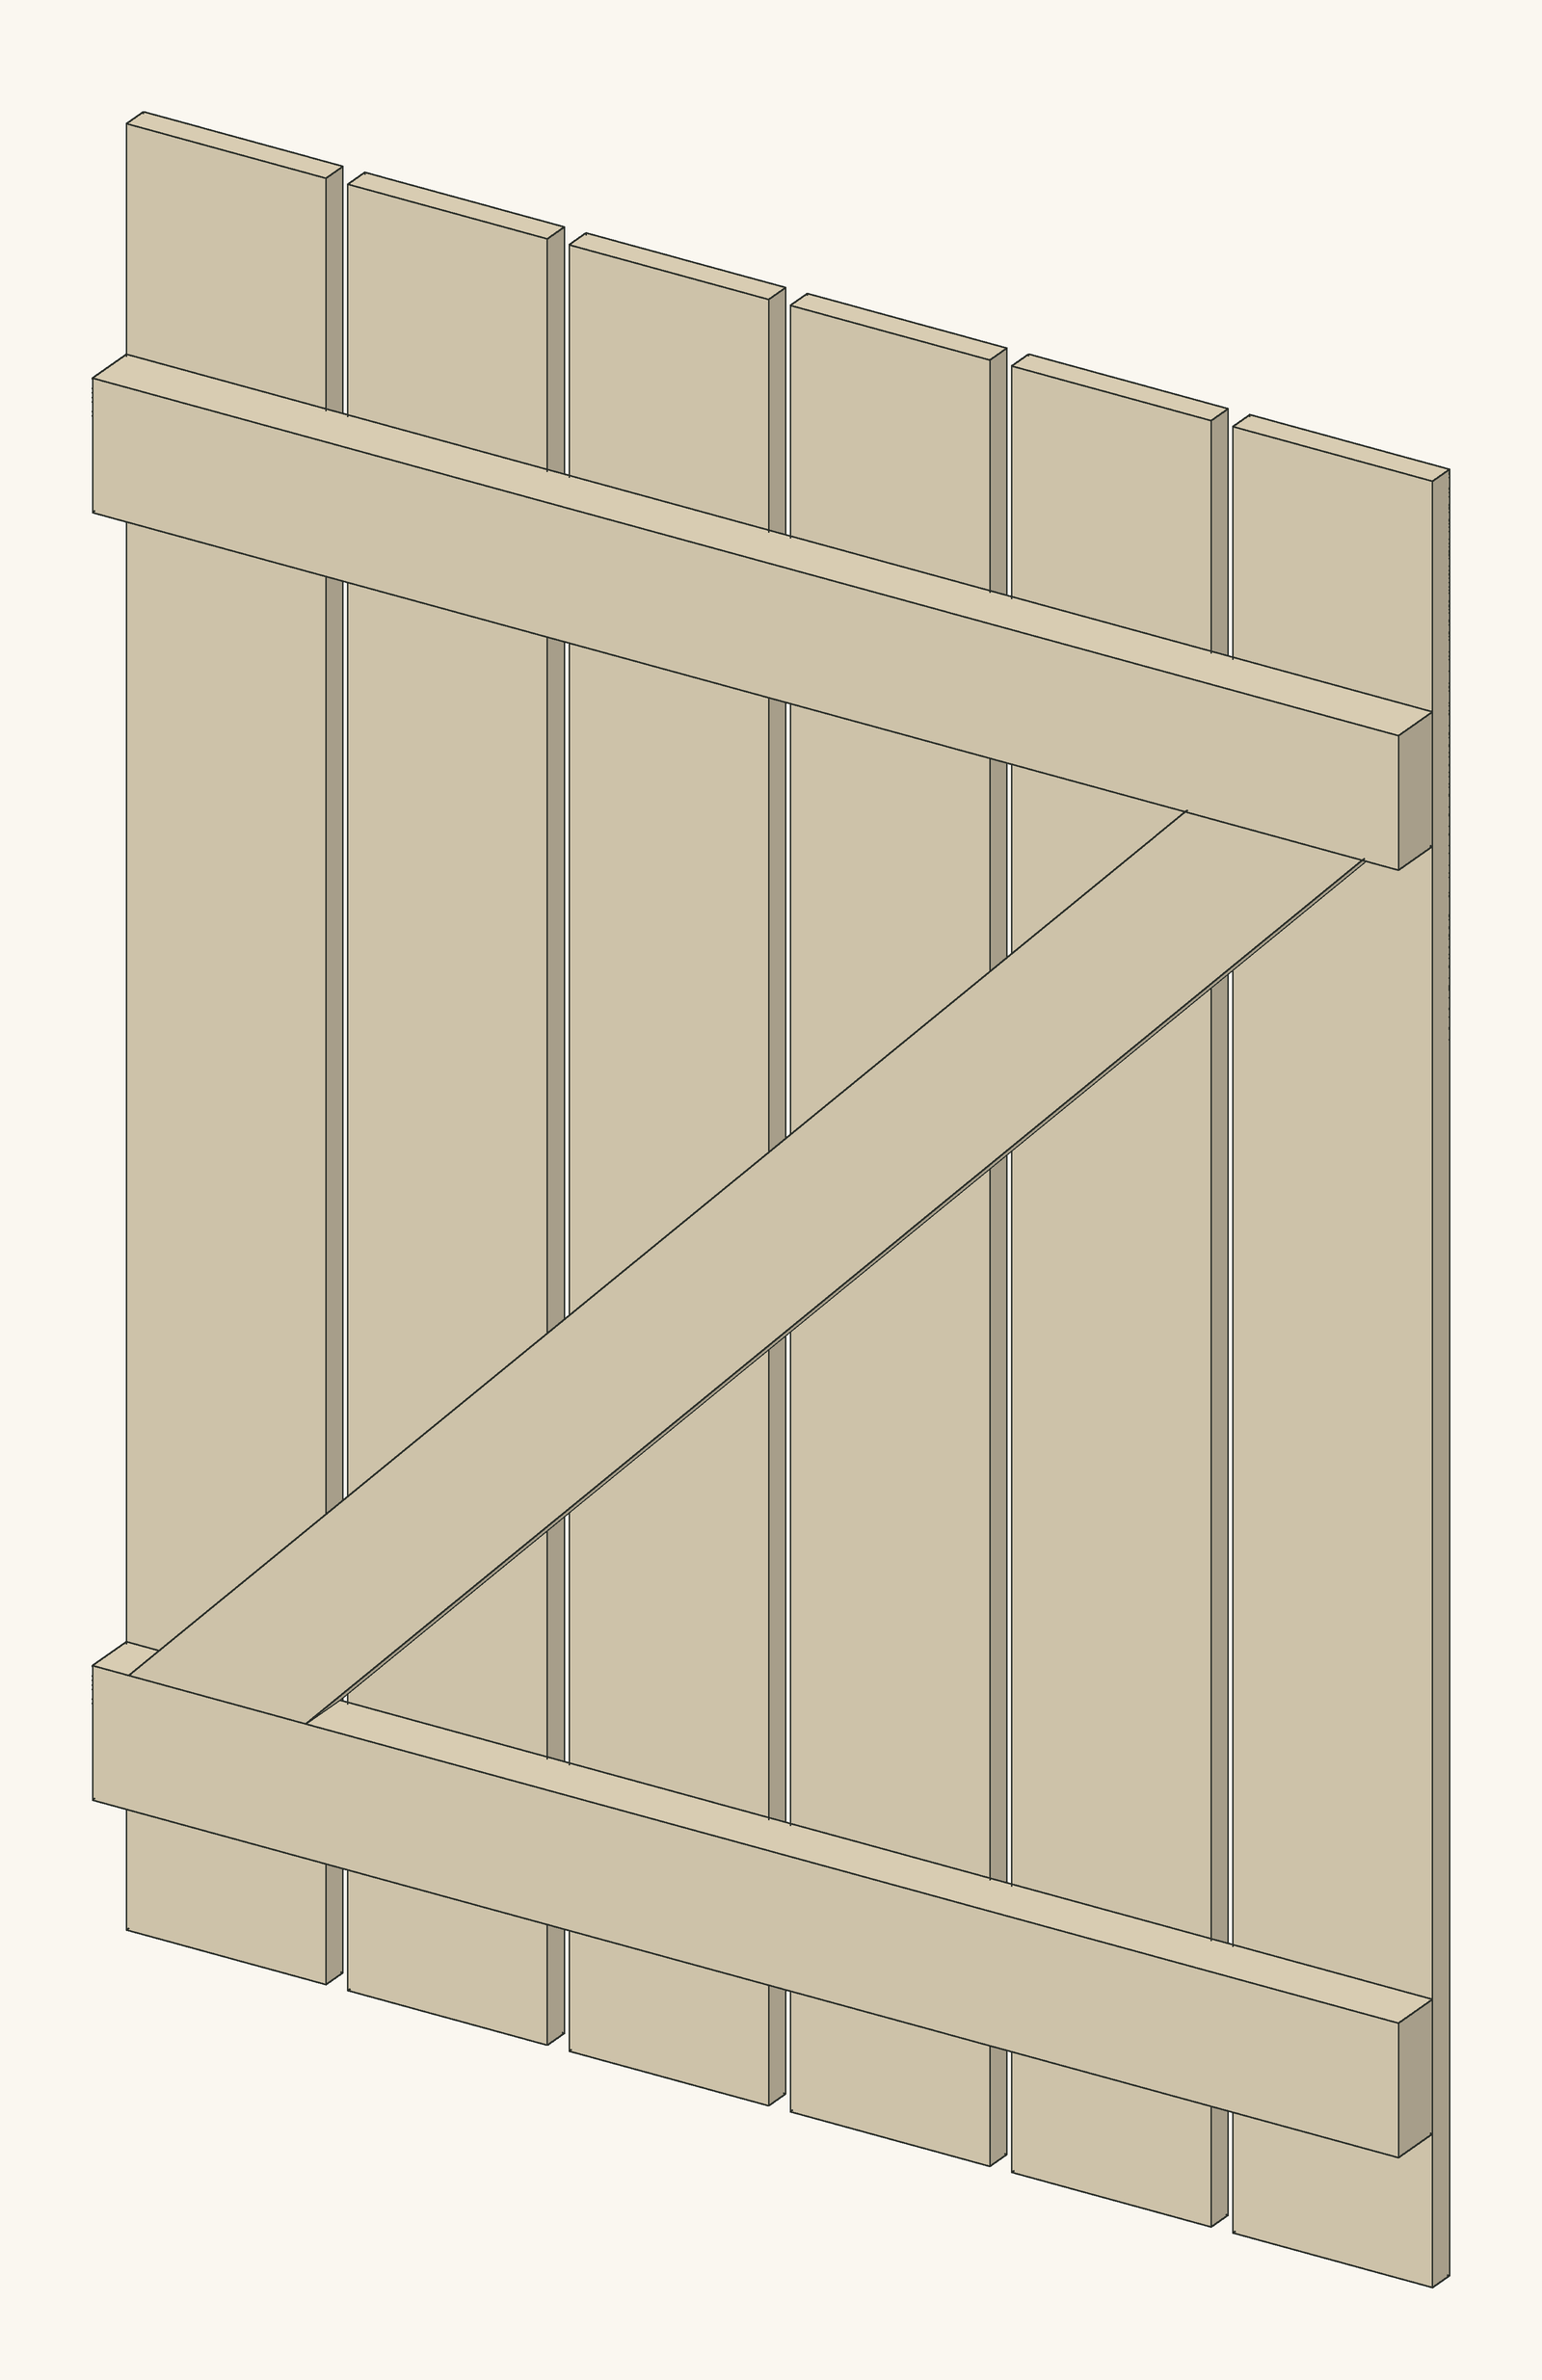 Our design
Fences & Gates
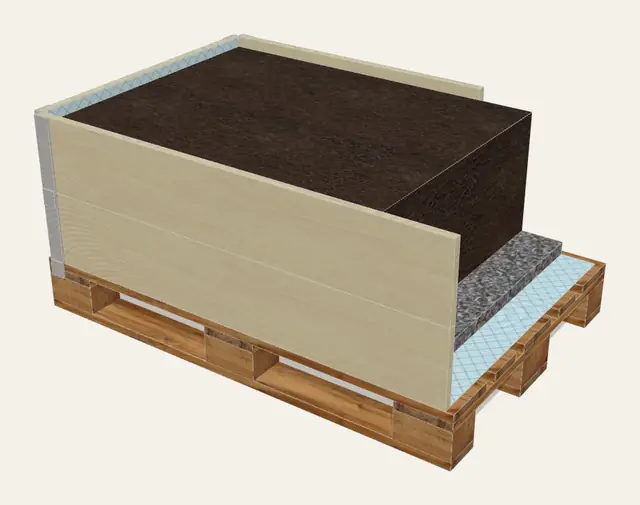 Open design
Raised Garden Beds
 4×8 Raised Garden Bed: Cut List, Soil Needed and Build StepsRaised Garden Beds · Beginner · A few hours
 Build a Stone Herb Spiral for a Small GardenGarden Layouts · Intermediate · About a day
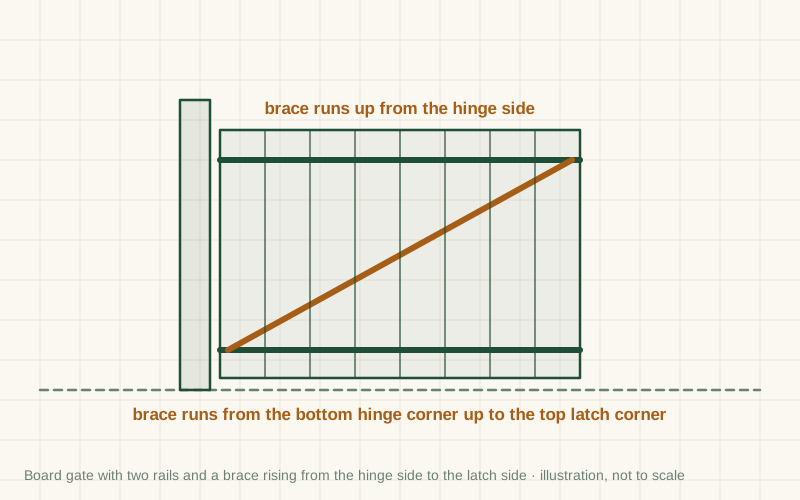 Build a Wooden Z-Brace Garden GateFences & Gates · Beginner · About a day
 Build an Elevated Planter Box on Legs (Waist-High Garden)Raised Garden Beds · Intermediate · About a day
From diyoutdoorbuilds.com/builds/diy-two-bin-compost-bin-rat-proof · DIY Outdoor Builds