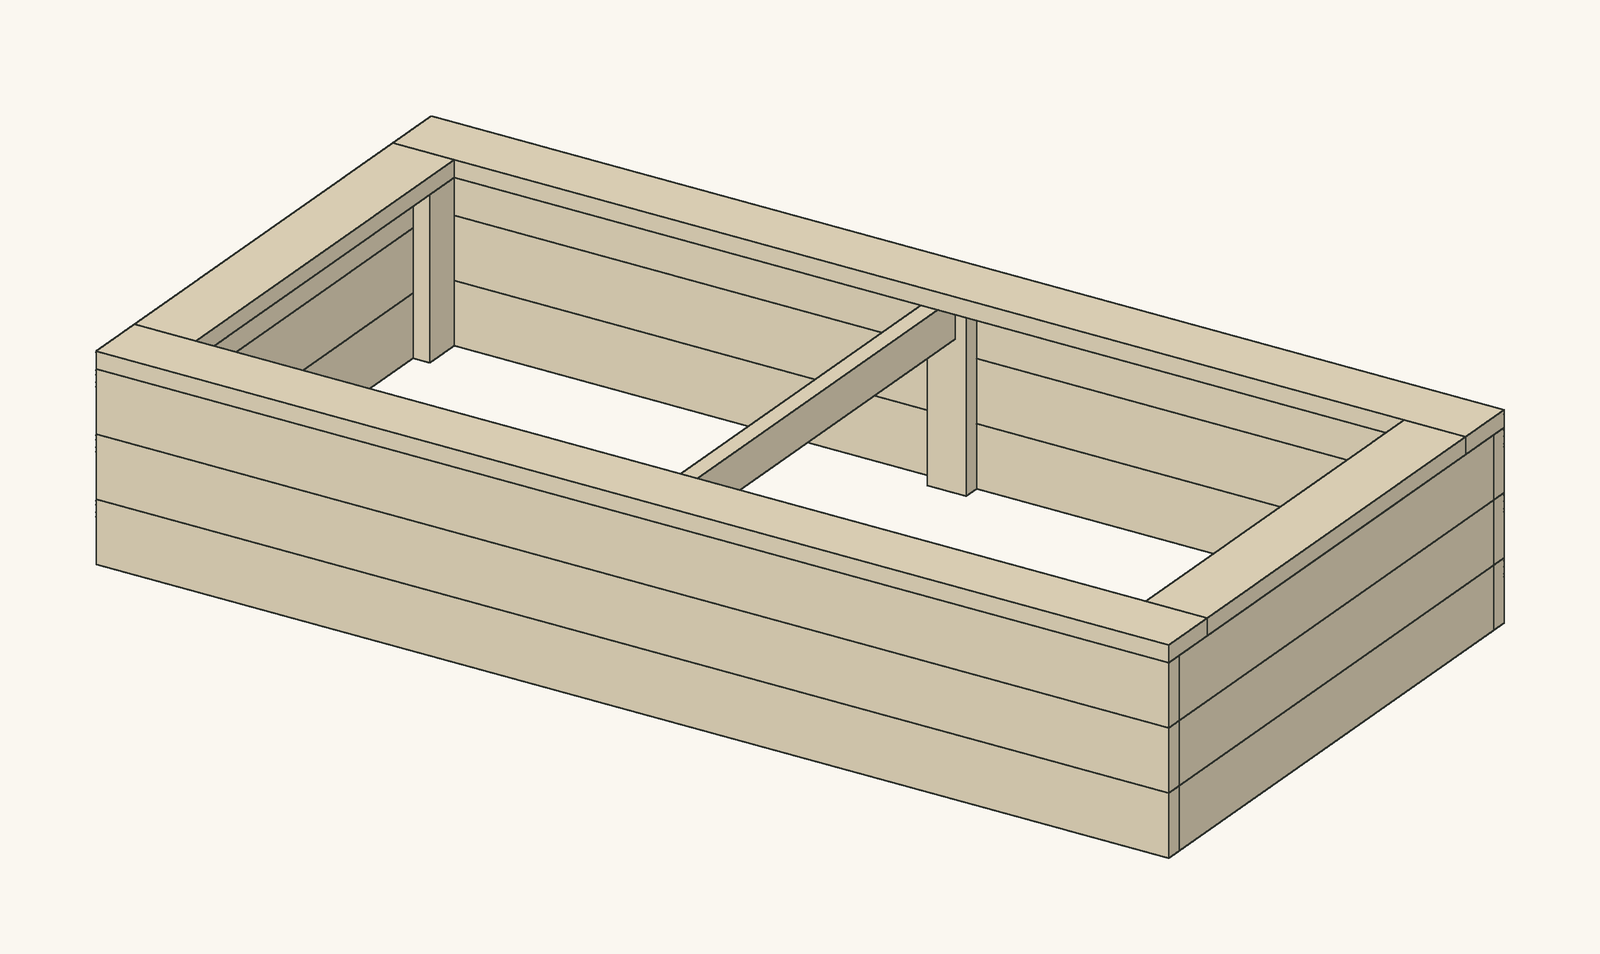
 Our design
Raised Garden Beds
Real buildBuilt and documented by Hunter Blocchi and fellow engineering students at Cal Poly Humboldt (Appropedia users Blocchihunter; our summary of their open-licensed write-up (CC BY-SA 4.0).
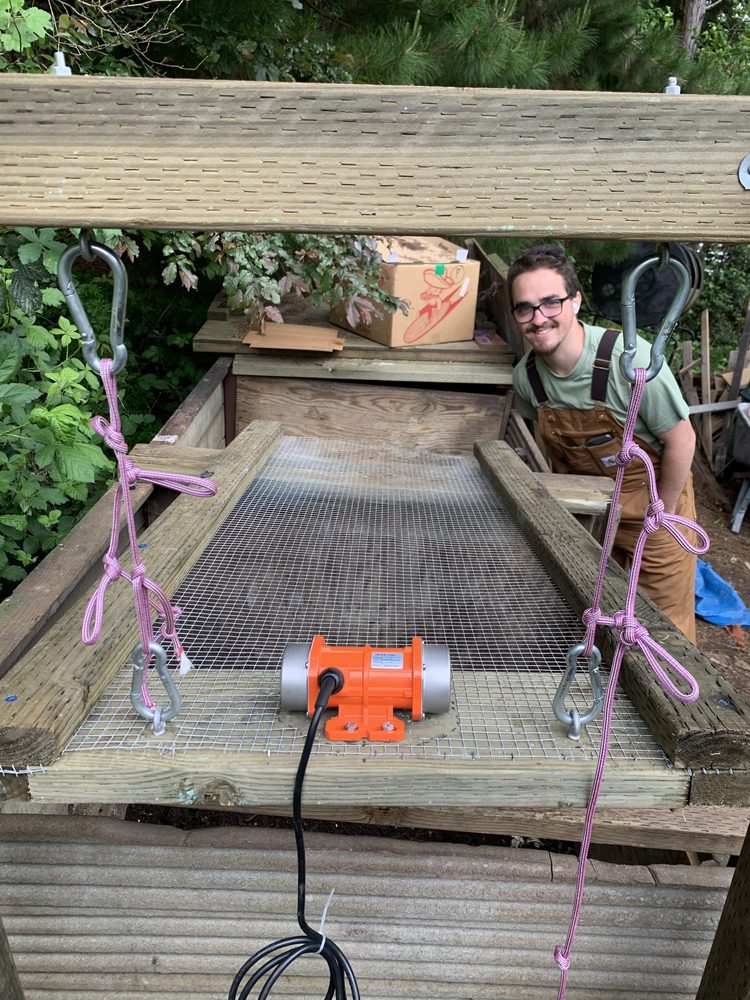
A compost screen that does the shaking for you. A long timber frame with hardware cloth hangs on two ropes across the tops of the compost bins, and a small vibrating motor on the frame shakes finished compost through while the lumps stay on top.
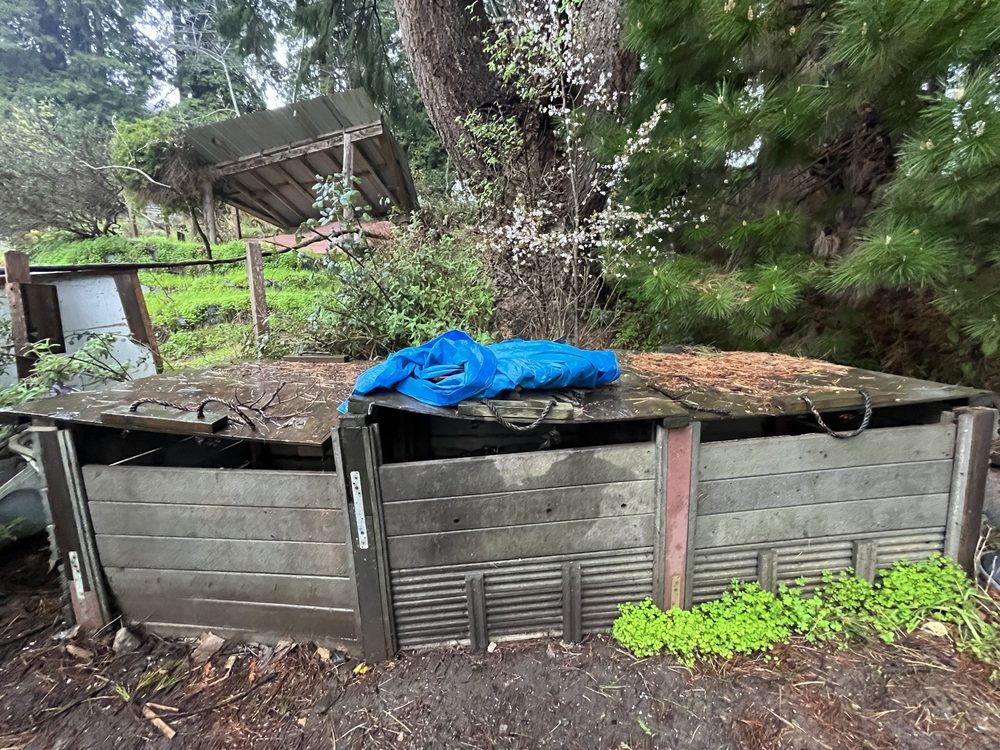
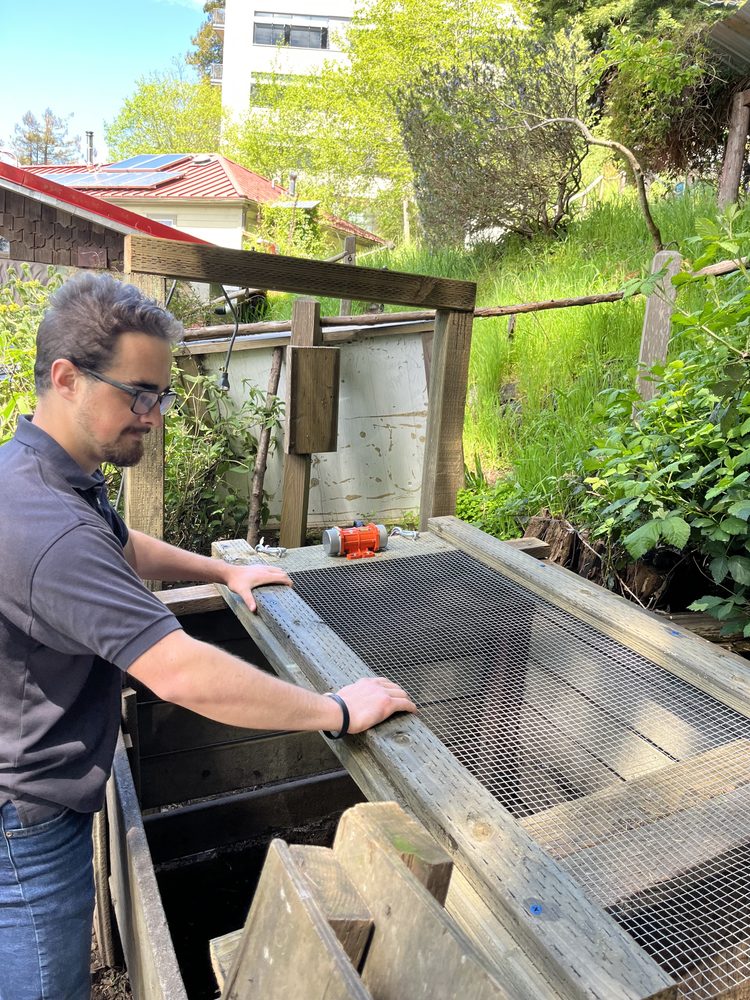
CCAT, a student-run appropriate technology centre at Cal Poly Humboldt, composts in a classic three-bin system: fresh material in the first bin, half-finished compost in the second and maturing compost in the third. Moving material along meant sifting it by hand twice, with a small square screen made of 2×4s and wire mesh. It was slow, heavy work, and earlier attempts with a hand-cranked turner and a vertical tumbler had been abandoned.
In spring 2023 a team of engineering students set out to make the job at least twice as easy, operable by one person, durable for at least three years and under $500. They looked at rotating drum screens (trommels), a shaker table and a raised bin before choosing a vibrating screen that hangs over the bins.
They built a quick first screen to test the idea. It sifted well, but it taught them two things: the motor was loud, and the frame needed wood glue and proper pocket-hole joints to stay rigid under constant vibration. The second frame, built to the drawings shown here, became the finished sifter.
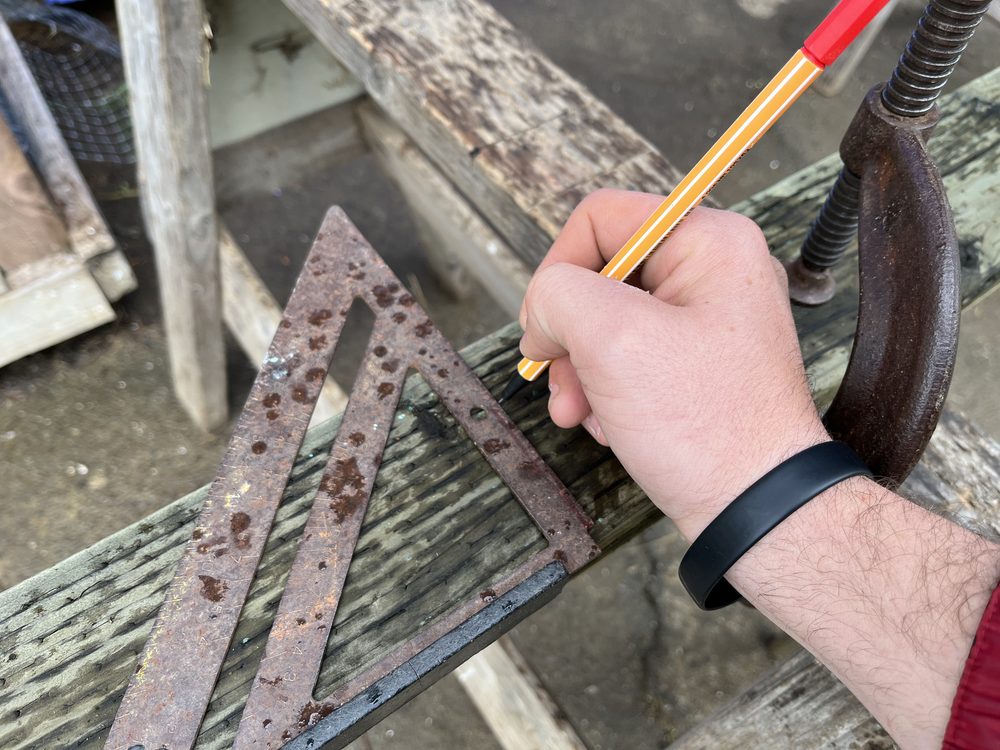
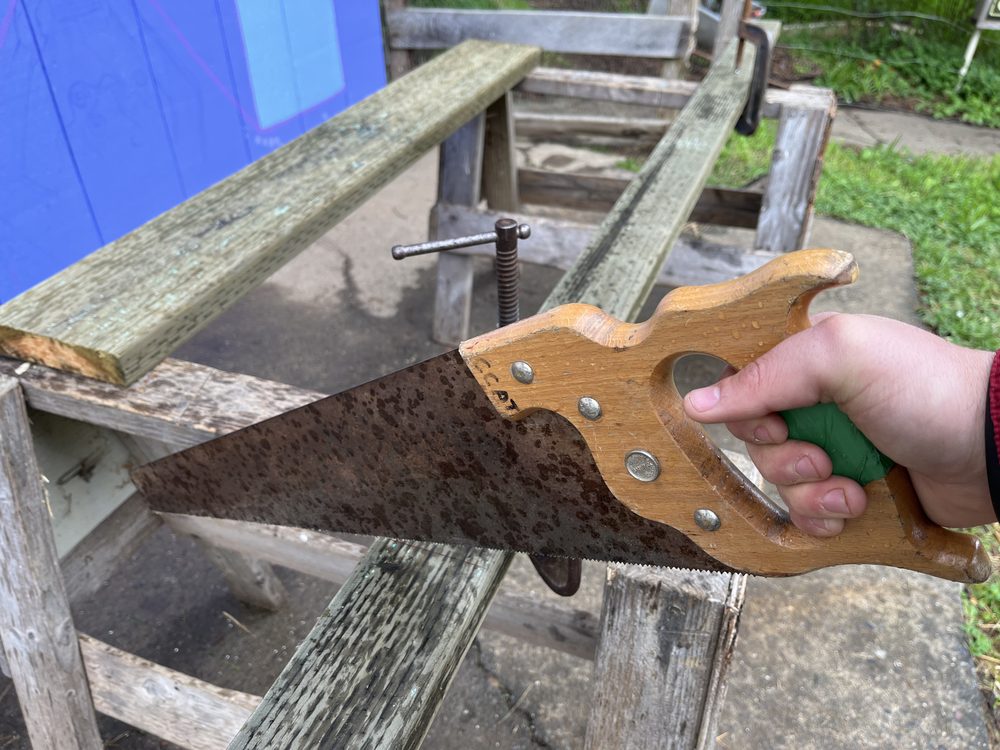
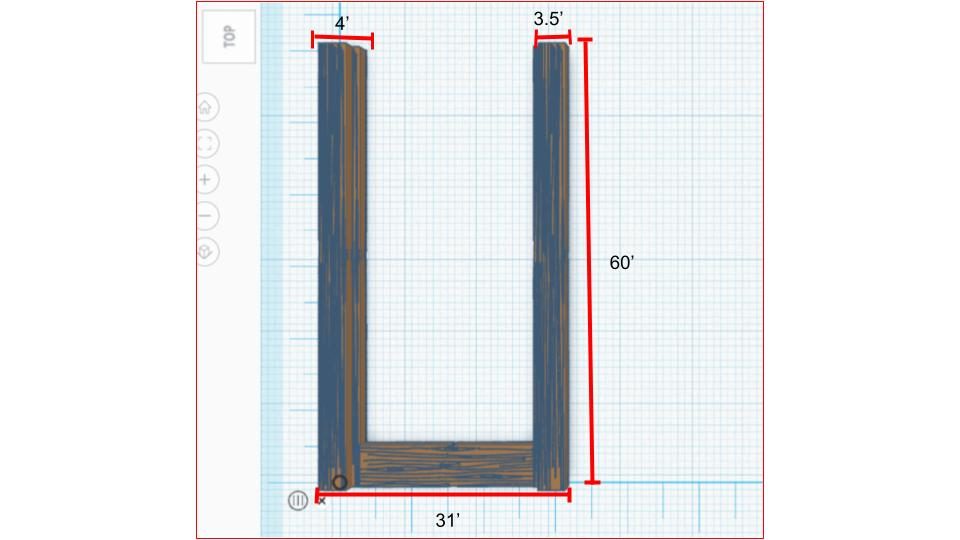
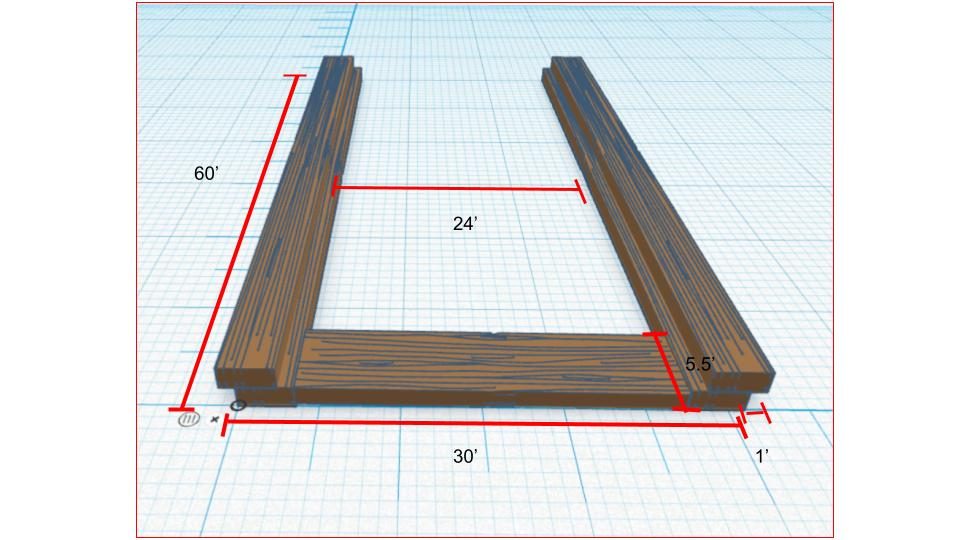
Clamp the planks to sawhorses, square a line across each one and saw four identical rails. Make them a little longer than the bin you want to sift onto: the bin was 48 in wide, so the rails were 60 in.
Cut one 2×6 to the width you want the screen to be. A 24 in board gives a screen 2 ft wide.
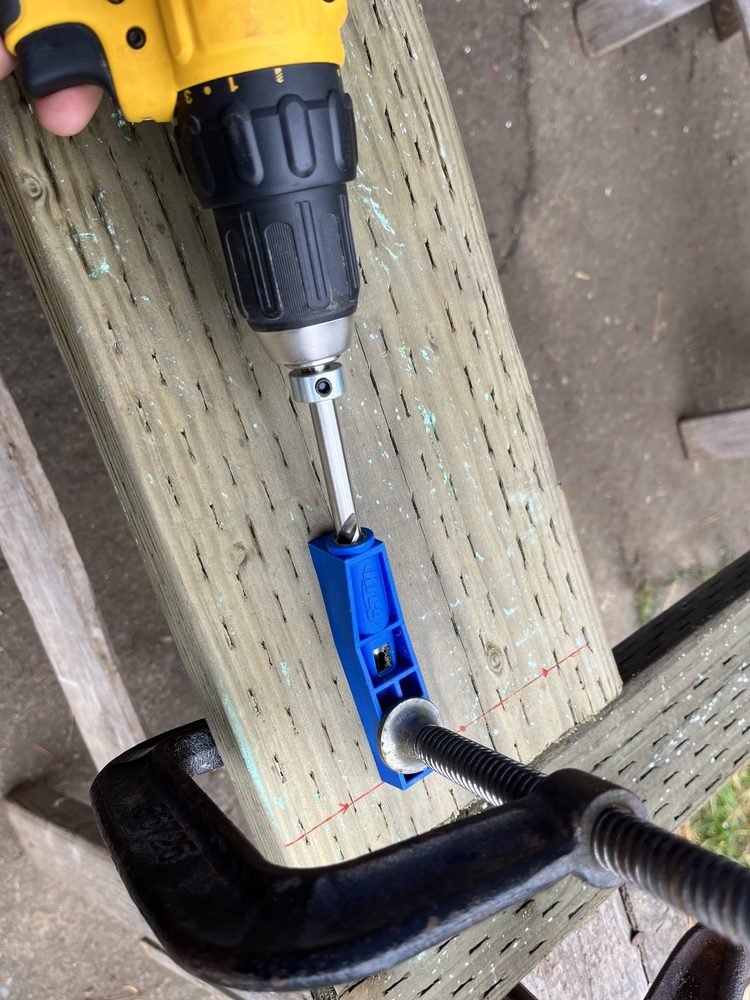
Square a line across the end of the 2×6 where the jig will sit. The builders set the jig back 1.25 in from the end and set the depth collar 4.5 in from the shoulder of the drill bit. Drill at full speed and feed slowly so the chips can clear. They drilled three holes at each end, at least ¾ in from the edges and about 1 in apart, so the board does not split.
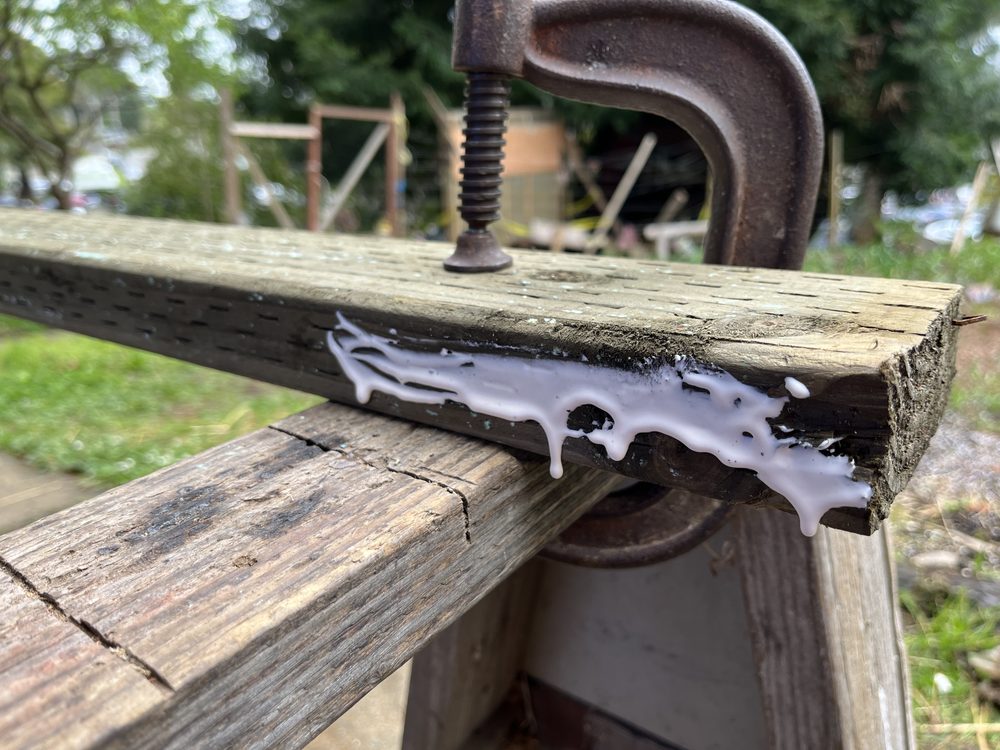
Spread glue on the end grain of the 2×6, stand it on end and wait 15 minutes while the glue soaks in. Then glue the end again, along with the edge of the rail it will meet.
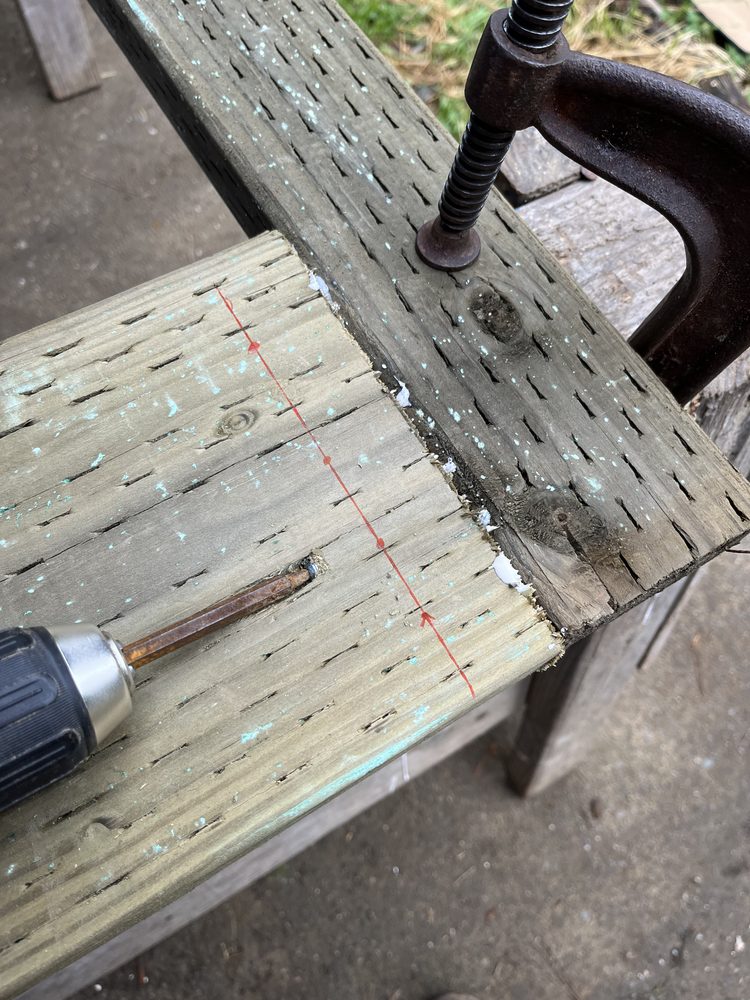
Clamp the rail down, put the pieces together and drive the pocket screws at low speed with a low clutch setting, pressing hard so the screws do not strip. The screws act as the clamp while the glue sets. Repeat at the other end.
Flatten the hardware cloth, measure it against the frame and cut it with wire cutters so it rests on the rails and the cross board. Staple it down, tapping the staples flush with a rubber mallet so the next layer of wood can sit tight.
Spread glue generously over the top of the rails and the underside of the second set of planks, clamp them together over the mesh and screw them down.
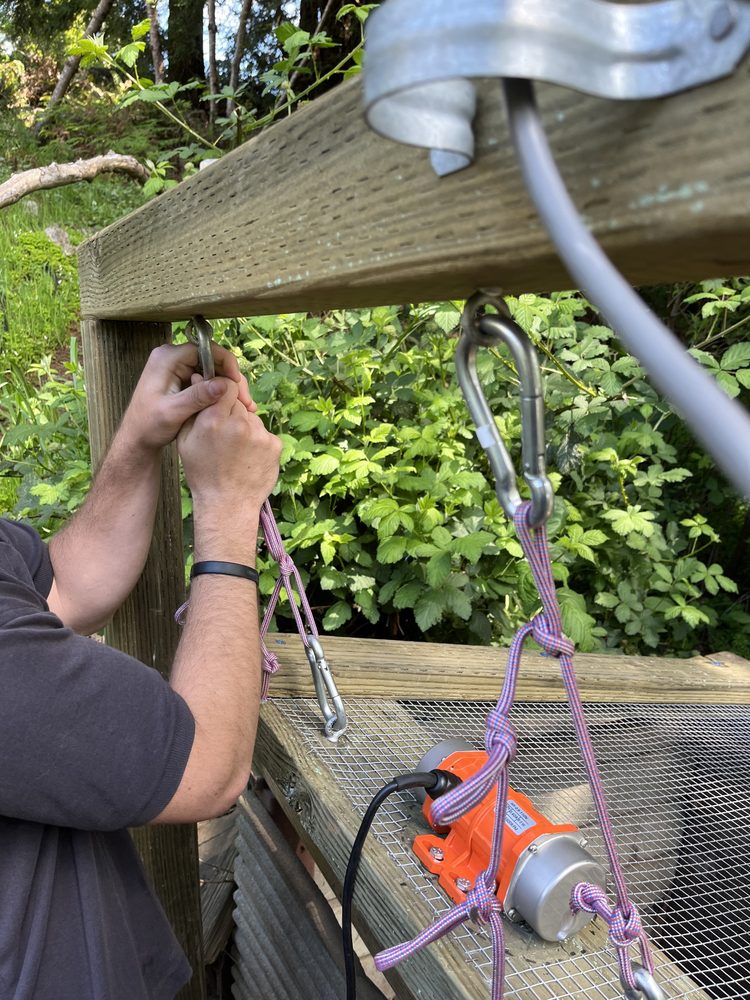
Lag-screw the vibrating motor to the frame. Lay the frame across the bin tops with the motor under the suspension frame, clip each rope's end loop to the sifting frame with a carabiner, hook the ropes on the same loop height and hang them from the eyebolts in the suspension frame. The builders used a figure eight on a bight for the end loops and alpine butterfly knots for the middle loops.
With the switch off and the dial turned down, plug the motor into the speed control and the speed control into power. Set the switch to variable, turn the dial up high to start the motor, then turn it down to the speed you want and shovel compost onto the screen, spreading it by hand if needed.
The builders' own drawings with their measurements. Open one to see it full size.
Credits and license: Built and documented by Hunter Blocchi and fellow engineering students at Cal Poly Humboldt (Appropedia users Blocchihunter, Leah17 and Ashlieinhinterland). Originally published on Appropedia: “CCAT compost sifter” under CC BY-SA 4.0. This page is our summary of their documentation and is shared under the same license (CC BY-SA 4.0); photos are credited individually. Measurements and costs are the builders' own and refer to their site and year. DIY Outdoor Builds did not build this project.
Photo credits: The finished sifter hanging from its frame over the compost bins, with the vibrating motor on the end board: Photo: Leah17, CC BY-SA 4.0, via Appropedia (resized); The CCAT three-bin compost system the sifter was built for: Photo: Blocchihunter, CC BY-SA 4.0, via Appropedia (resized); Marking a square cut line across a plank: Photo: Blocchihunter, CC BY-SA 4.0, via Appropedia (resized); Sawing a plank to length along the marked line: Photo: Blocchihunter, CC BY-SA 4.0, via Appropedia (resized); Drilling a pocket hole through the jig: Photo: Blocchihunter, CC BY-SA 4.0, via Appropedia (resized); Glue on the edge where the cross board joins: Photo: Blocchihunter, CC BY-SA 4.0, via Appropedia (resized); Driving the pocket screws to join the boards: Photo: Blocchihunter, CC BY-SA 4.0, via Appropedia (resized); Laying the sifting frame across the bin tops: Photo: Blocchihunter, CC BY-SA 4.0, via Appropedia (resized); Hanging the frame from the suspension frame with rope and carabiners: Photo: Blocchihunter, CC BY-SA 4.0, via Appropedia (resized); Top view of the sifting frame: two 60 in rails and a cross board, about 31 in wide overall (the drawing writes inches with a foot mark): Photo: Blocchihunter, CC BY-SA 4.0, via Appropedia (resized); Sifting frame with measurements: 60 in rails, 24 in between them, 5.5 in wide cross board (the drawing writes inches with a foot mark): Photo: Blocchihunter, CC BY-SA 4.0, via Appropedia (resized).
Building work can be dangerous and may need a permit. Check local rules and use a qualified professional for electrical, gas and structural work.
Share your own version with your photos, measurements and what you changed.
Our designRaised Garden Beds
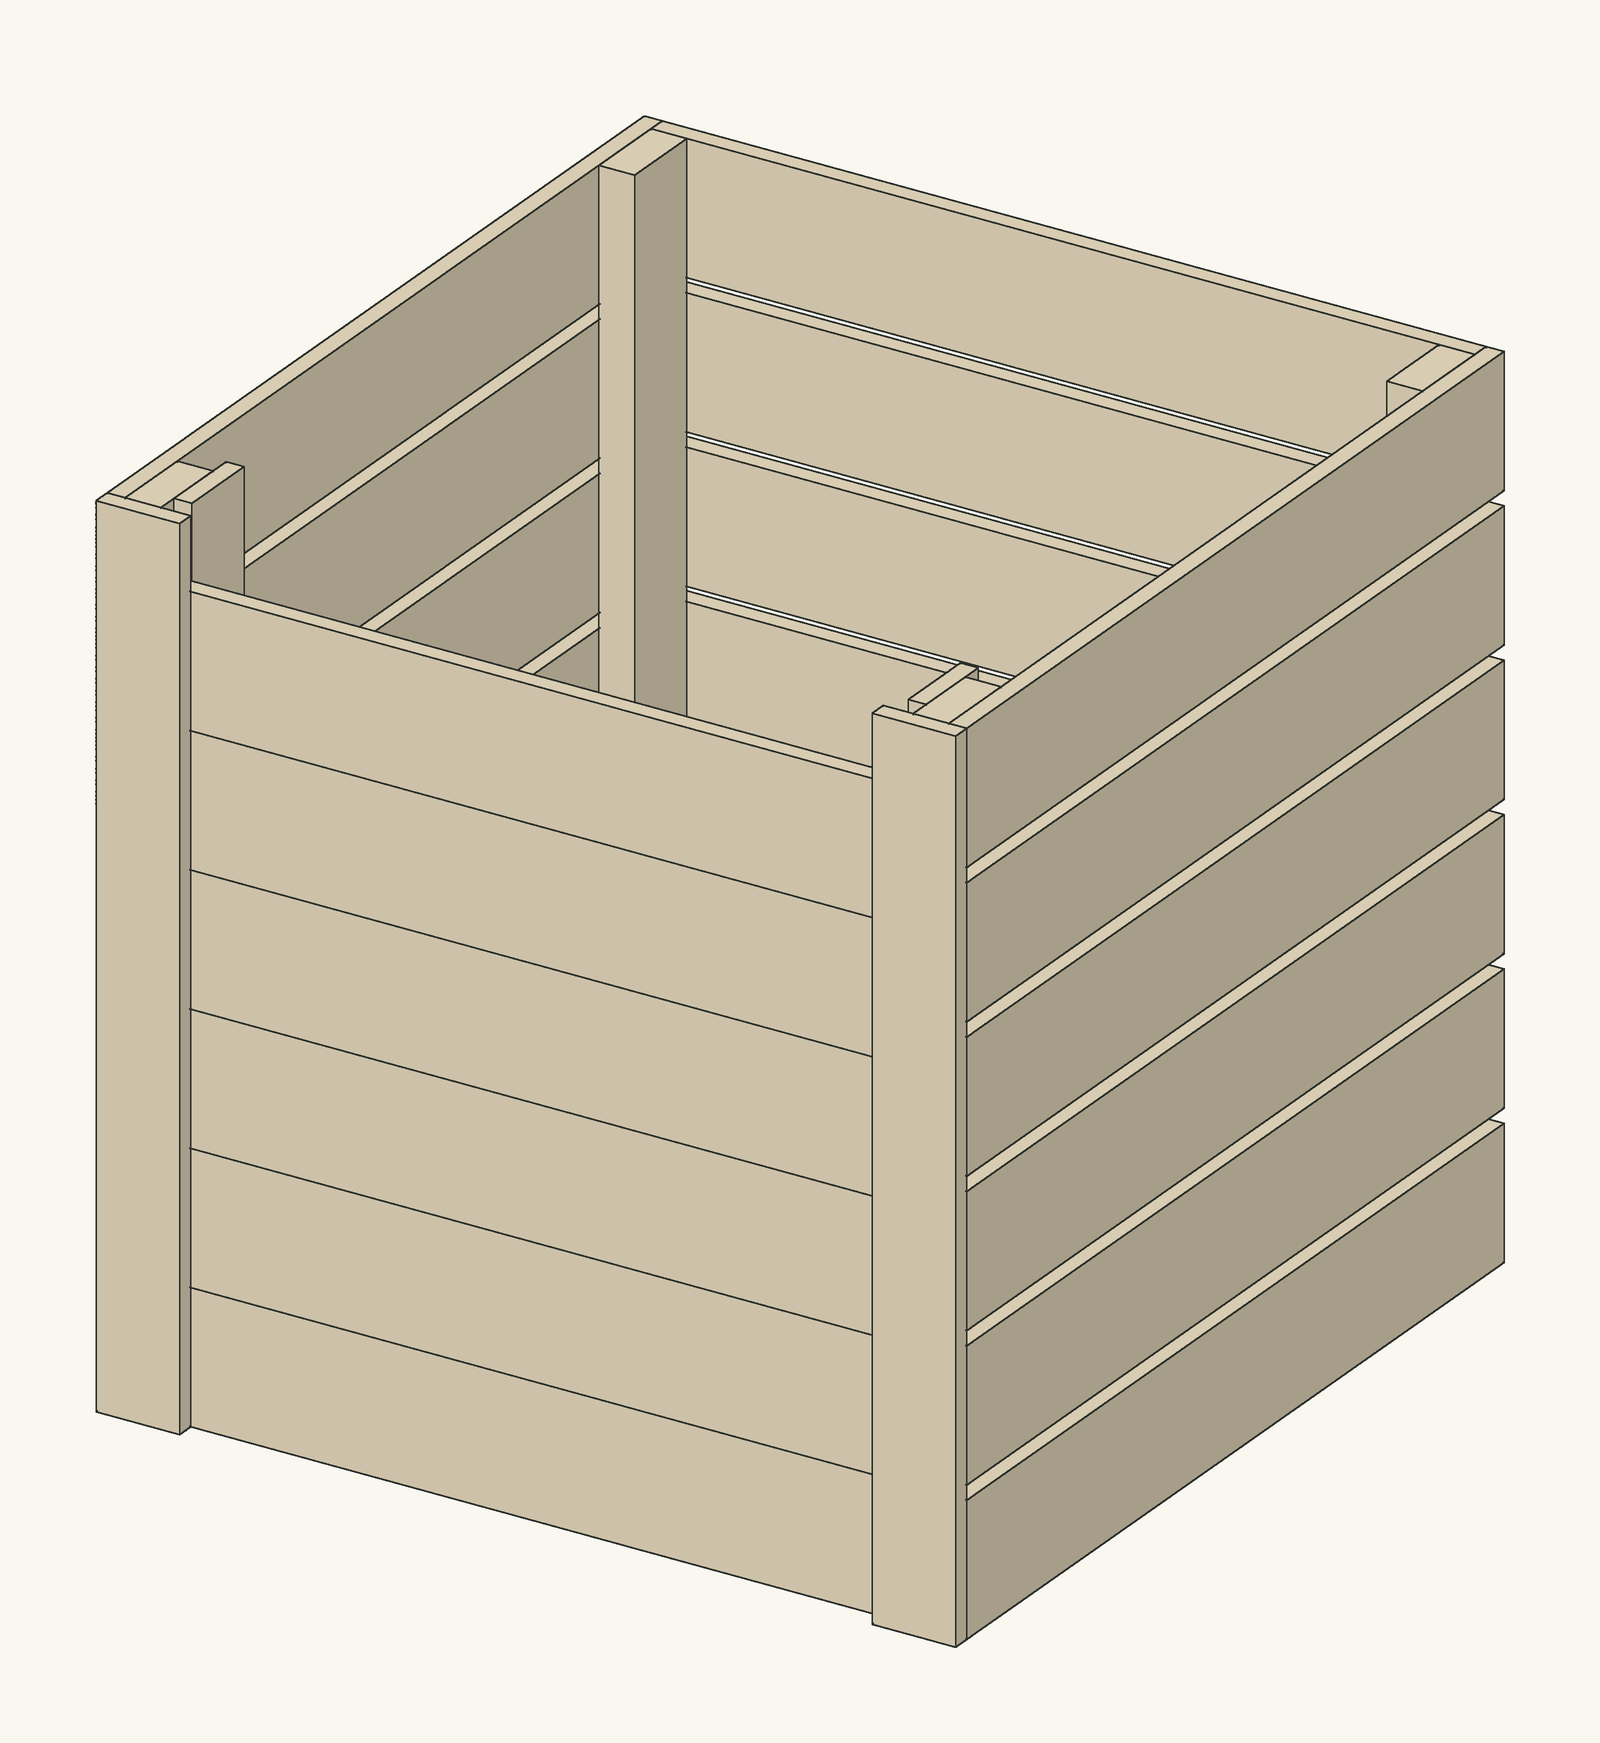 Our design
Compost Bins
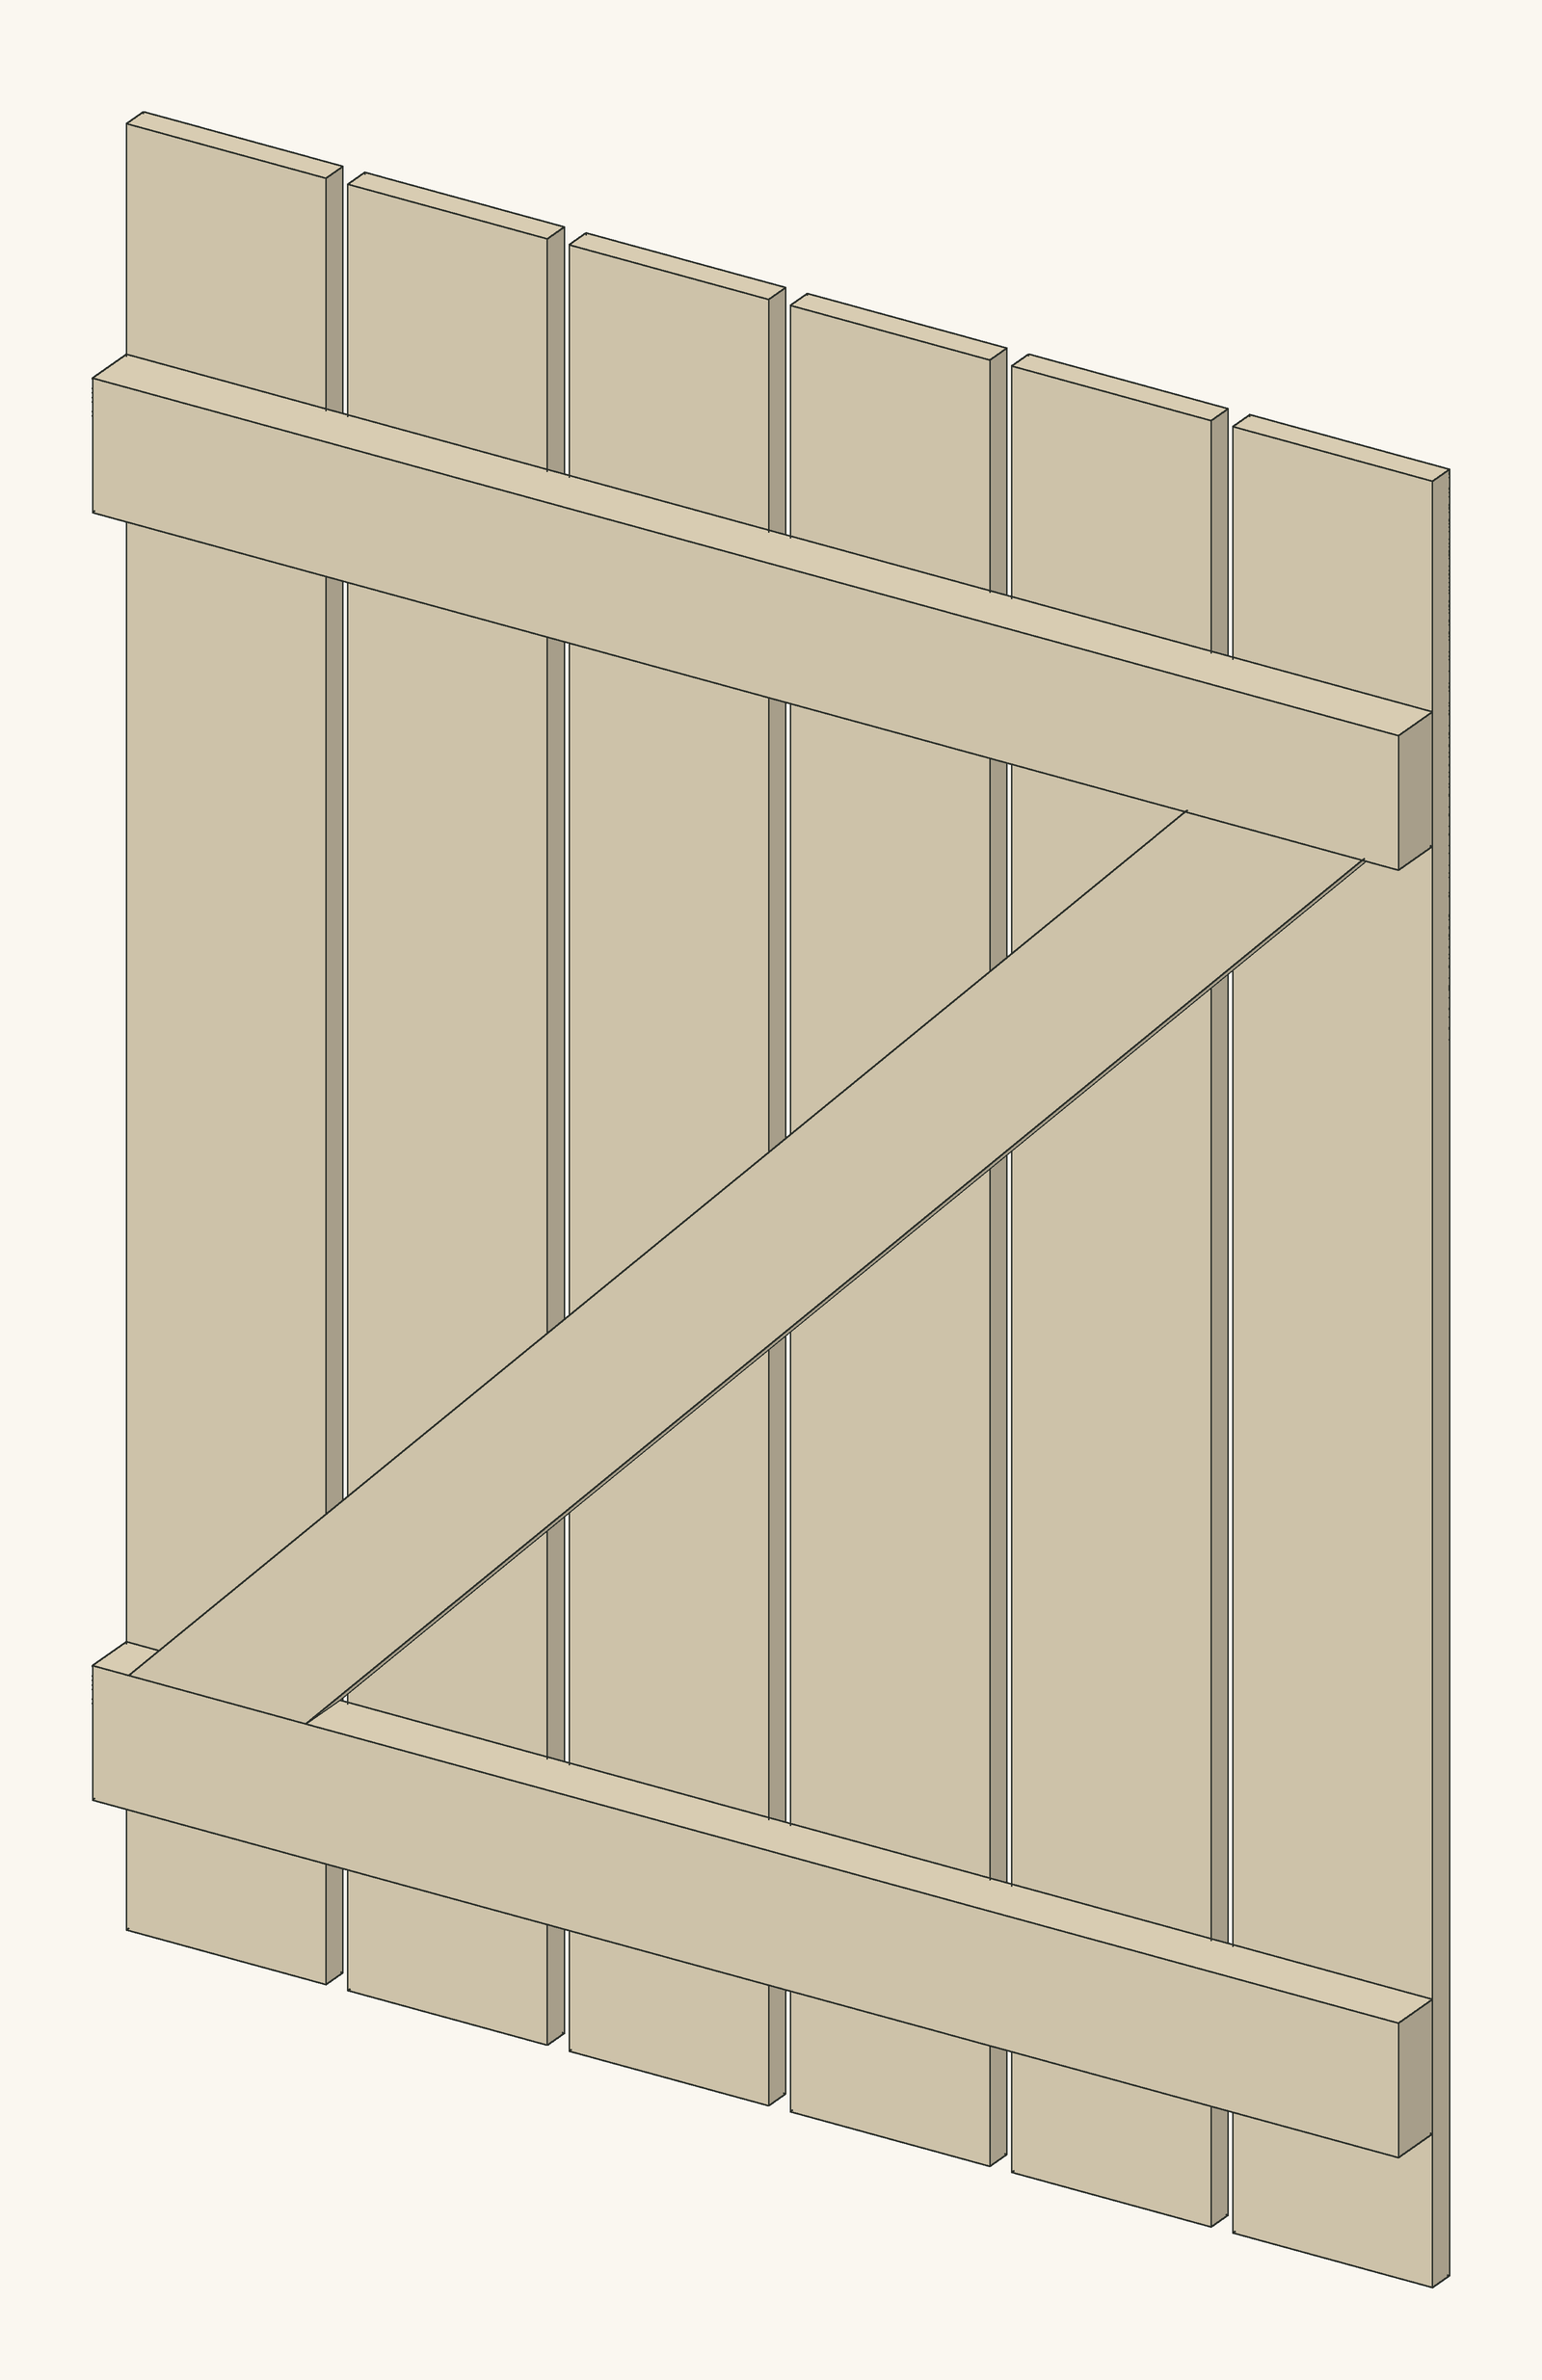 Our design
Fences & Gates
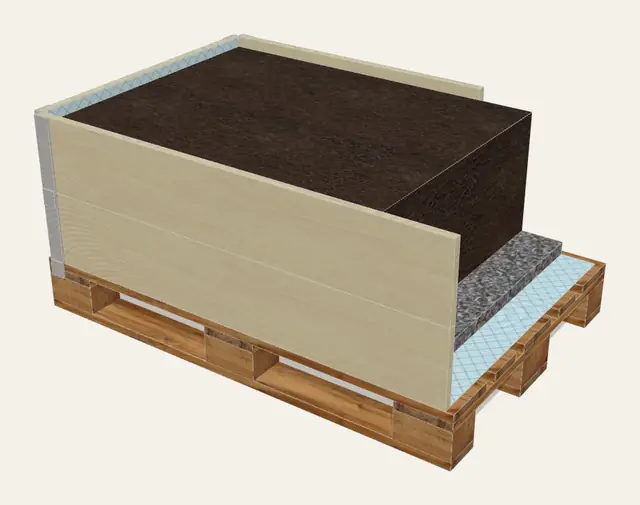 Open design
Raised Garden Beds
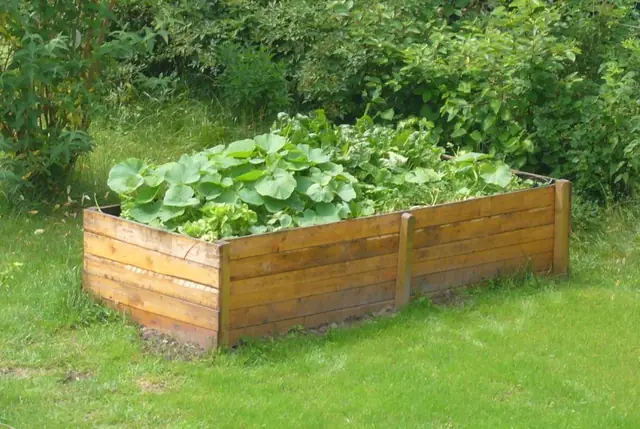 4×8 Raised Garden Bed: Cut List, Soil Needed and Build StepsRaised Garden Beds · Beginner · A few hours
 Build a Stone Herb Spiral for a Small GardenGarden Layouts · Intermediate · About a day
 Build a Wooden Z-Brace Garden GateFences & Gates · Beginner · About a day
 Build an Elevated Planter Box on Legs (Waist-High Garden)Raised Garden Beds · Intermediate · About a day
From diyoutdoorbuilds.com/builds/diy-vibrating-compost-sifter-hanging-screen · DIY Outdoor Builds