 Guide
Outdoor Kitchens & BBQ
GuideStep-by-step plan written by our editors, with materials, tools and every step in order.
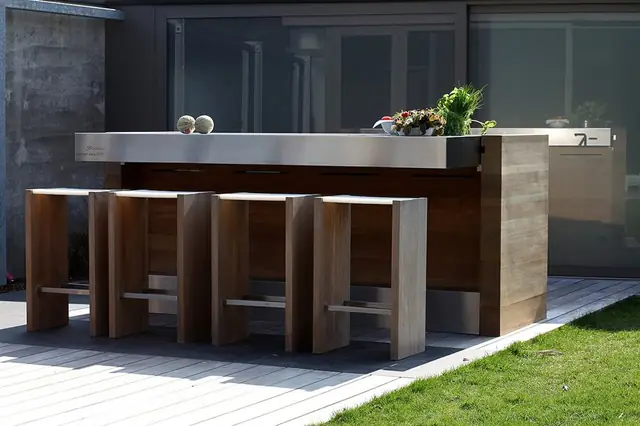
An outdoor kitchen does not have to be a big project. A straight counter of concrete blocks with a solid stone or concrete top gives you a place to set down plates, prep food and fit a built-in grill, and because every part is masonry it is fire-safe and lasts for decades with almost no upkeep.
You will choose a grill first, plan a straight counter around it in block-sized steps, build the counter from concrete blocks on a solid level base, leave a bay that matches the grill's cutout, add vents and an access door, and finish with a non-combustible top. Gas and electrical connections are left to a qualified installer.
The order matters: the grill decides everything. Built-in grills come with an installation manual that gives the exact cutout size, the clearances to anything that can burn, and whether the grill needs an insulated jacket. Keep the whole counter non-combustible, block, mortar, stone, concrete and metal, and you avoid most of the fire risks that come with wooden frames.
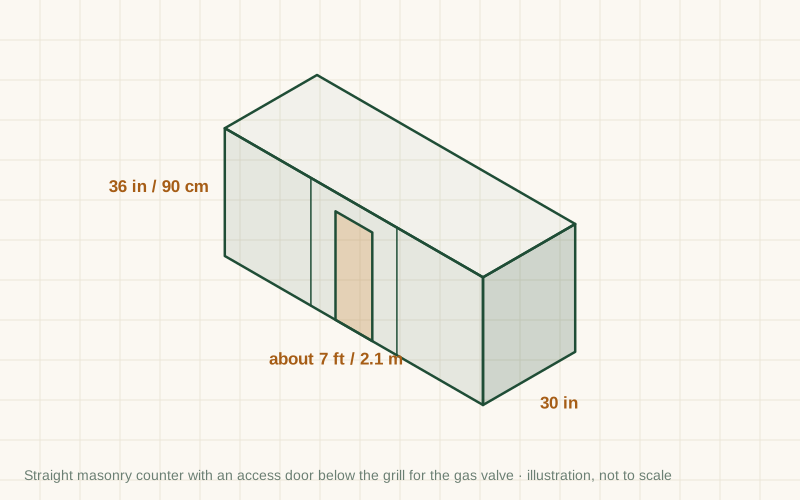
Plan the length in steps of 8 in (20 cm), the length of half a standard concrete block, so the courses fit without cutting. A counter about 7 ft (2.1 m) long gives room for a medium grill with a work surface on each side; add a return leg to make an L if you want more space. A depth of about 30 in (76 cm) suits most built-in grills, and four courses of 8 in (20 cm) blocks plus the top give a working height of about 36 in (90 cm). Always check the grill's cutout dimensions before you buy blocks.
Check your local rules. Gas connections must be made by a qualified gas fitter in most places, and outdoor electrical sockets need a licensed electrician. Some areas also have rules on cooking structures near the boundary or the house.
Build it
Lumber sizes are North American nominal sizes: a 2×4 is actually 1½ × 3½ in (38 × 89 mm). Metric figures in brackets are converted or, for lumber, the nearest common European size (such as 45 × 95 mm), which works the same way.
Pick the built-in grill first and read its installation manual for the cutout size and clearances. Place the counter on level ground away from the house wall, overhanging branches and anything that burns, where smoke will not blow into windows or over the neighbours.
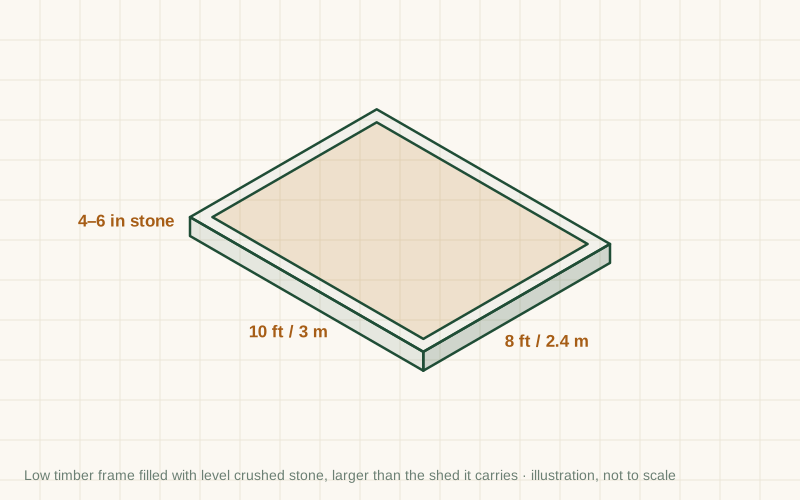
A sound concrete patio slab can carry the counter. Otherwise dig out the footprint, lay and compact a layer of crushed stone, and cast a concrete pad or footing a little larger than the counter. Let new concrete cure for several days before building on it.
Dry-lay the first course of blocks on the base to check the plan, with the grill bay exactly as wide as the cutout in the manual. Then bed the first course in mortar, levelling each block along a string line. This course decides how straight the whole counter will be.
Lay the next courses with staggered joints, half a block over the joint below, using mortar or a masonry adhesive the maker approves for the job. Push rebar into the corner cores and fill them with concrete. Check level and plumb every course.
Leave openings for at least two vent panels and an access door below the grill, so you can reach the gas valve. For propane, which is heavier than air, put the vents low and on opposite sides; for natural gas, high vents are needed as well. Follow the grill manual for sizes.
Bed the stone or concrete slabs on mortar across the top course, with an overhang of about 1–1½ in (25–40 mm) at the front so drips fall clear. Cut the slabs around the grill bay to the exact cutout size, with any gap the manual asks for.
Render the blocks, glue on stone veneer or paint them with masonry paint once the mortar has cured. Seal a stone or concrete top with a food-safe sealer for outdoor counters so oil and sauce do not stain it.
Lower the grill, and the insulated jacket if one is required, into the bay. Have a qualified gas fitter connect the gas and leak-test it, and an electrician add any outdoor socket. Run the grill empty for the first time and check the heat around the counter.
General guidance only. Follow the instructions for your tools and materials and your local rules, and use a qualified professional for electrical, gas and structural work.
A simple masonry counter turns a grill into a real outdoor kitchen that is easy to keep clean. Check the vents and the gas connection each spring, reseal the top every year or two, and cover the grill when it is not in use.
About this guide: published by Oskar N. and drafted with AI assistance from general, widely used building and gardening practice; see our editorial policy. Text and illustration © DIY Outdoor Builds. Found an error? Let us know.
Share your photos, measurements and what you changed. Your build gets its own page and helps the next person.
What others made, with their own photos and notes.
From diyoutdoorbuilds.com/guides/concrete-block-outdoor-kitchen-counter · DIY Outdoor Builds